For the sources of power, we came up with a few possible ways to generate including: solar, wind, hydro, and human-powered. Looking at the campsite, there was no flowing water and too many trees for a wind-powered generator, hence leaving solar-powered and human-powered. Rowing machines powered by humans were a possiblilty, assuming it would be the most cost-efficient and convienent. After further research, generation of our required amount of electricity only using the human-powered generators was insufficient, therefore solar-powered was decided.
Prior to researching, we spoke with other groups to see how much power they each required. Food group did not require, shelter wasn't certain, and water required a USB output with a tentative amount. As we could not wait any further for the food and shelter groups what they might need electricity for, we started on our research.
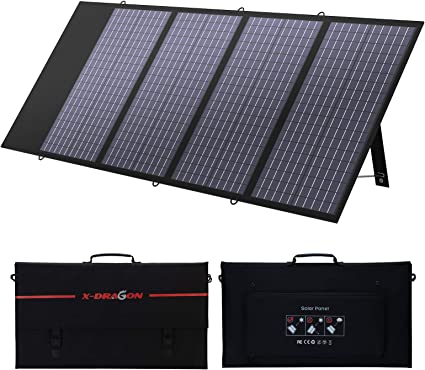 X-DRAGON 140W Foldable Solar Panel | $249.98
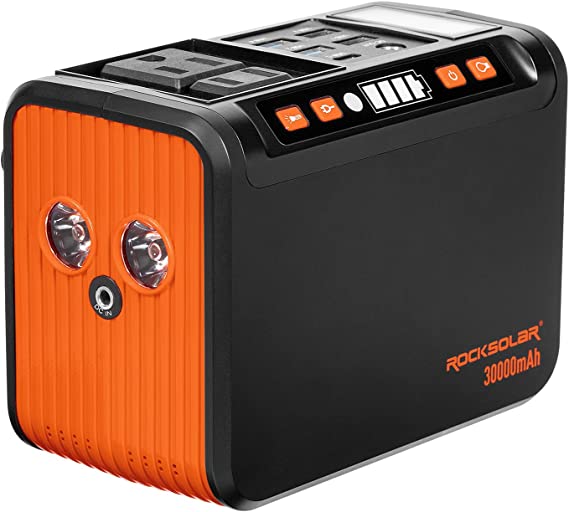 ROCKSOLAR Portable Power Station | $180
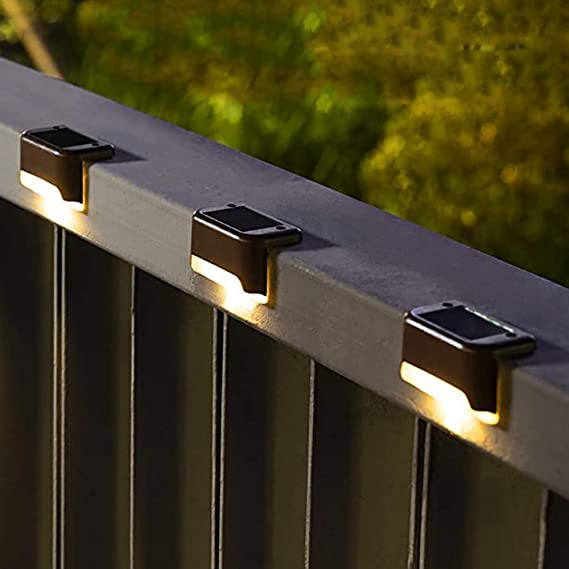 SOLPEX Solar Outdoor Deck Lights x2 | $83.98
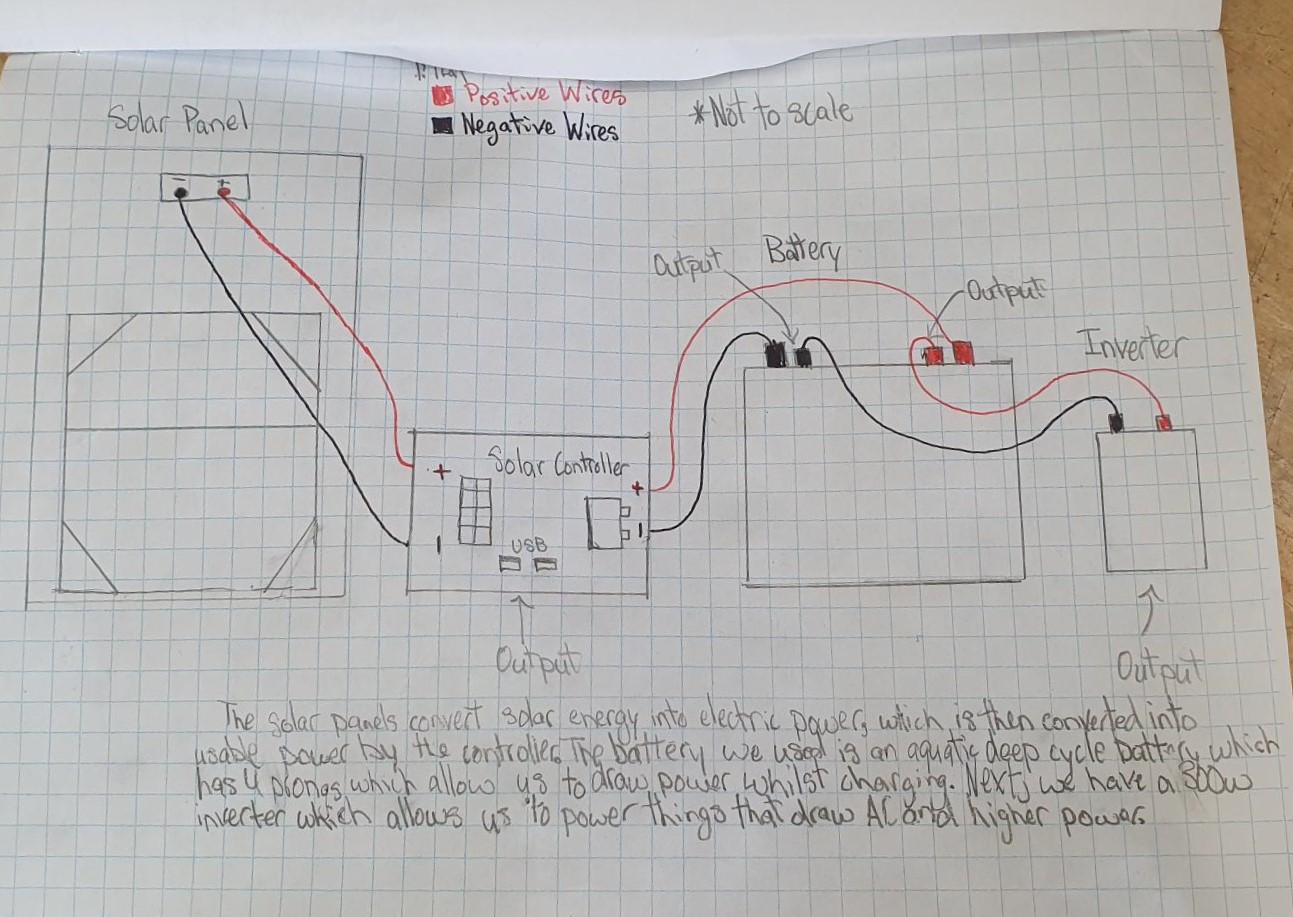
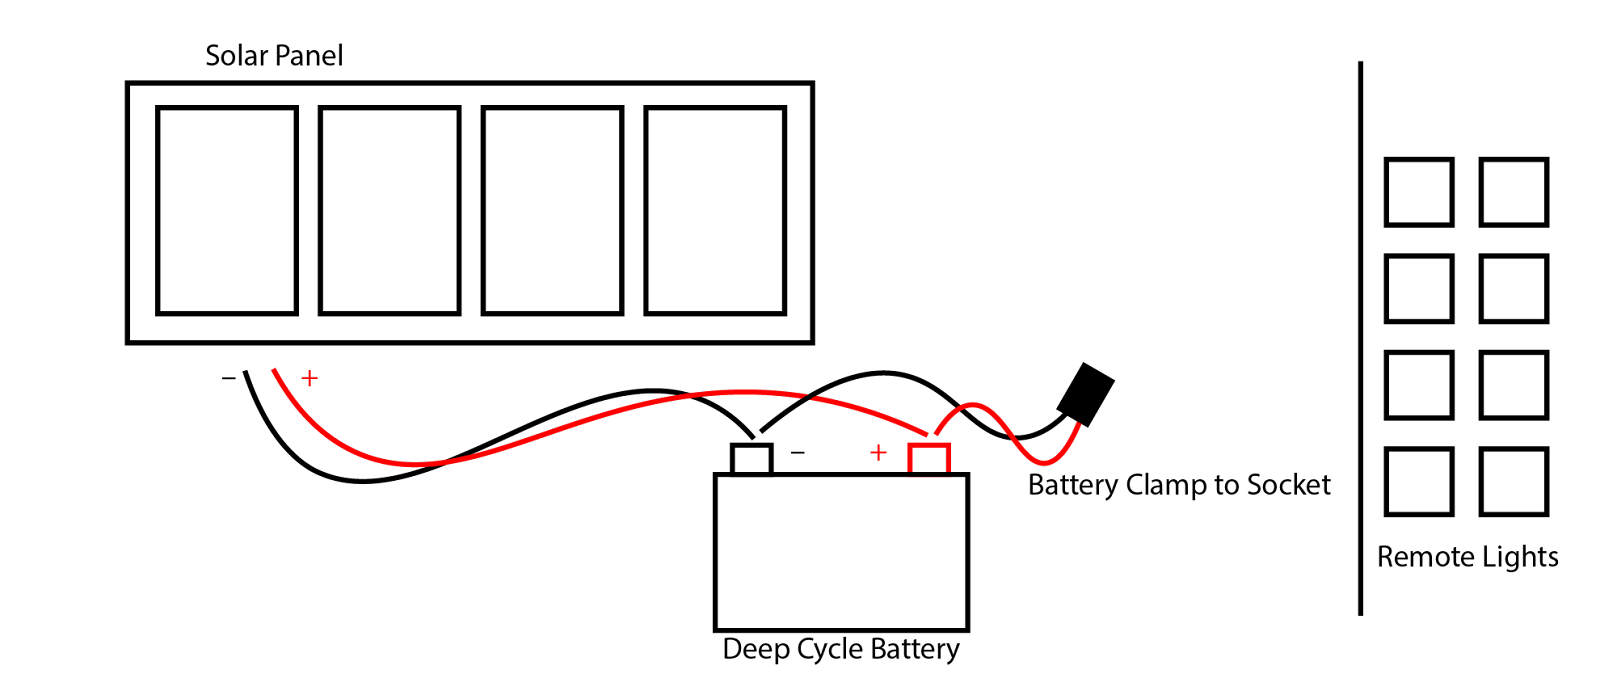 Diagram
Coming in with about 20 dollars to spare under our budget, our simple and straightforward first setup was well-structured. All the components were compatiable with each other and very little wiring was required. The setup also included individual lights with their own solar panels which allowed for each of our group to have a light source without needing to connect to the main grid.
A challenge or issue we faced was the components were listed from Amazon and other online retail store, and with the school preferring local trusted suppliers for ensured delivery, we looked for alternatives.
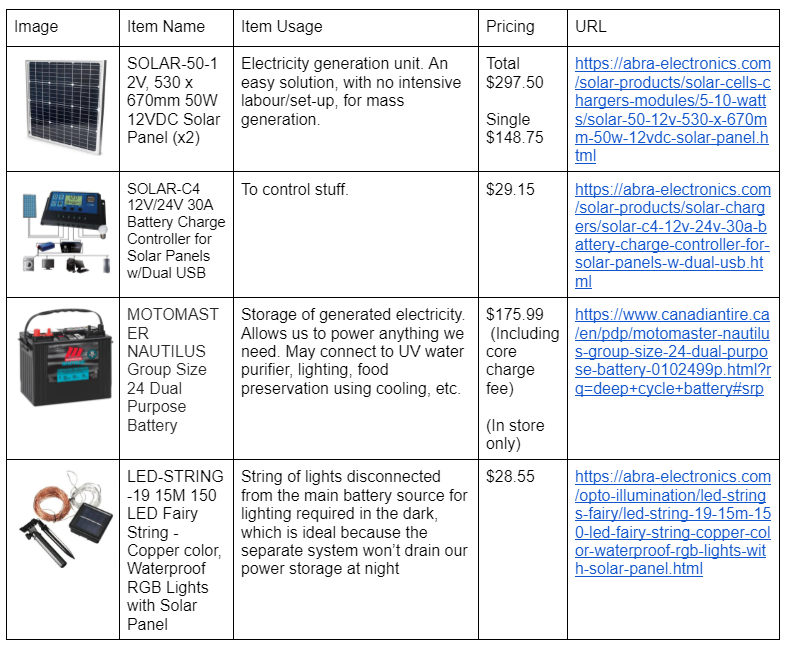
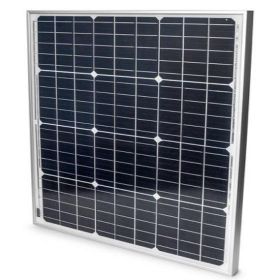 SOLAR-50-12V, 530 x 670mm 50W 12VDC Solar Panel x2 | $297.50
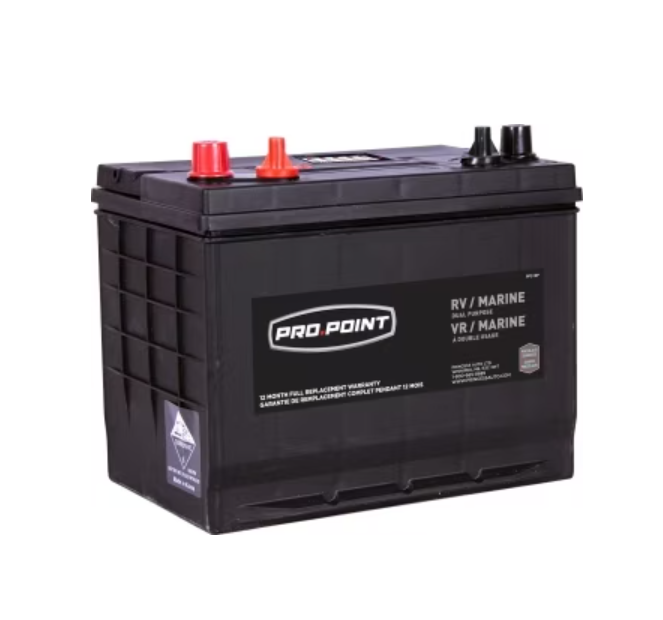 GC24RV Dual-Purpose RV/Marine Battery | $119.99
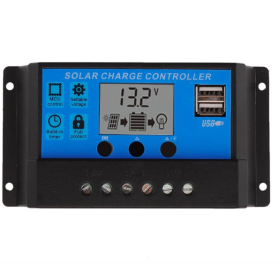 SOLAR-50-12V, 530 x 670mm 50W 12VDC Solar Panel | $29.15
 Socket/Plug to Battery Clamps/Eyelets Adapter | $15.99
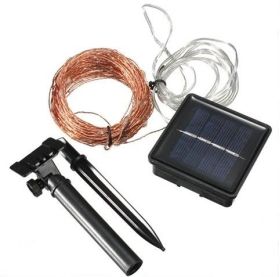 15M LED, Waterproof Lights with Solar Panel x2 | $57.10
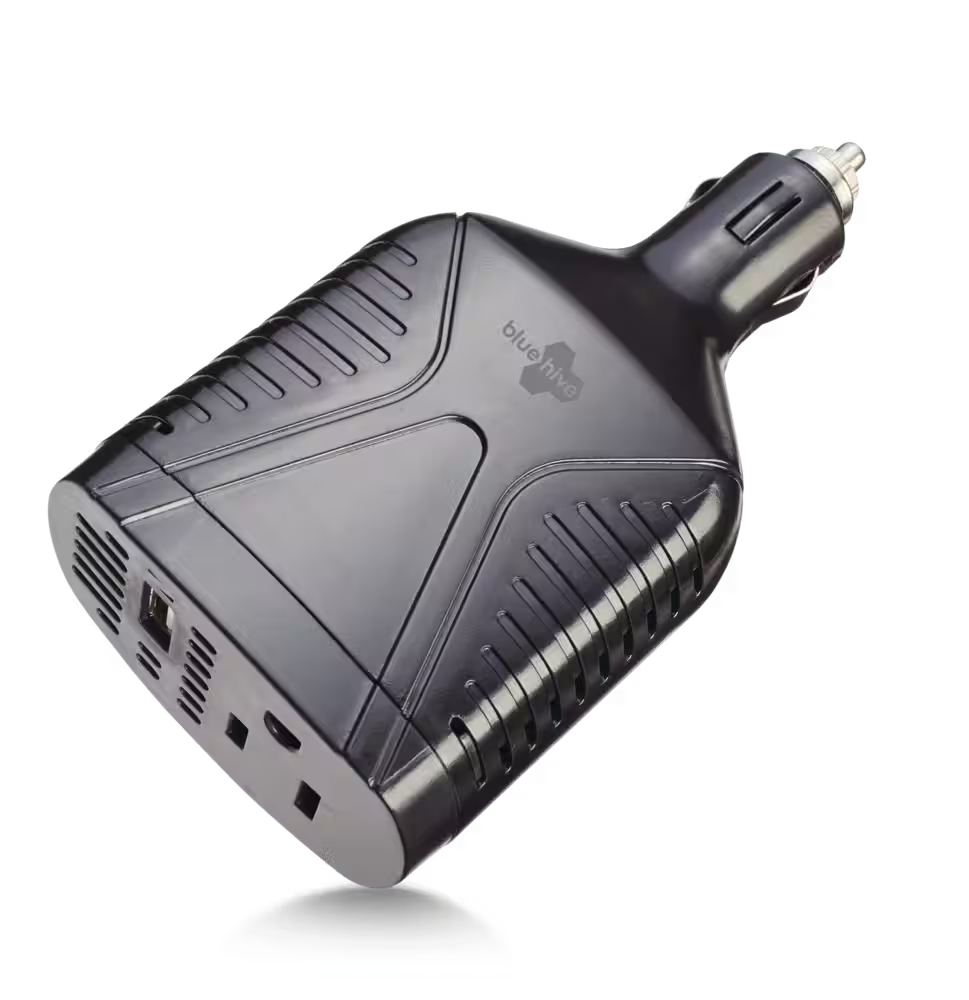 Bluehive 75W Inverter, with USB Port | $39.99
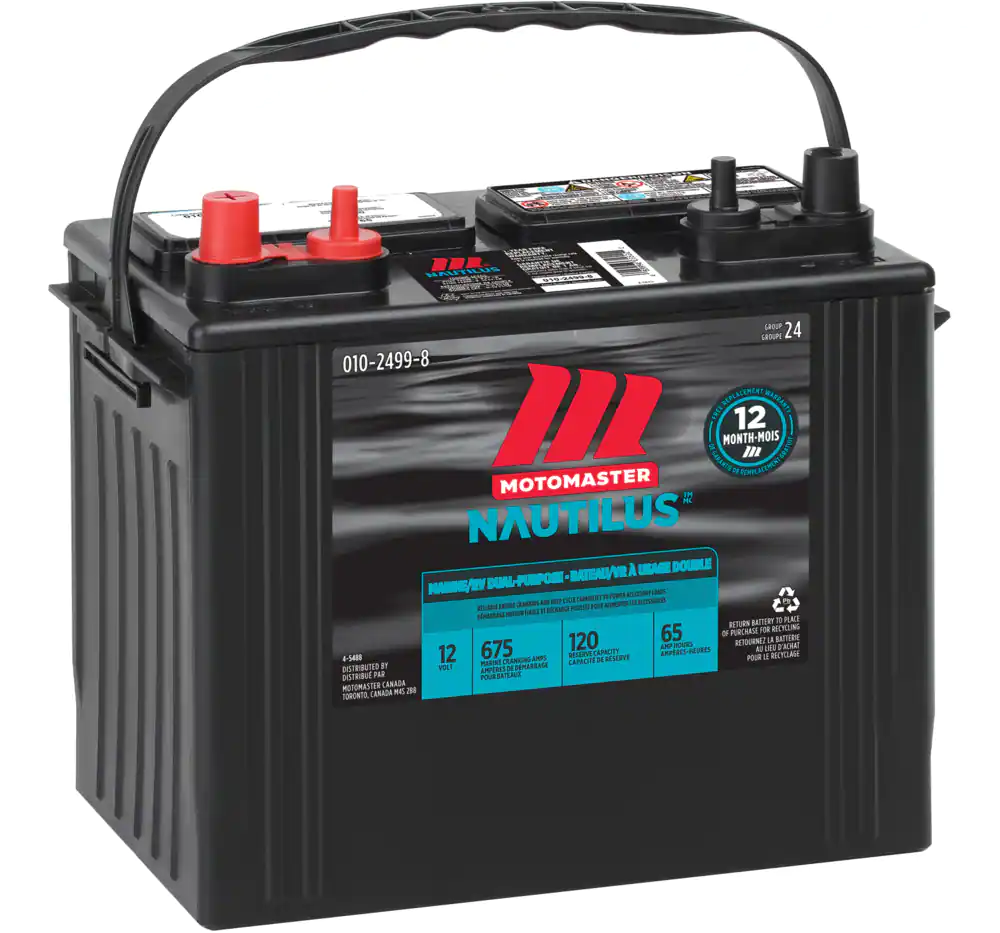 MOTOMASTER NAUTILUS Dual Purpose Battery | $154.99
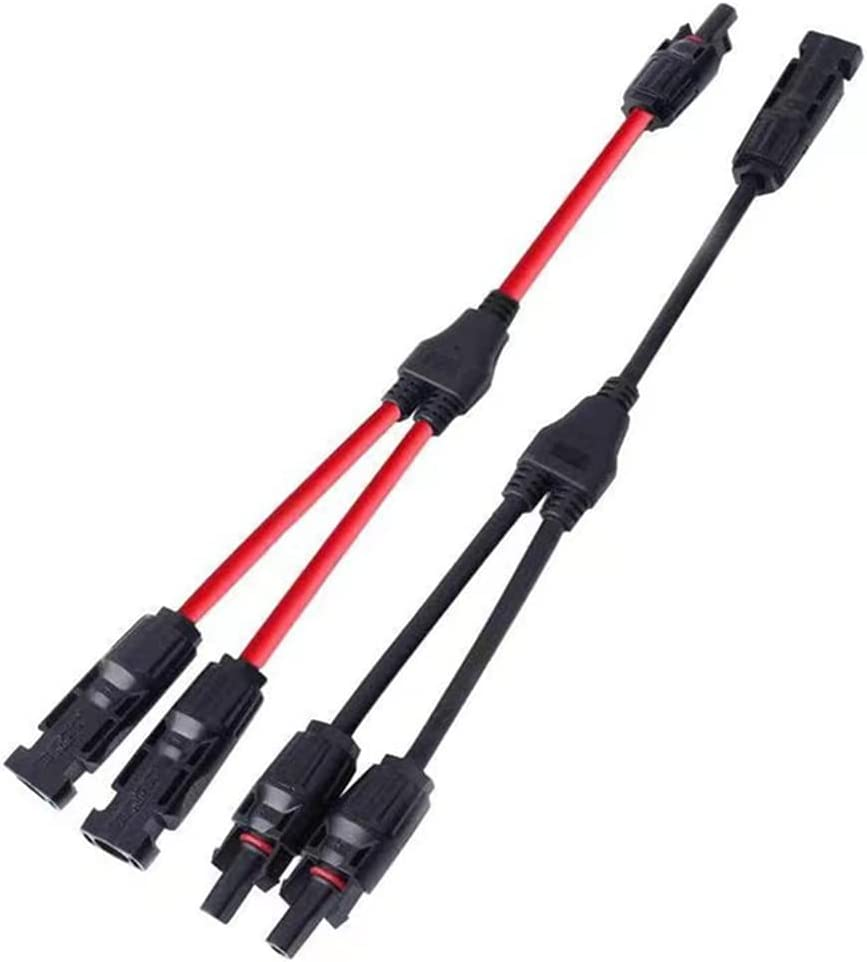 Solar Connectors Y Branch Parallel Adapter Cable | $16.5015M LED, Waterproof Lights with Solar Panel | $28.55
Issues: The first problem we found was that the power cable we were using to output the electricity came from a 12 volt car cigarette lighter plug. To fix the problem, we spent an additional $40 for a converter from Canadian Tire that transforms the 12-volt car cigarette lighter socket into a USB port and a three-prong wall outlet. Our original battery was out of stock, and by the time more were delivered, it would have been too late. This was the second problem we encountered. Sadly, the only one we could locate that would work for us would cost $35 extra. The third problem we encountered was that the controller's wiring weren't compatible with the solar panel's connections. Although Amazon was not recommended we found an adaptor available for $16.50. Our most recent issue was that we were $86 over budget.
Adjustments: We got rid of one set of lights to fix the problem, bringing our total down to $654.27. The teachers agreed that what we had was necessary even though we were still $54.27 over budget. The price was accepted.
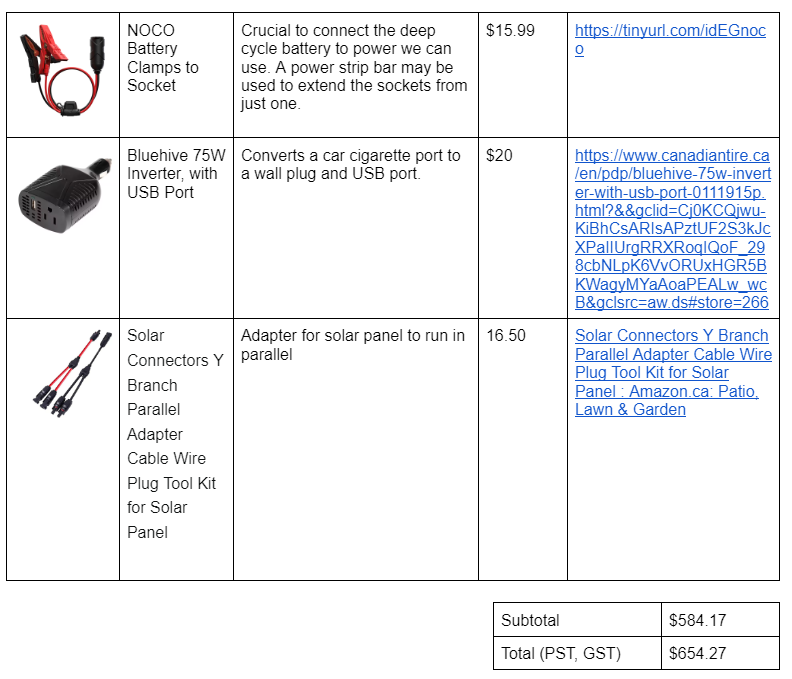
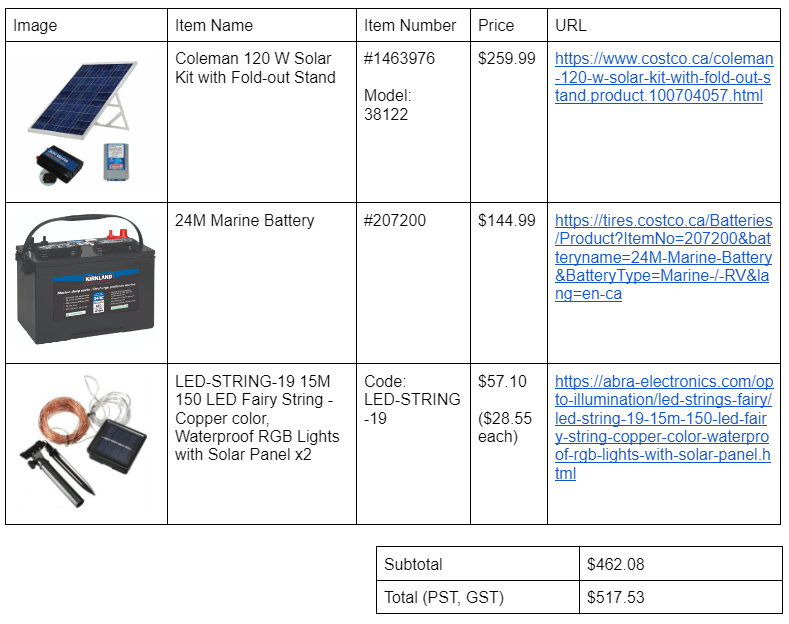
 Coleman 120 W Solar Kit with Fold-out Stand | $259.99
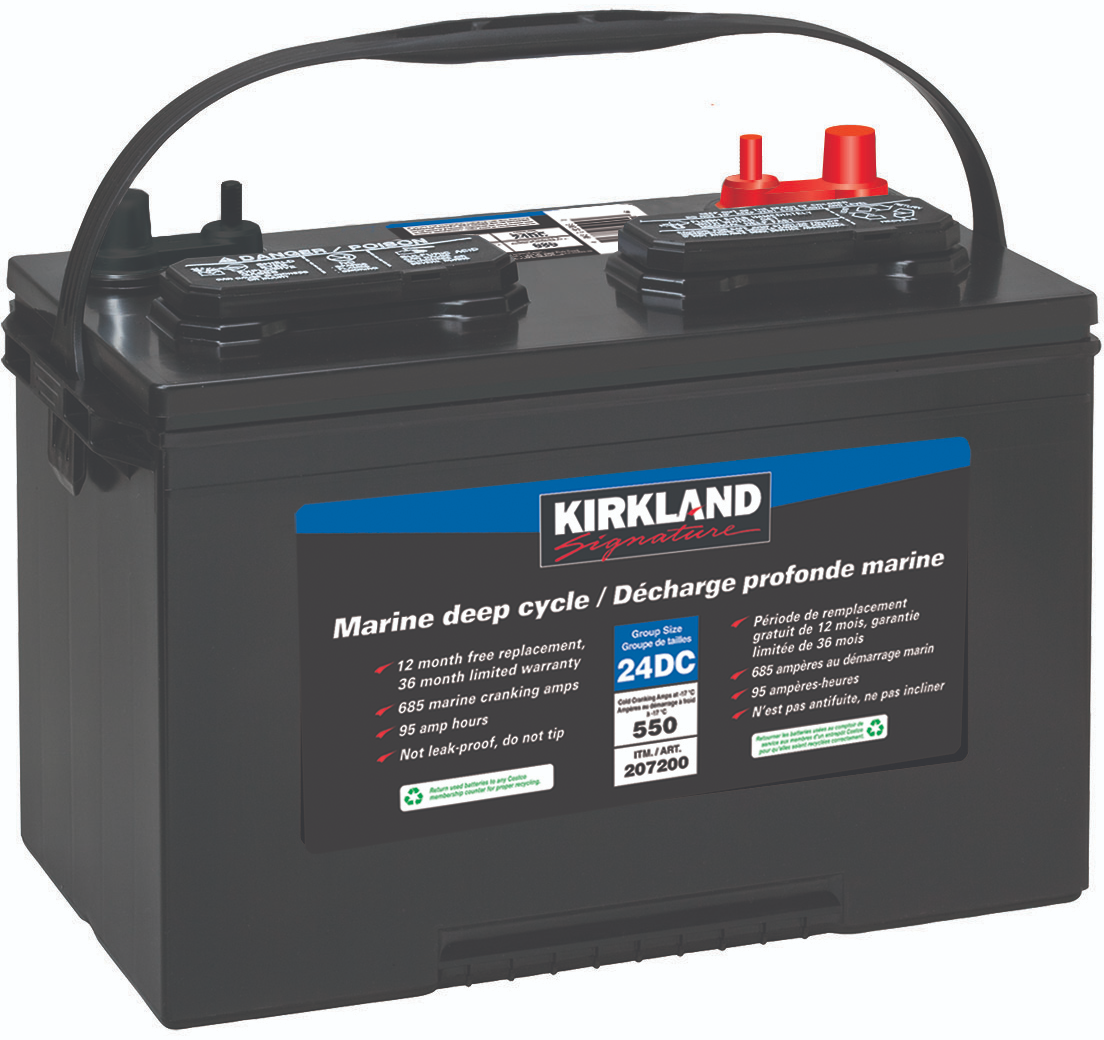 Kirkland 24M Marine Battery | $144.9915M LED, Waterproof Lights with Solar Panel x2 | $57.10
As we were over our budget by quite a bit, we looked at another plan. Supplies from local store, like Costco, as our options. Similar to our first plan, this one only consists of 3 different items, unlike the 7 separate items of our second plan. We now have 1 solar panel kit, instead of 2 individual panels. The kit also comes with a controller and an inverter. The remaining battery and string lights was under our budgets, and were able to get 2 string lights rather than just 1.
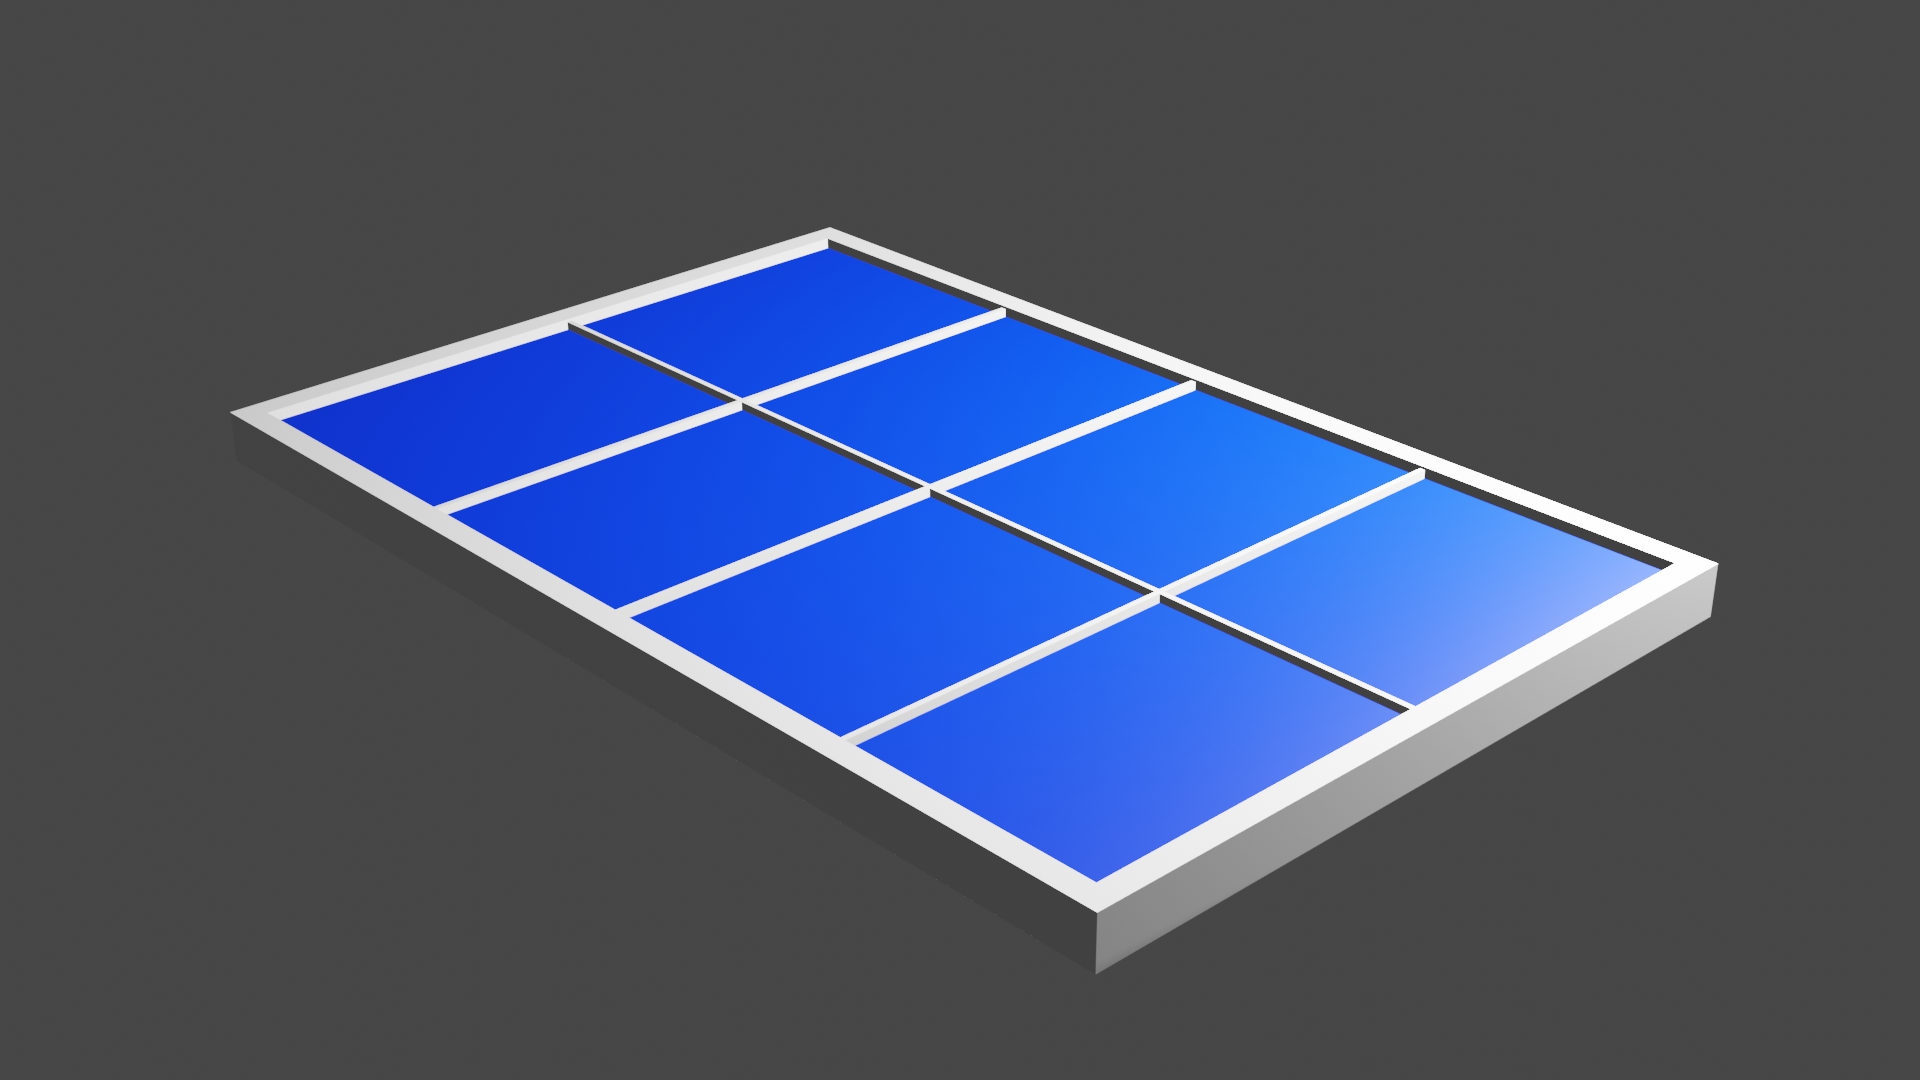 3D Render
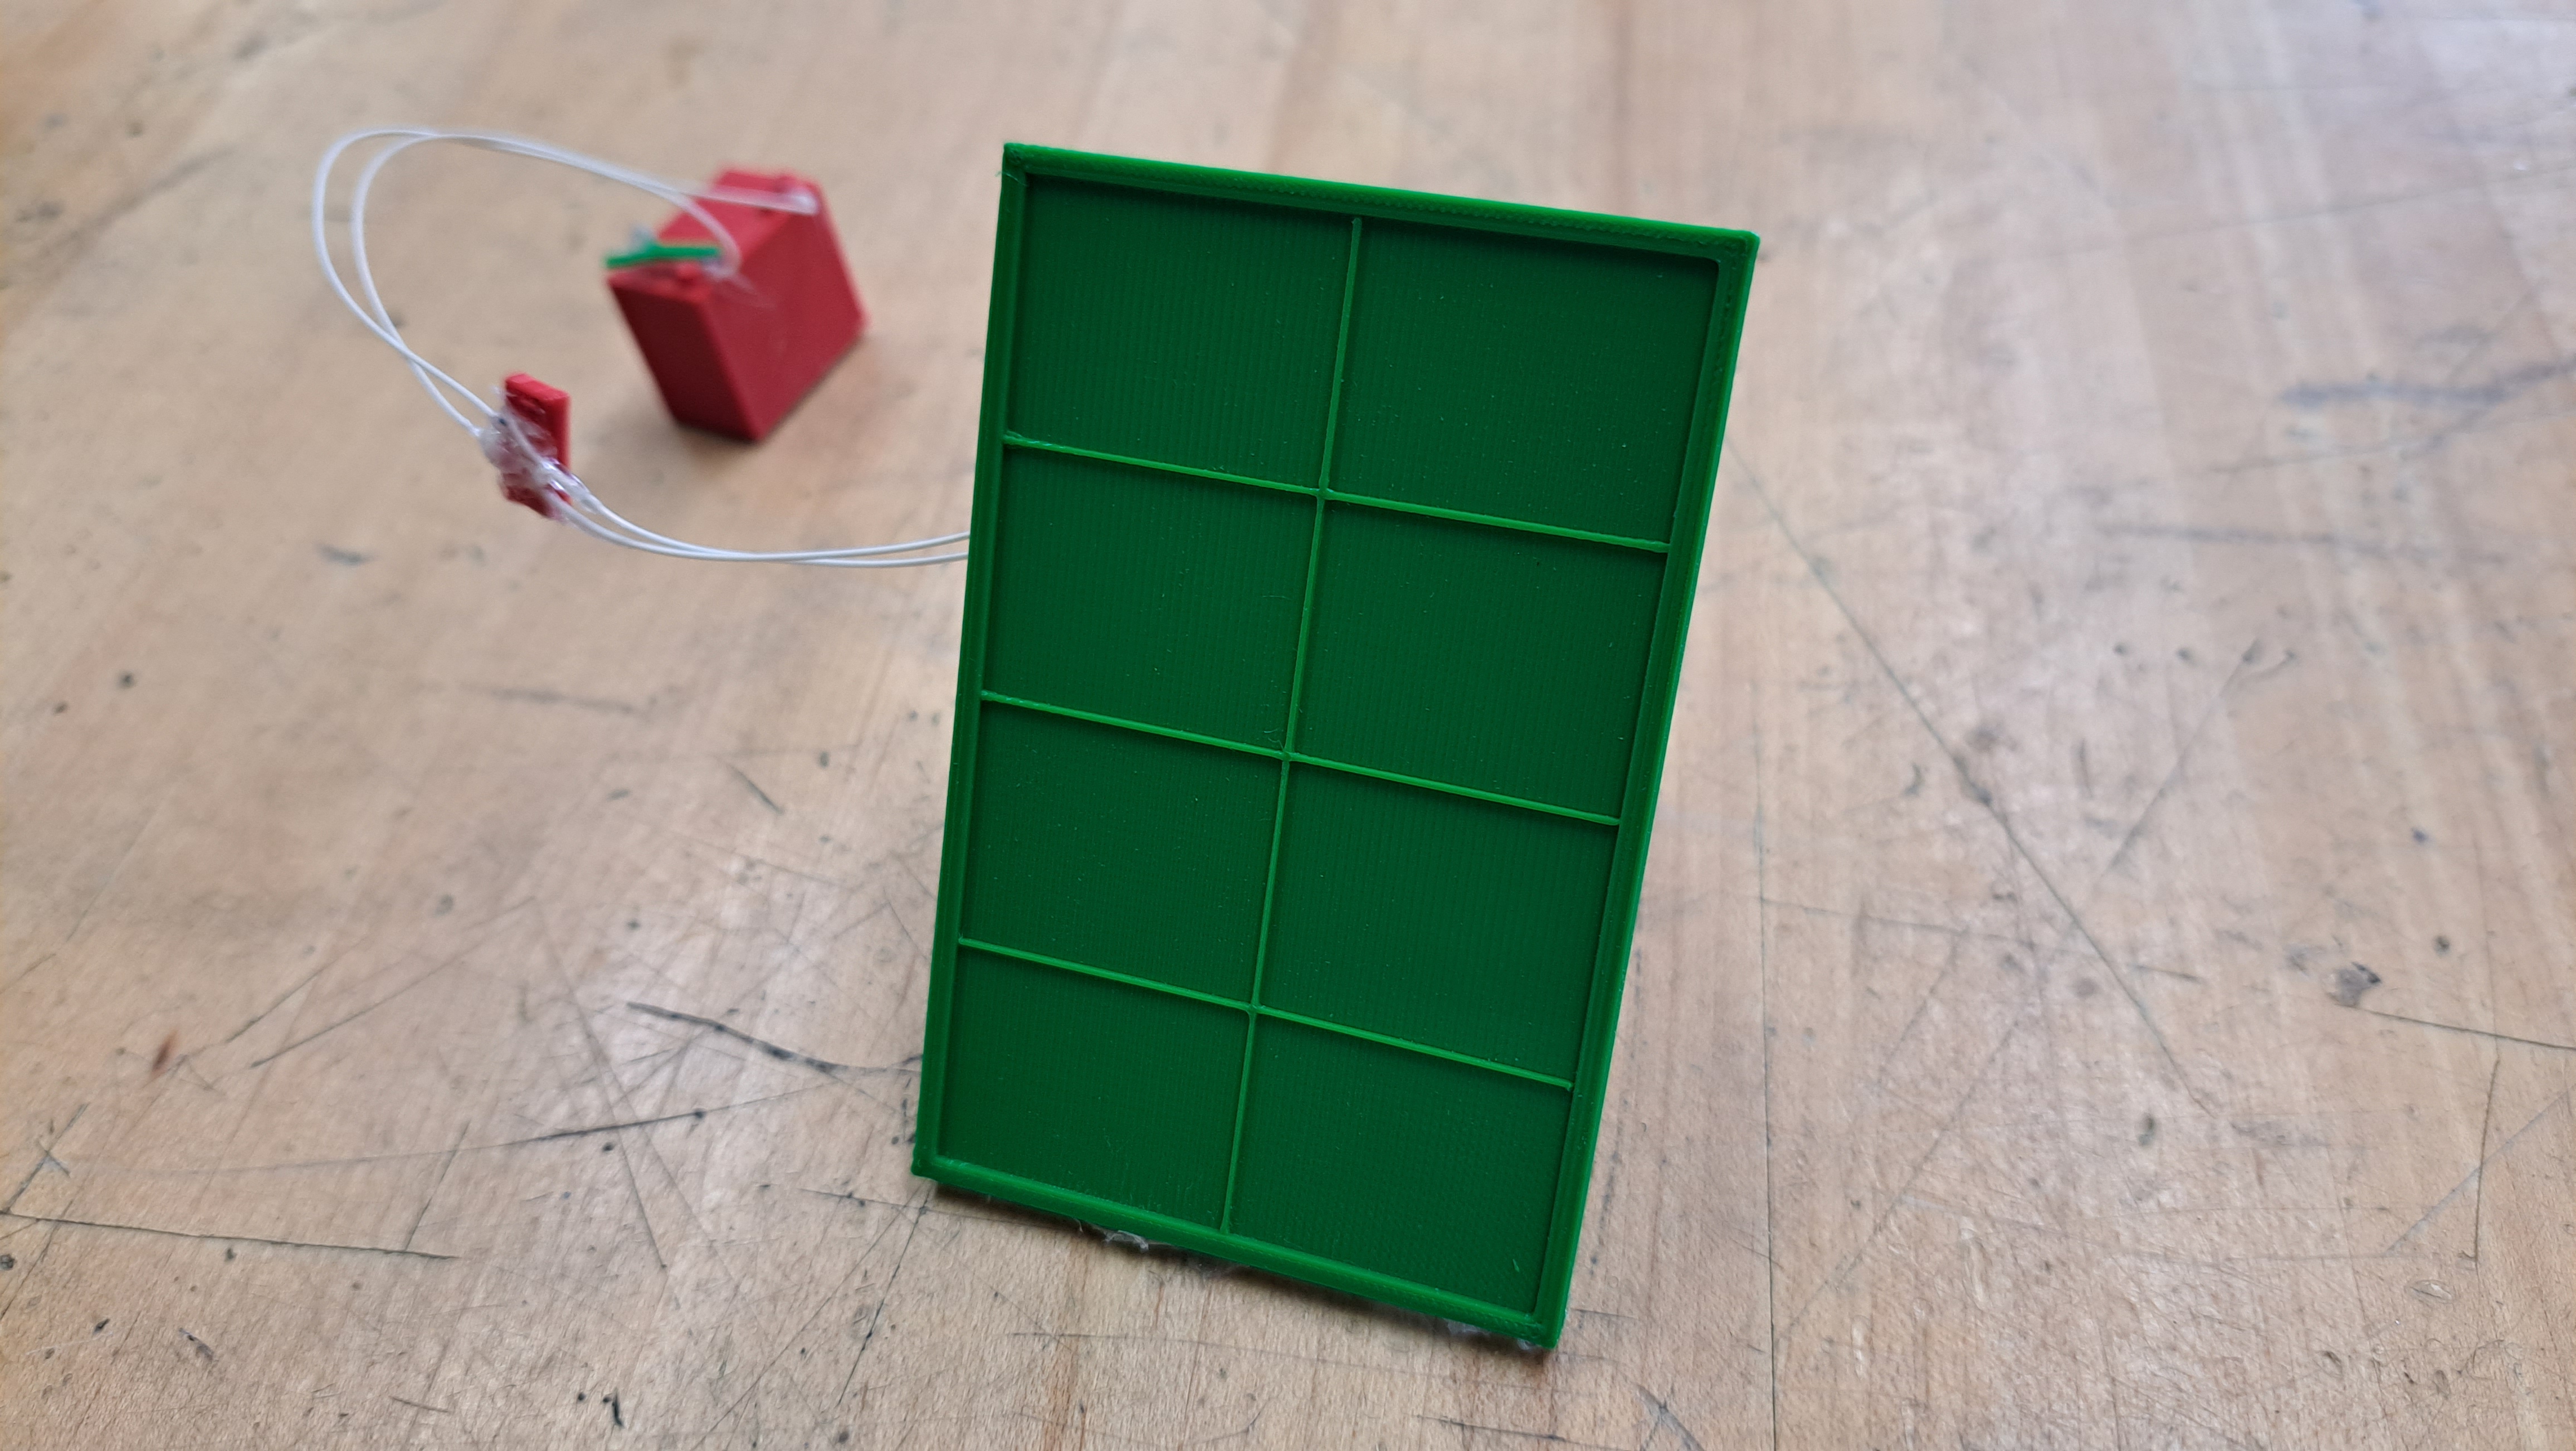 3D Printed Model
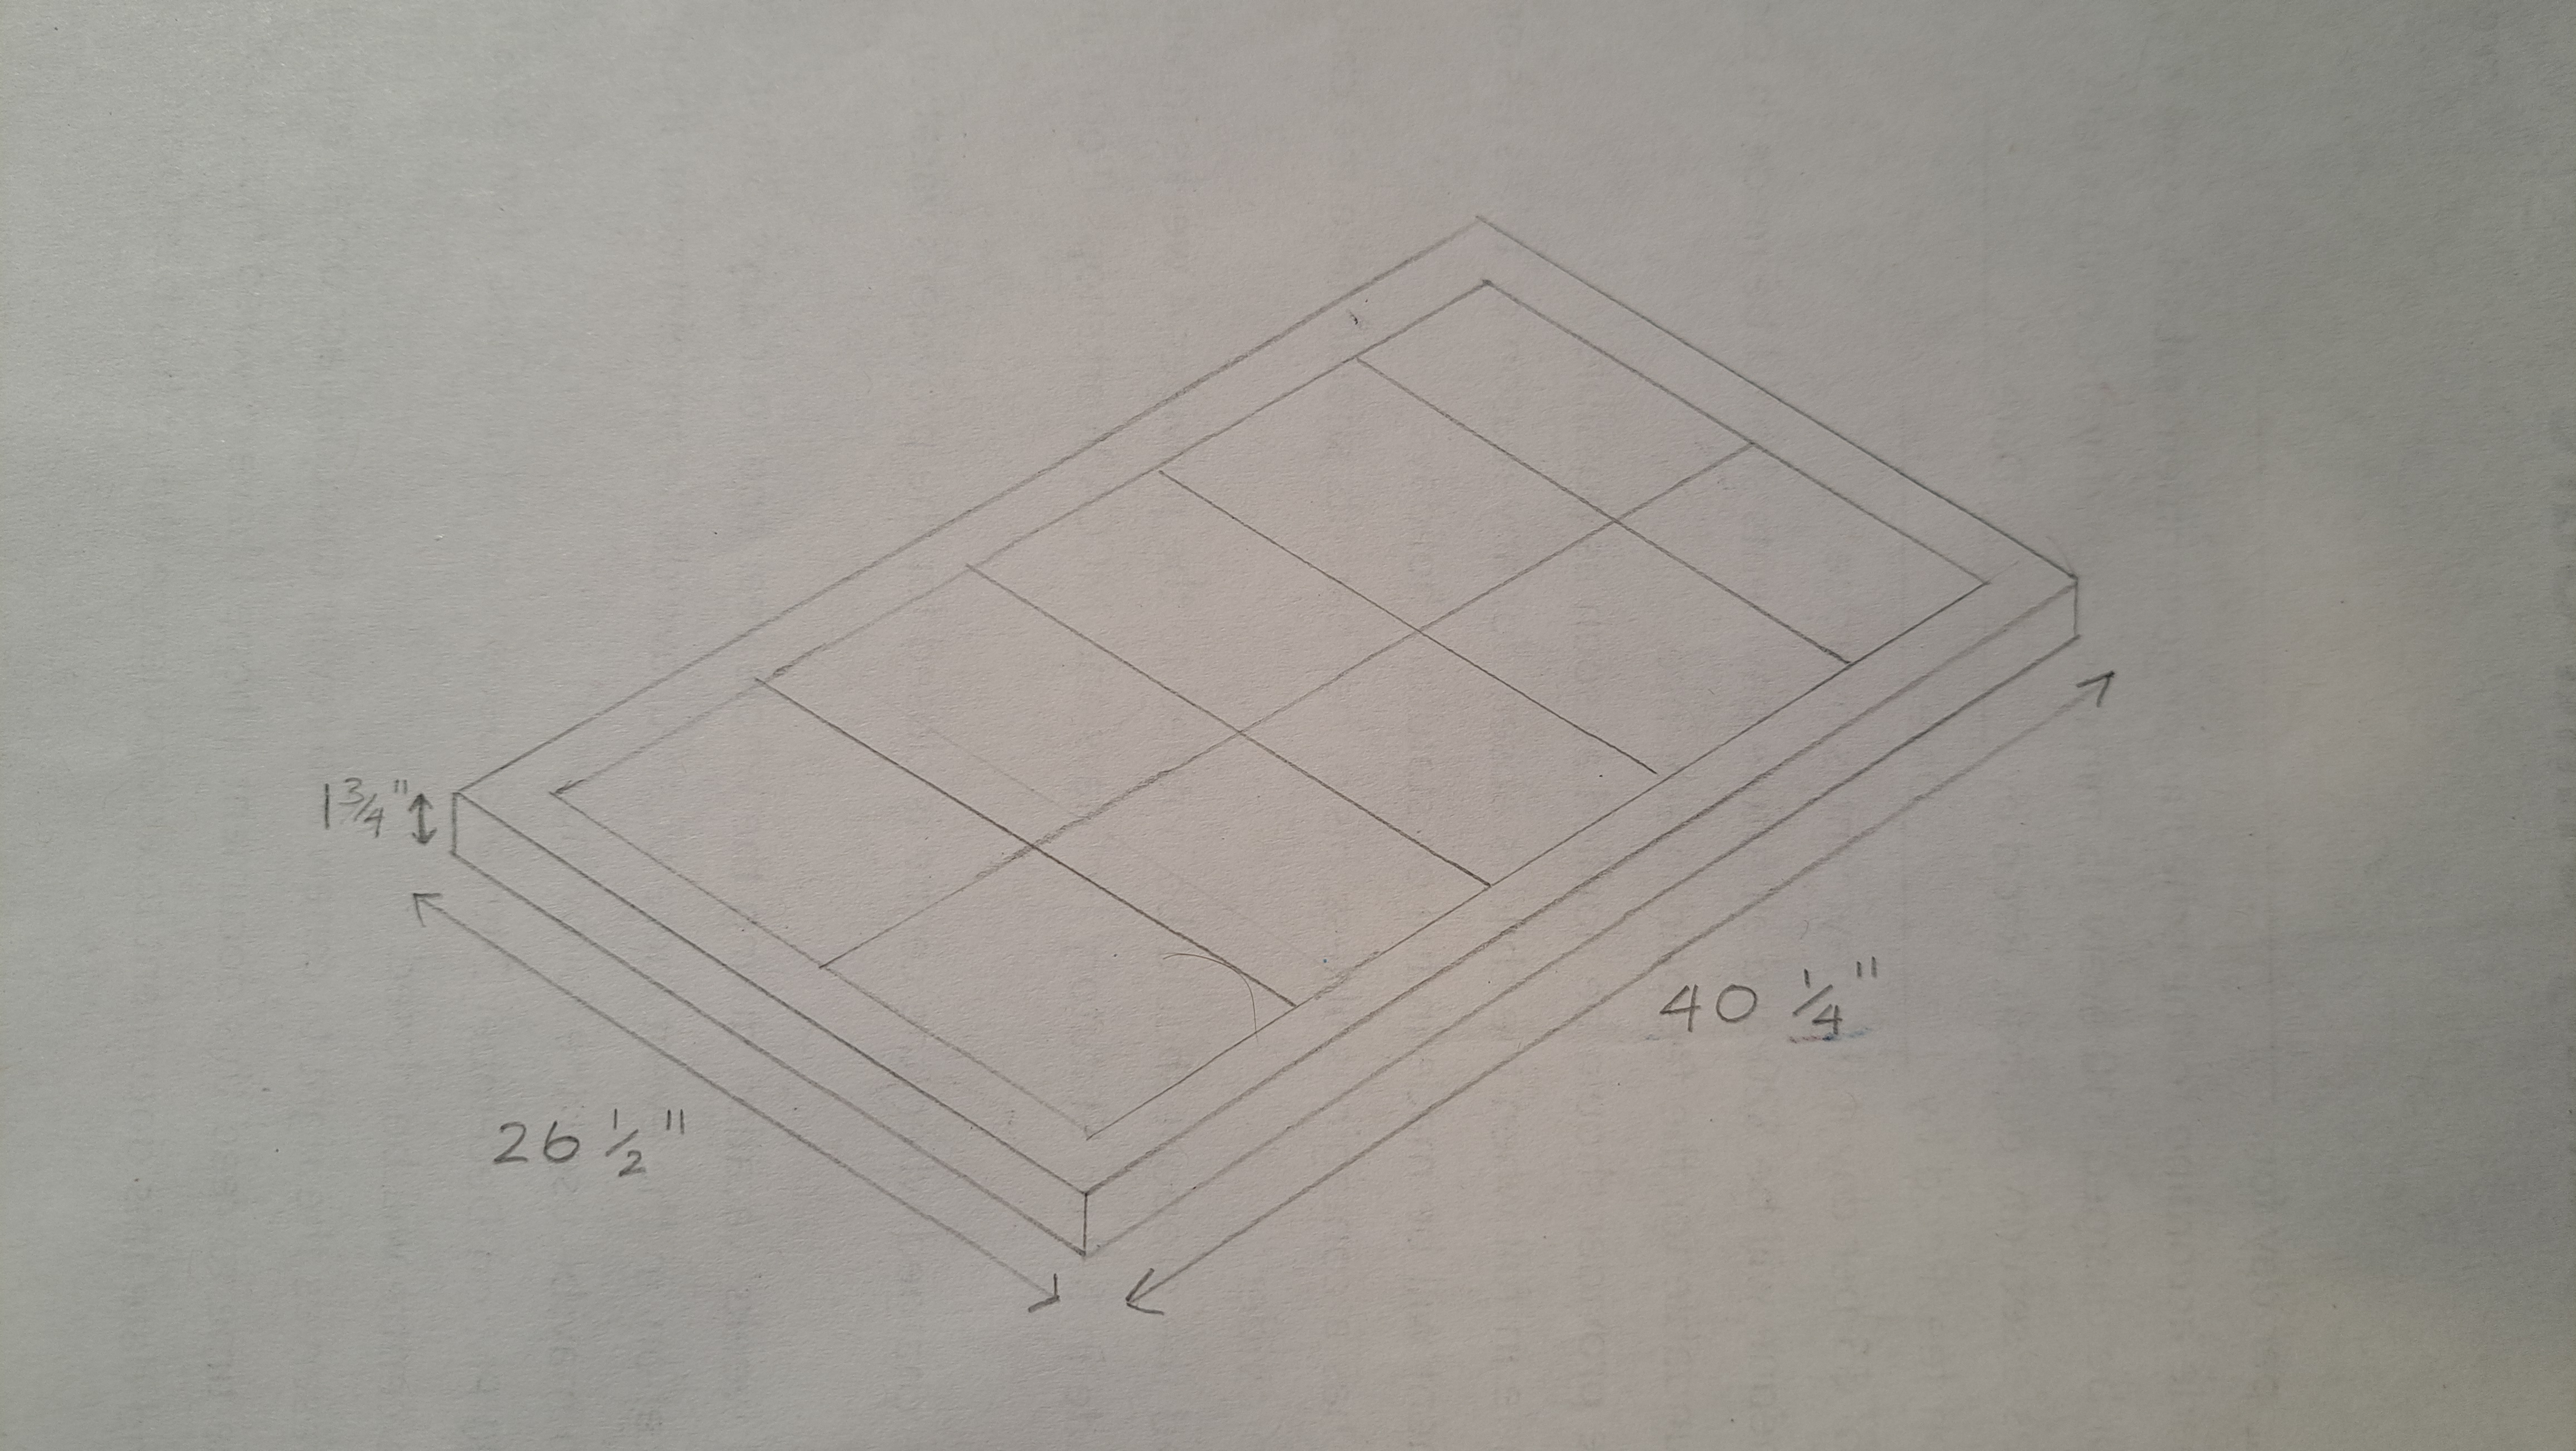 Model Sketch
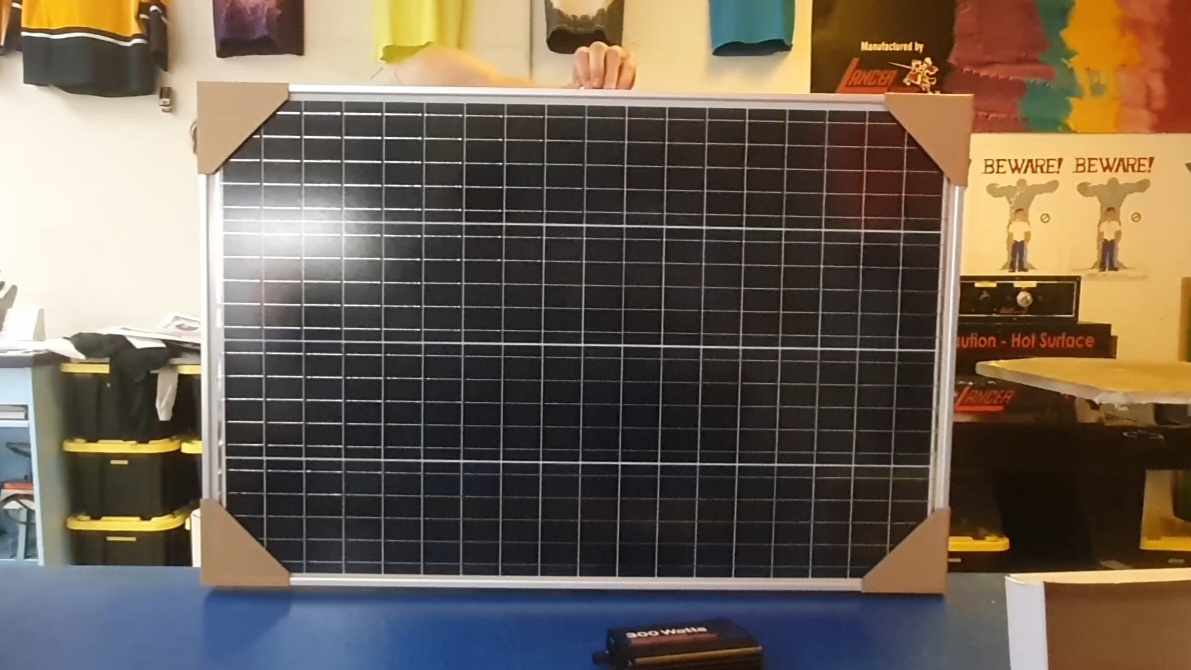 Product
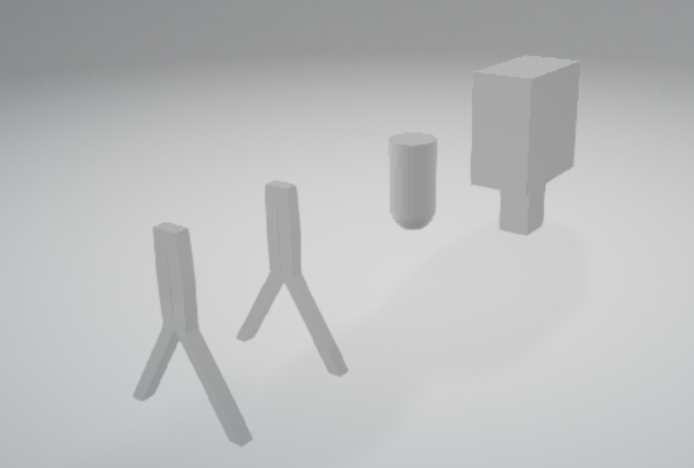 Battery Clips / OutputAvery Lindgren
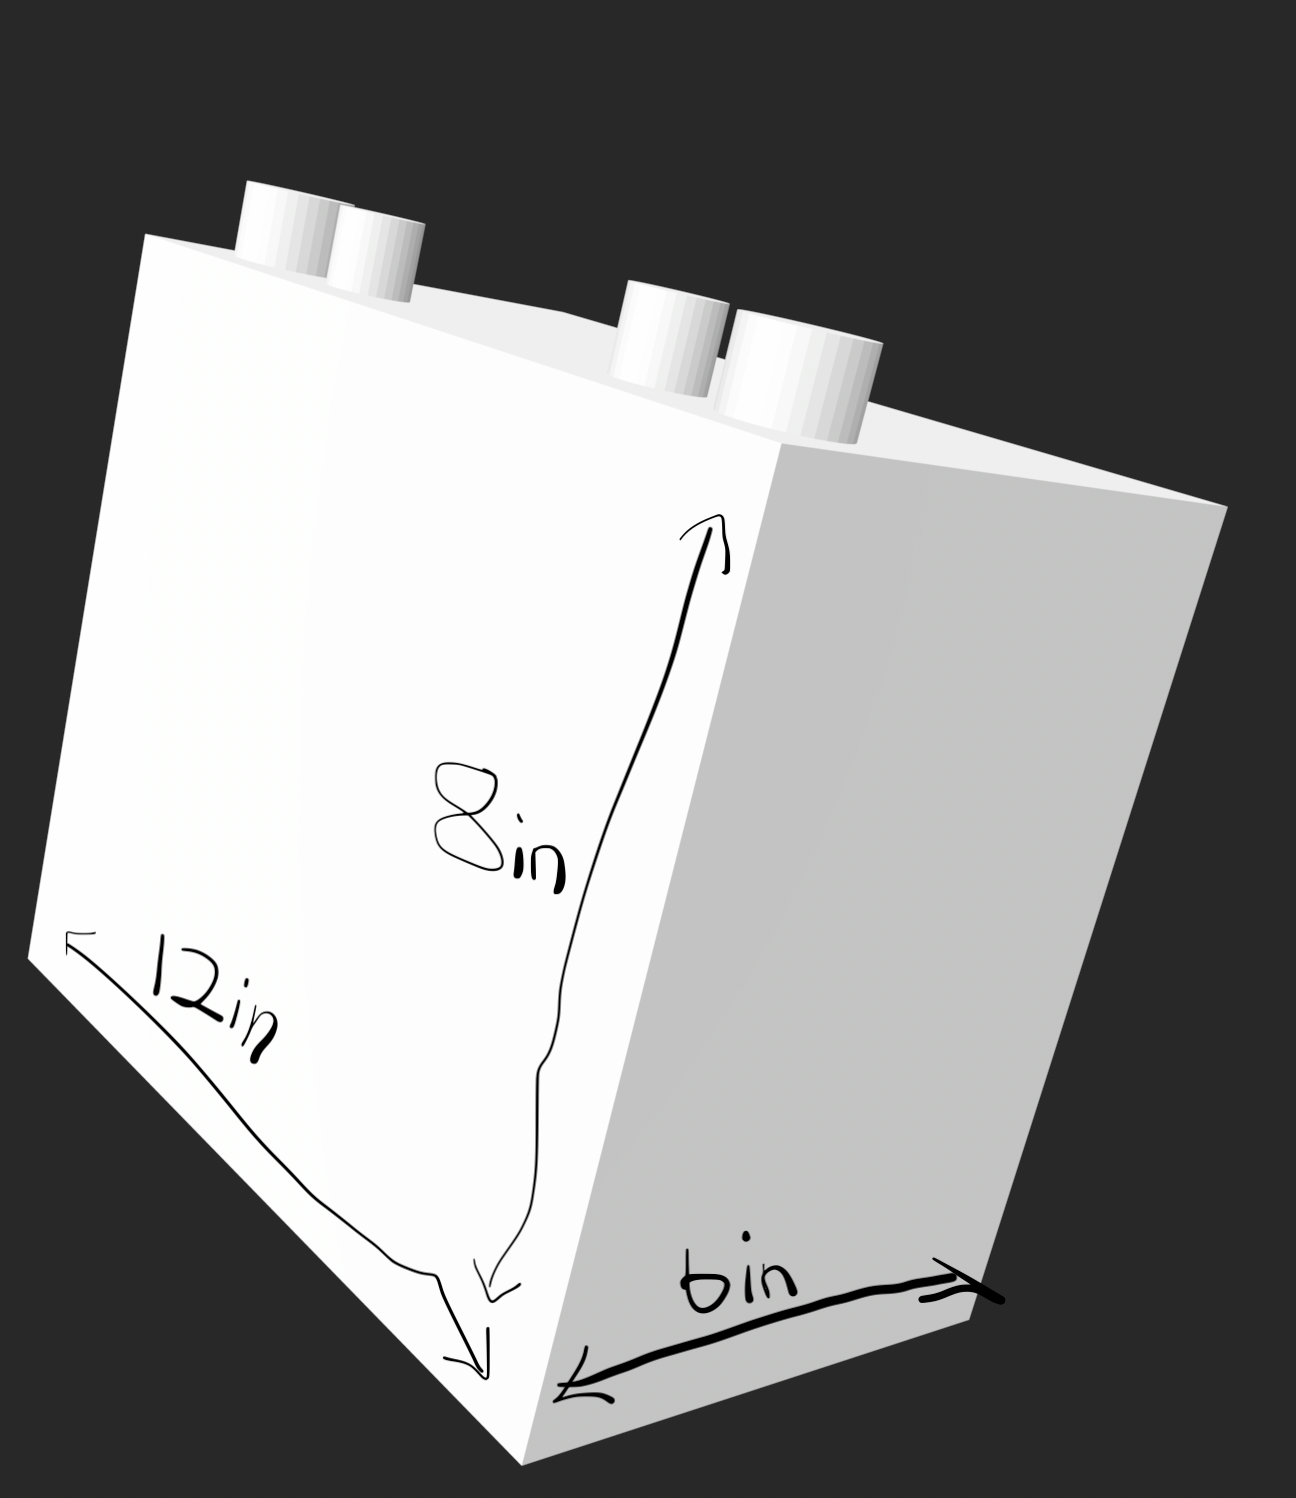 BatteryDavid Zetser
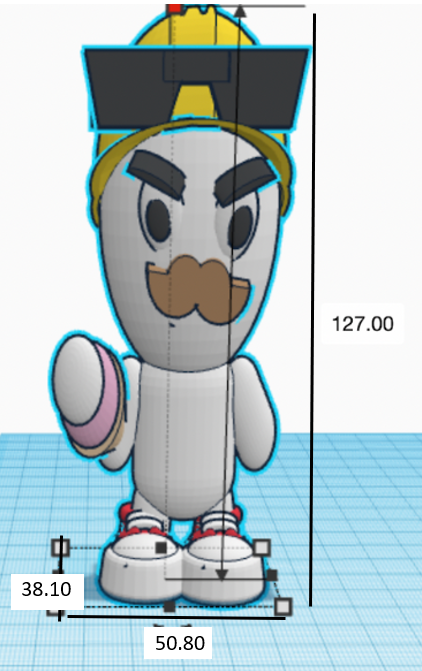 Scaling Refernece PersonDominic Beyak
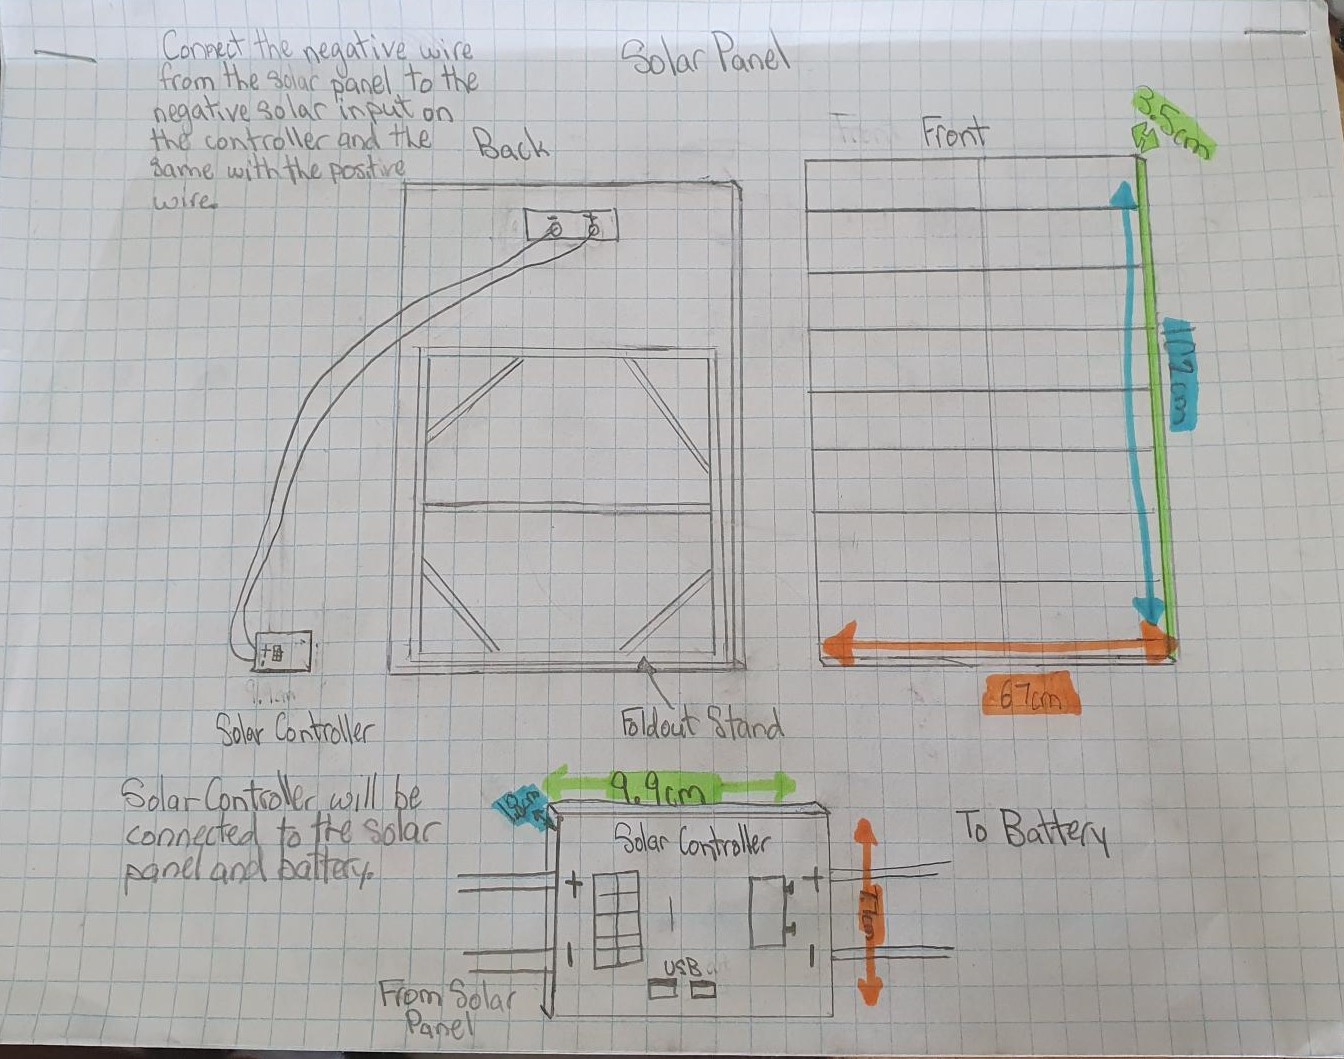
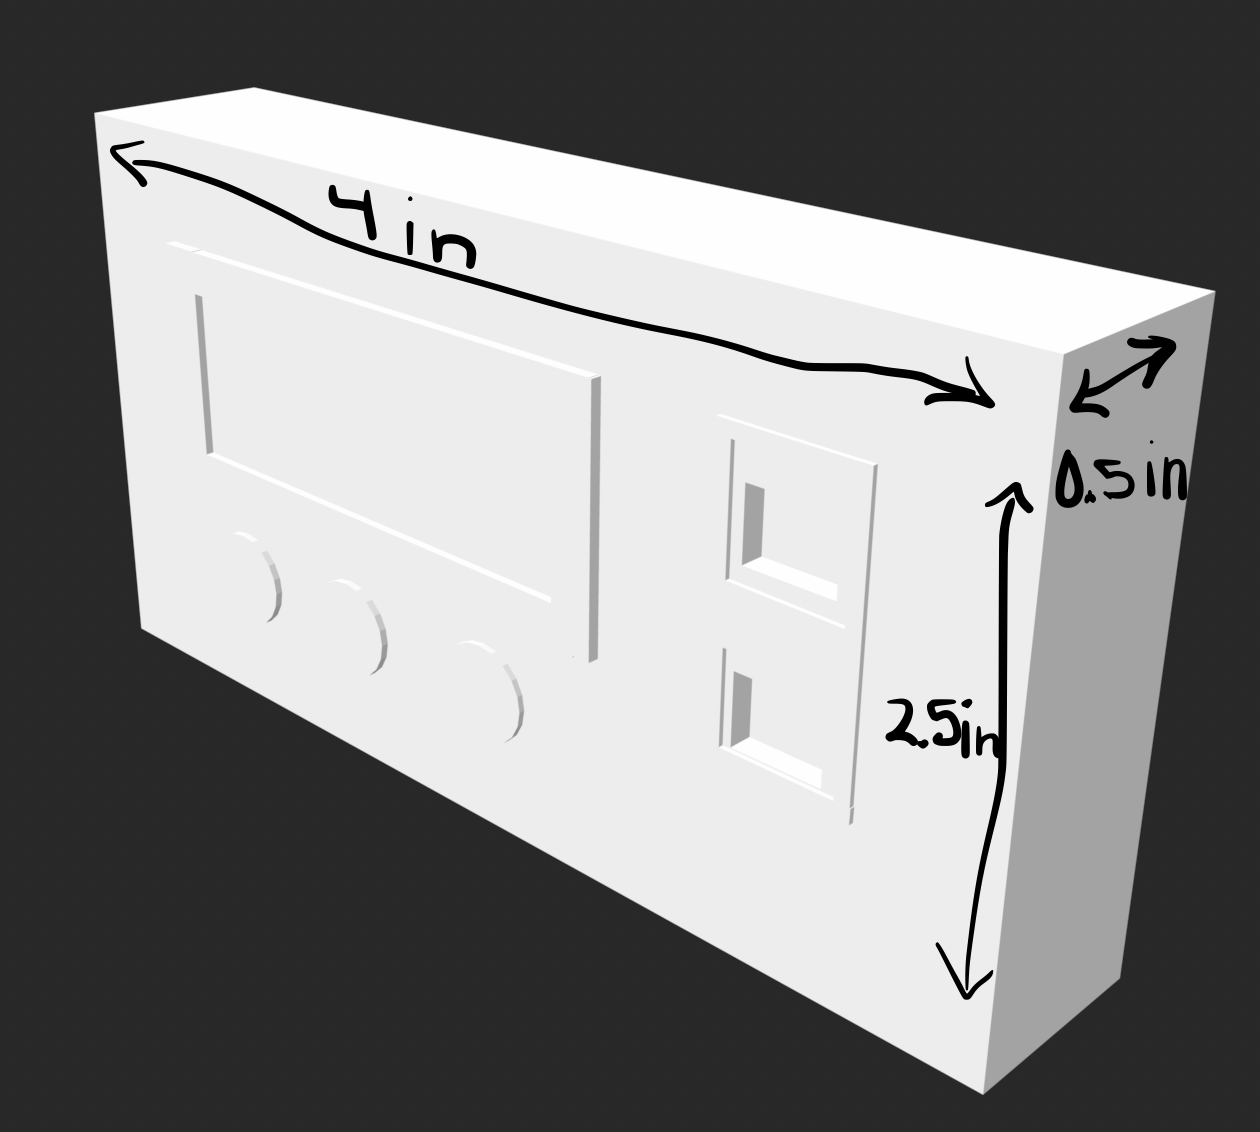 Solar ControllerPreston Chan
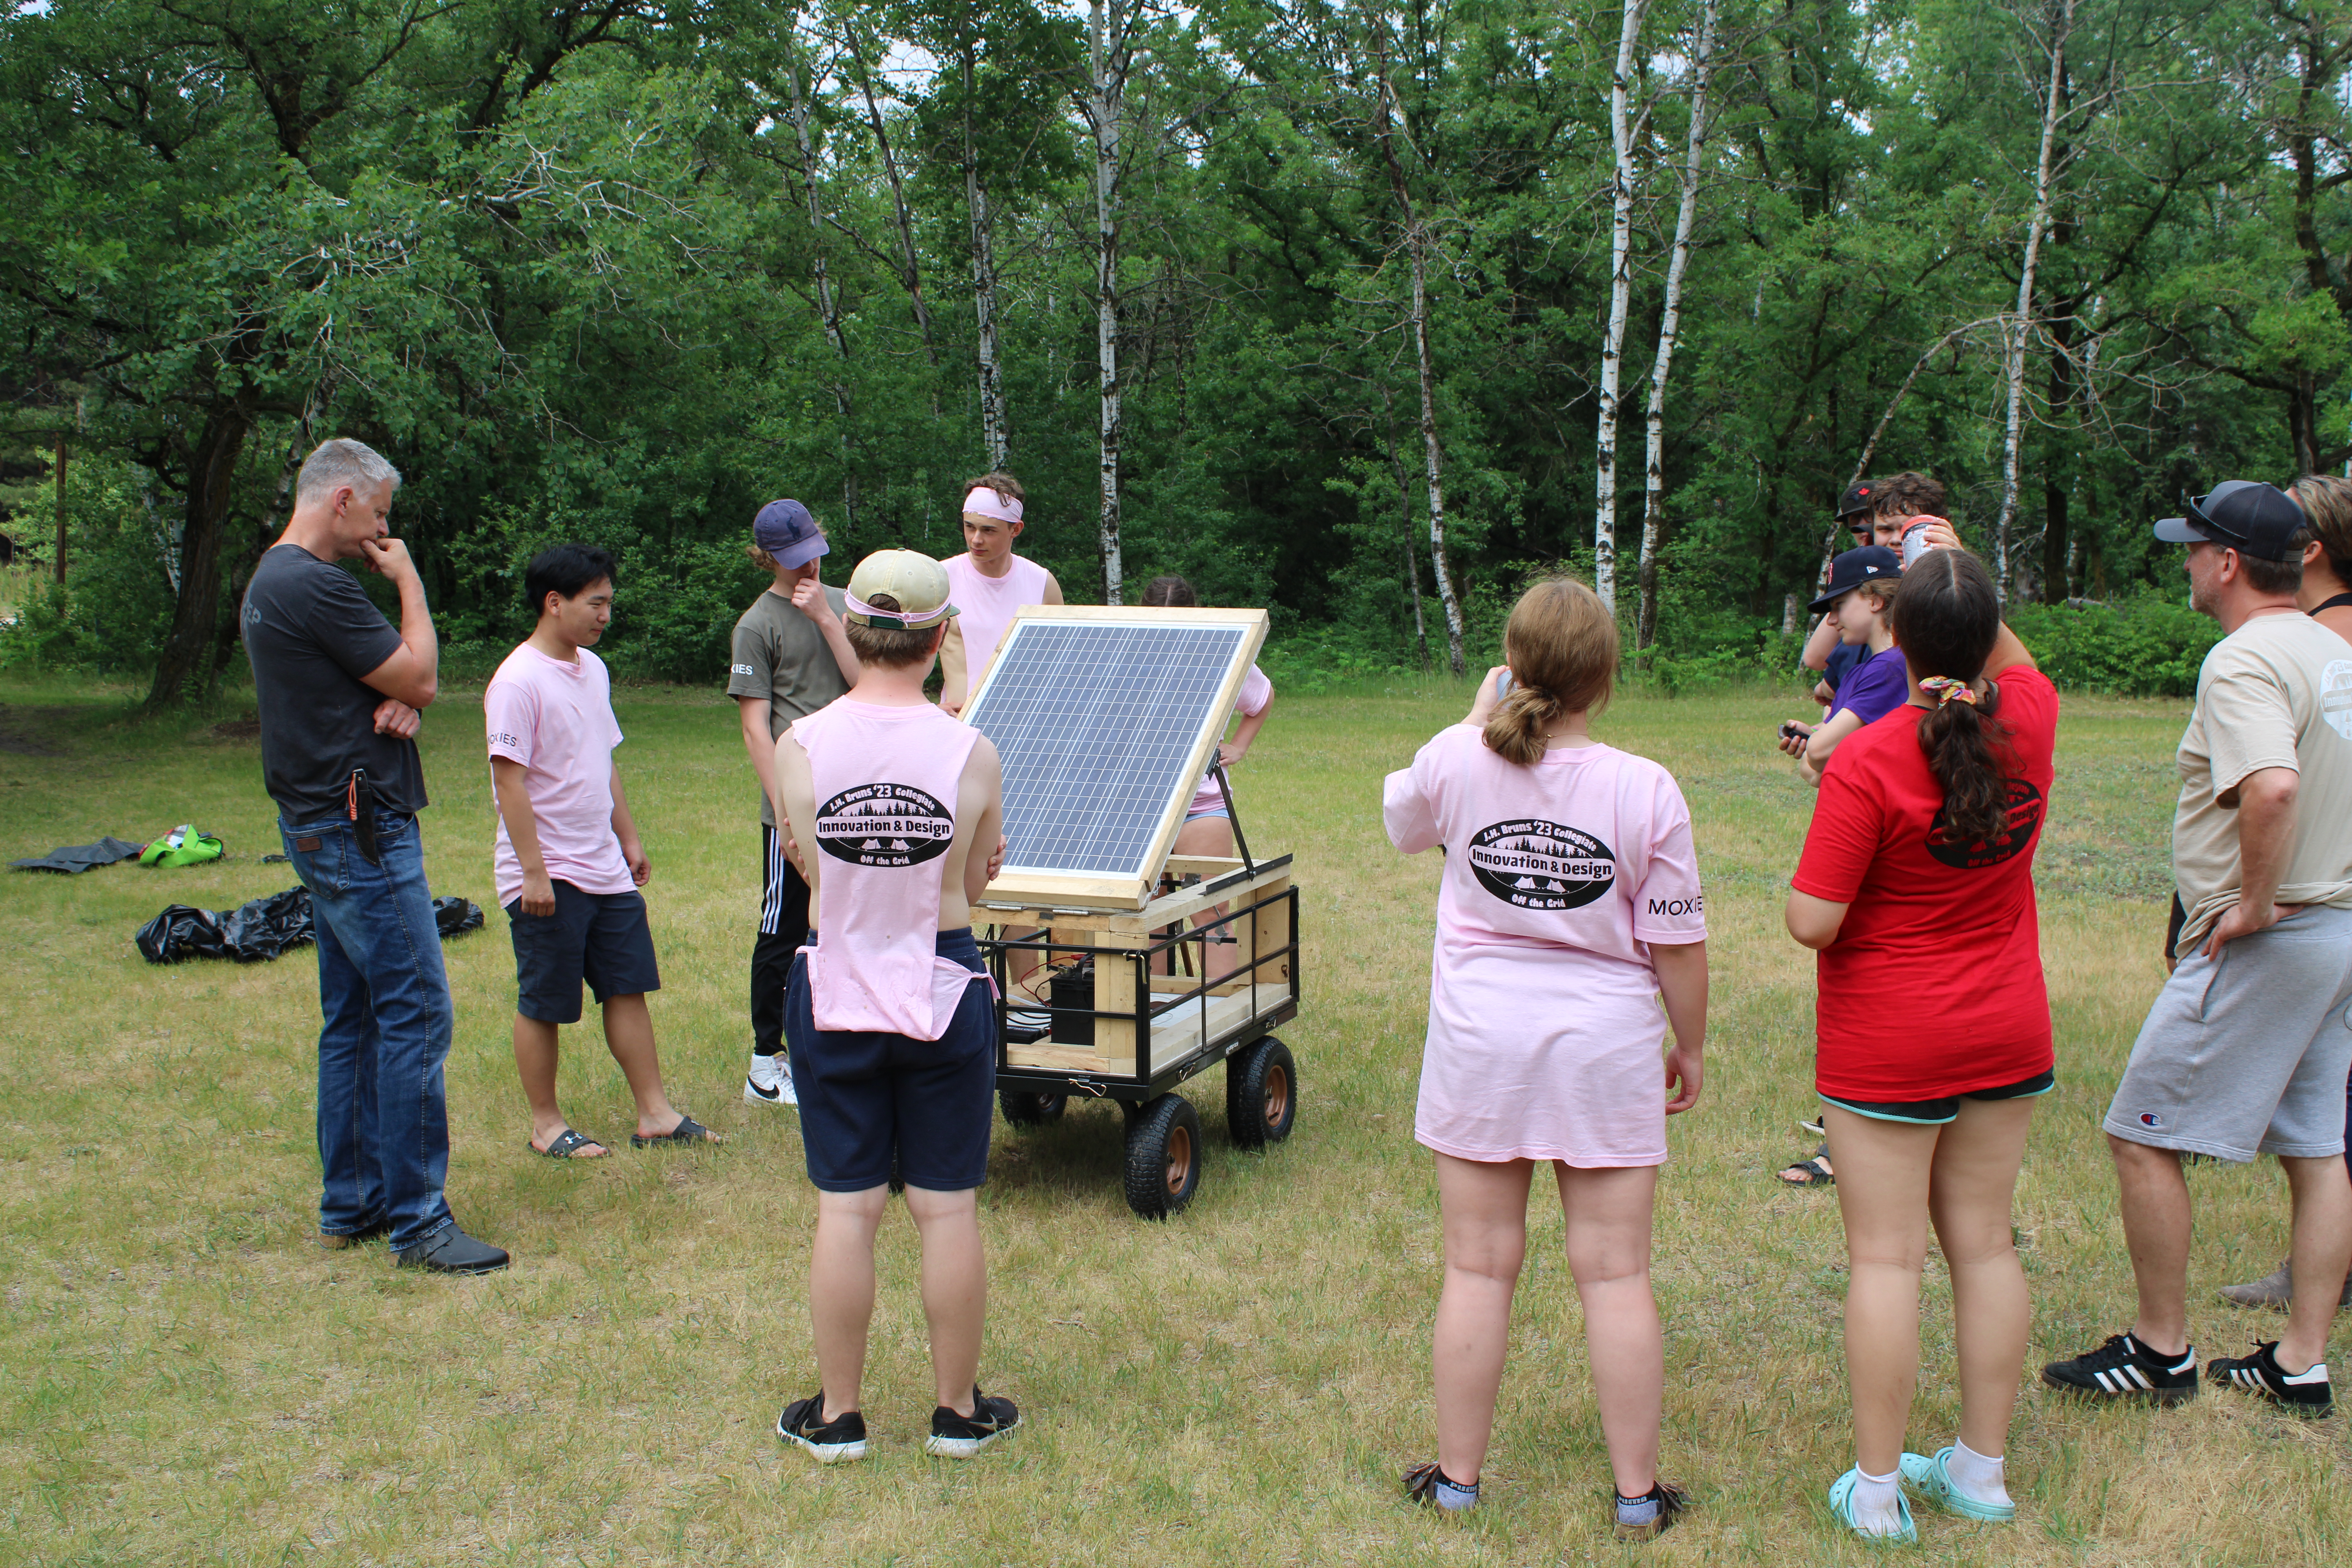
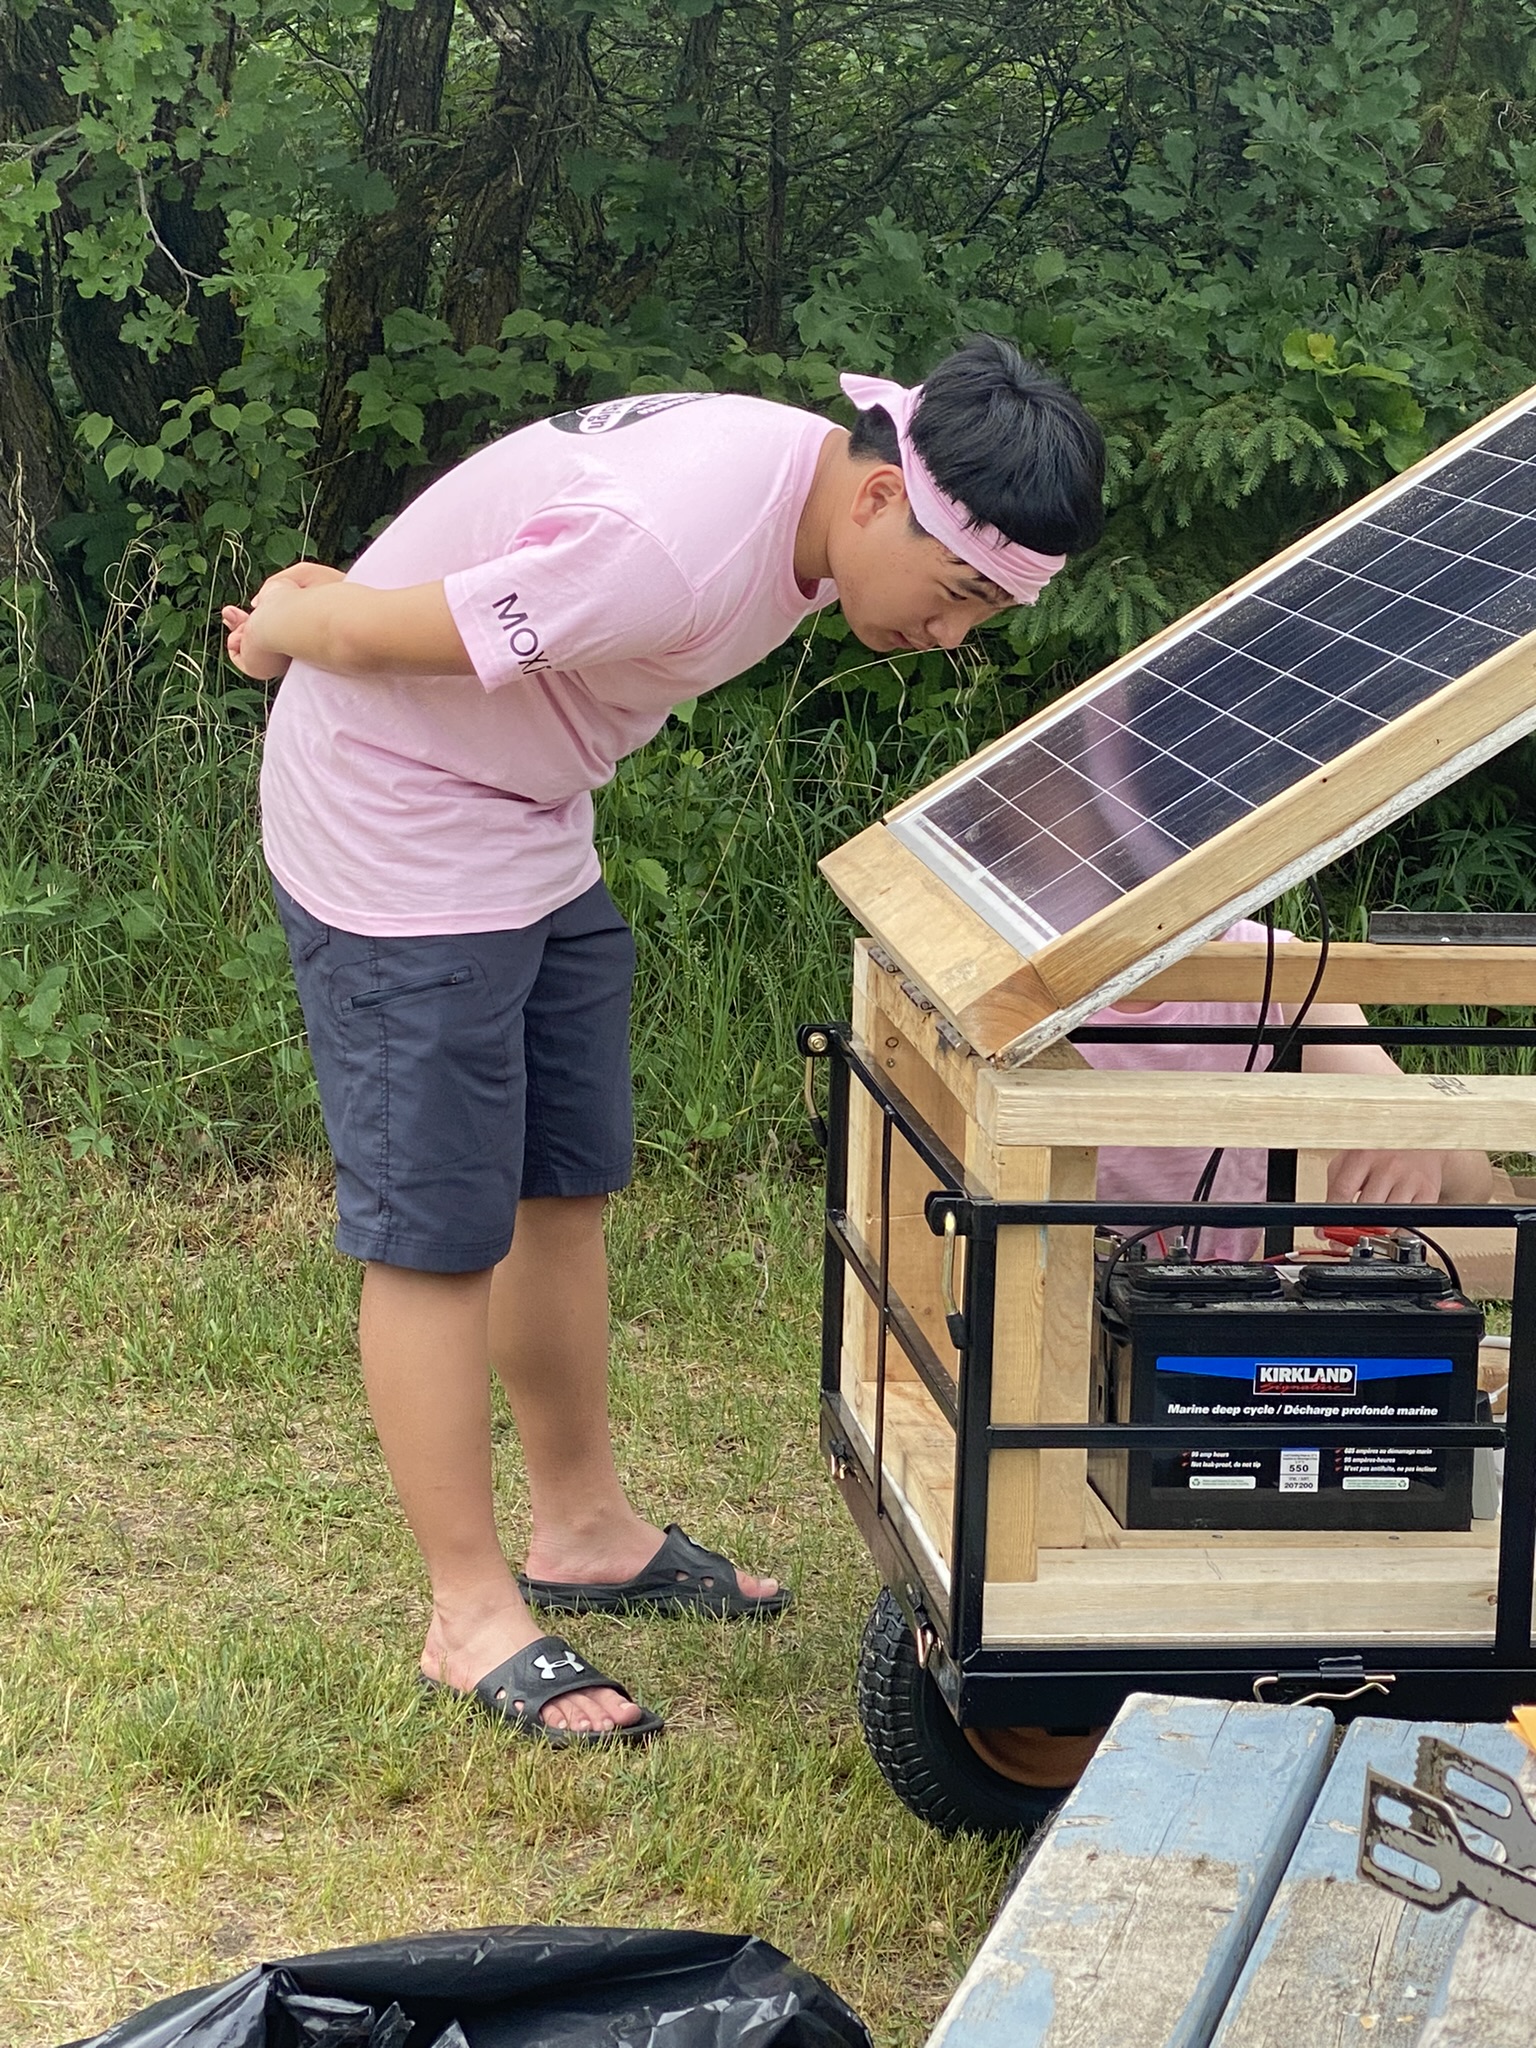
We opted to use solar power for generating electricity since there isn't any flowing water available for hydroelectricity, and there are too many trees restricting the use of wind turbines. Initially, we constructed a sturdy wooden base and a partial wall on the cart to provide support for the solar panel. However, we found the panel itself to be too flimsy, so we mounted it on a piece of plywood, carefully cutting out the excess weight from the inside. For transportation, we installed hinges, allowing us to fold the panel down when needed. Also, we made a compartment inside the cart, underneath the panel, to carry a battery, controller, inverter, and to organize the various wires and cables. Looking back on the project, if given another opportunity, I would use a more stable system, for example using grooves for the hinge arms for faster setup and takedown.
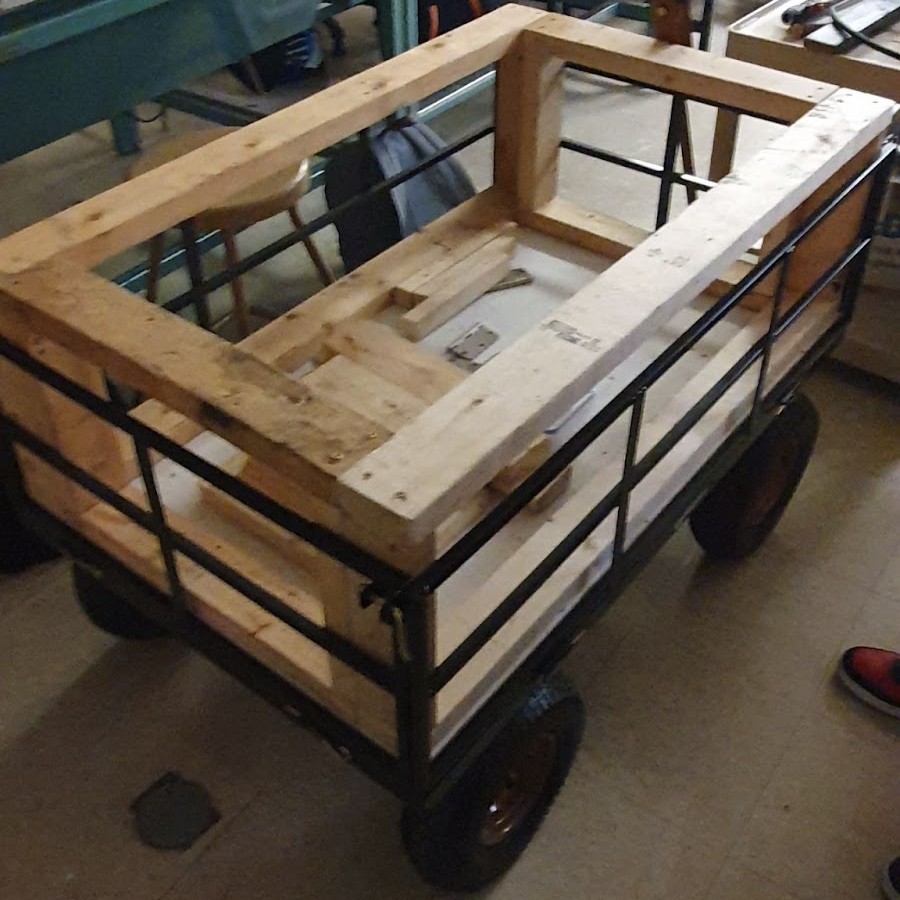 Frame Only
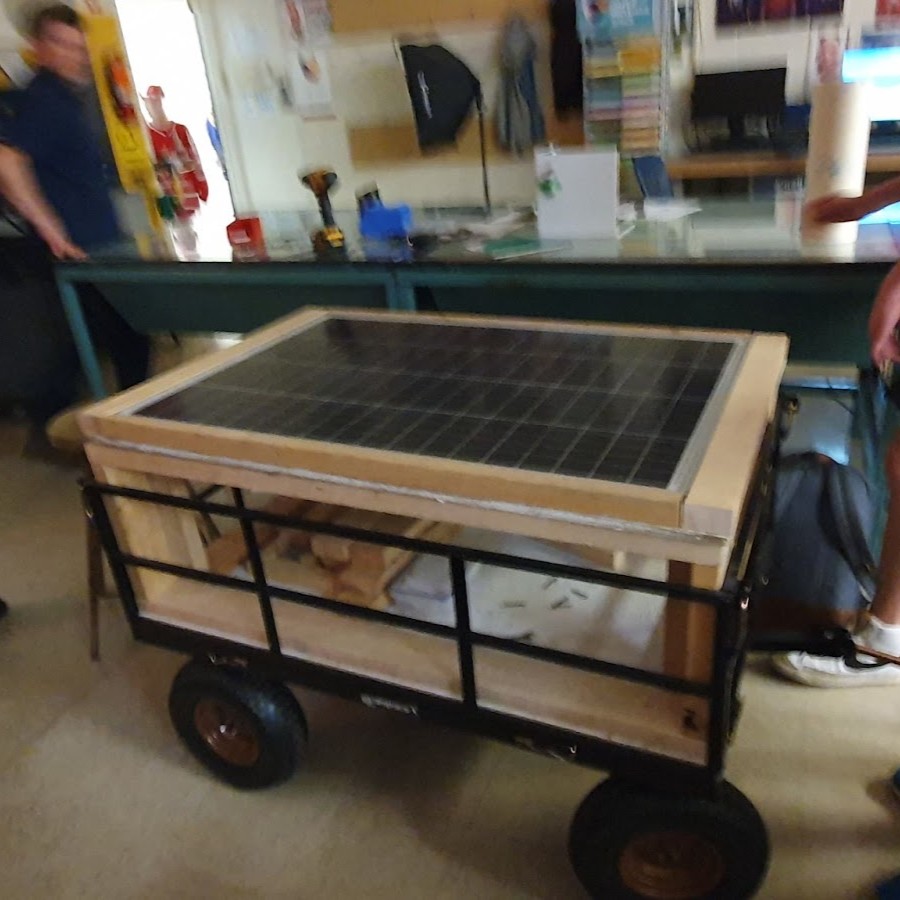 Frame with Panel
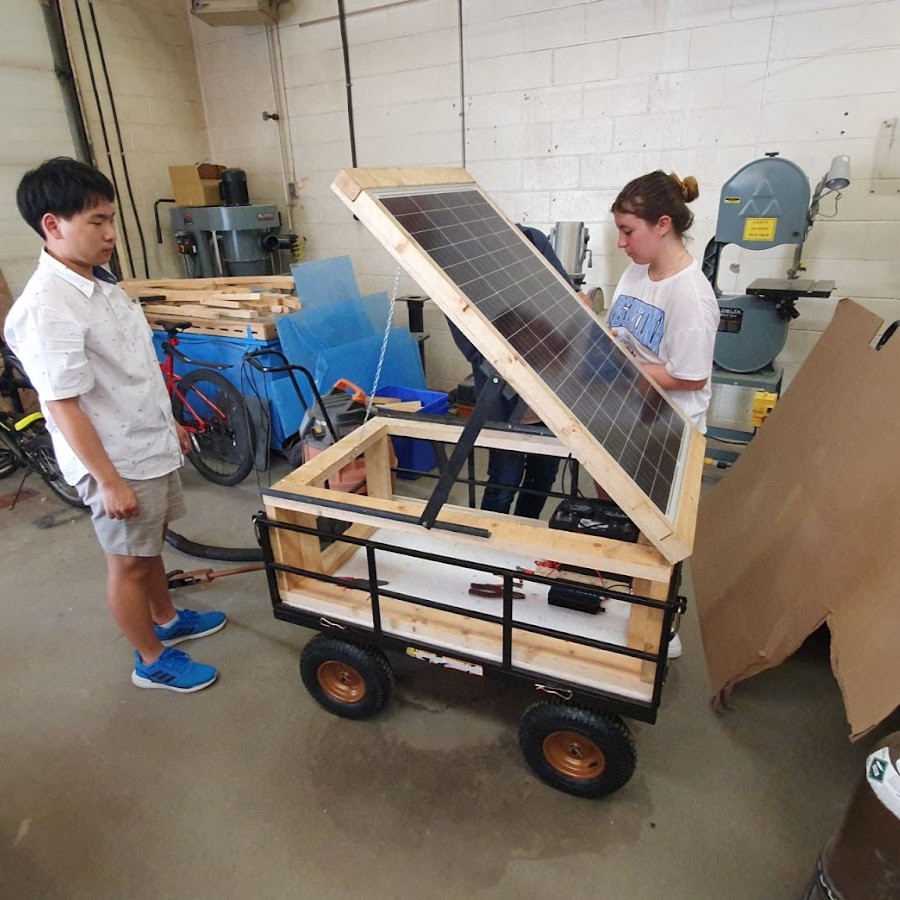 Panel Hinge Attachment
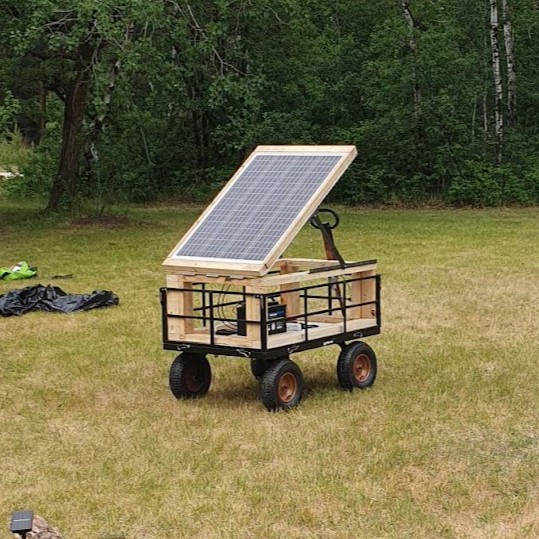 Panel In-Action Testing
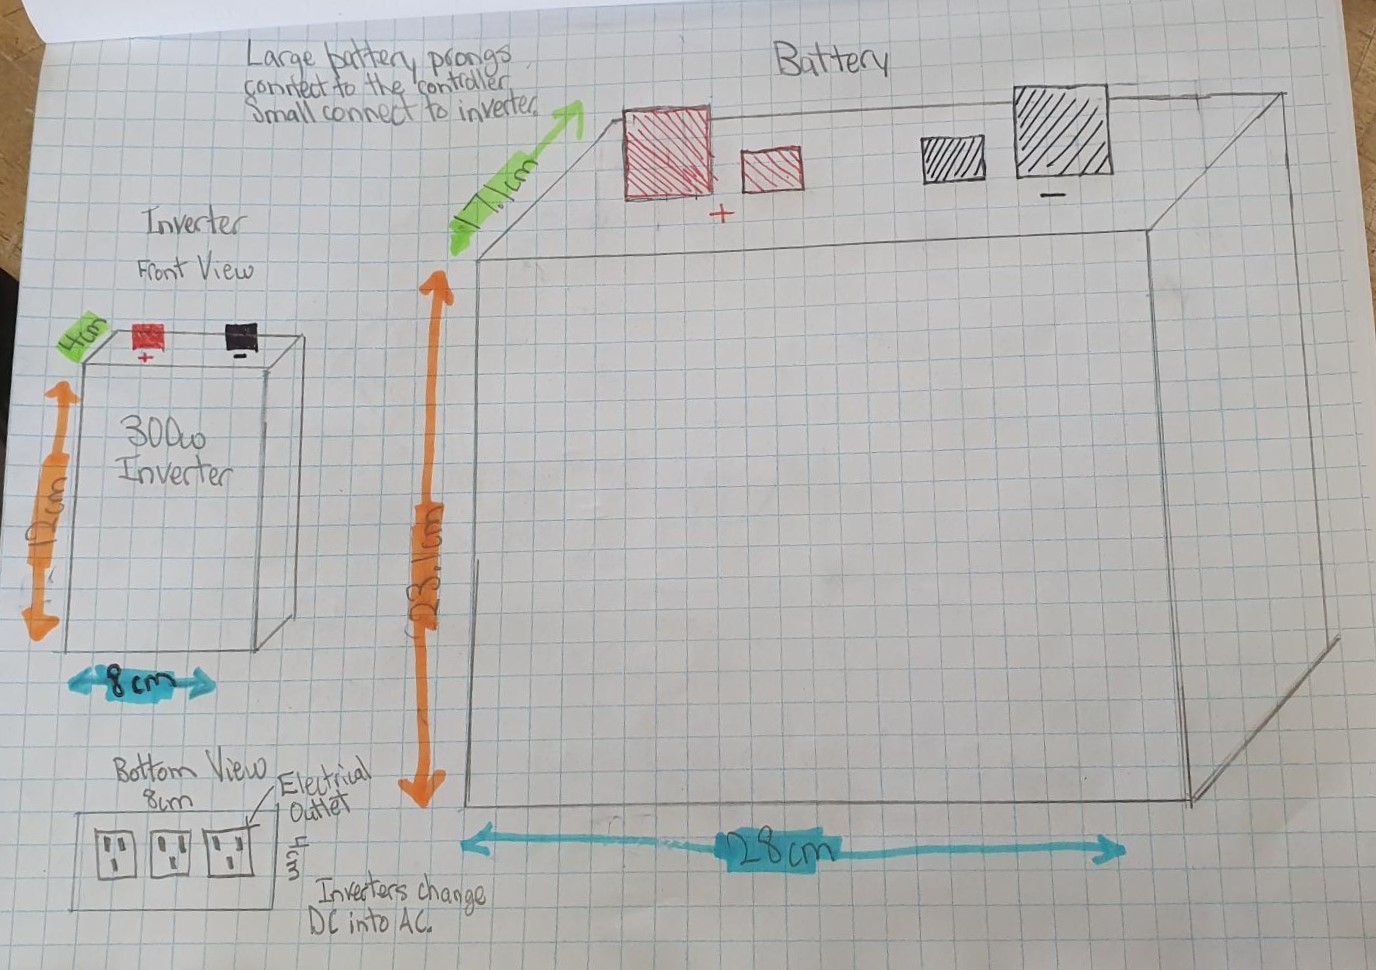
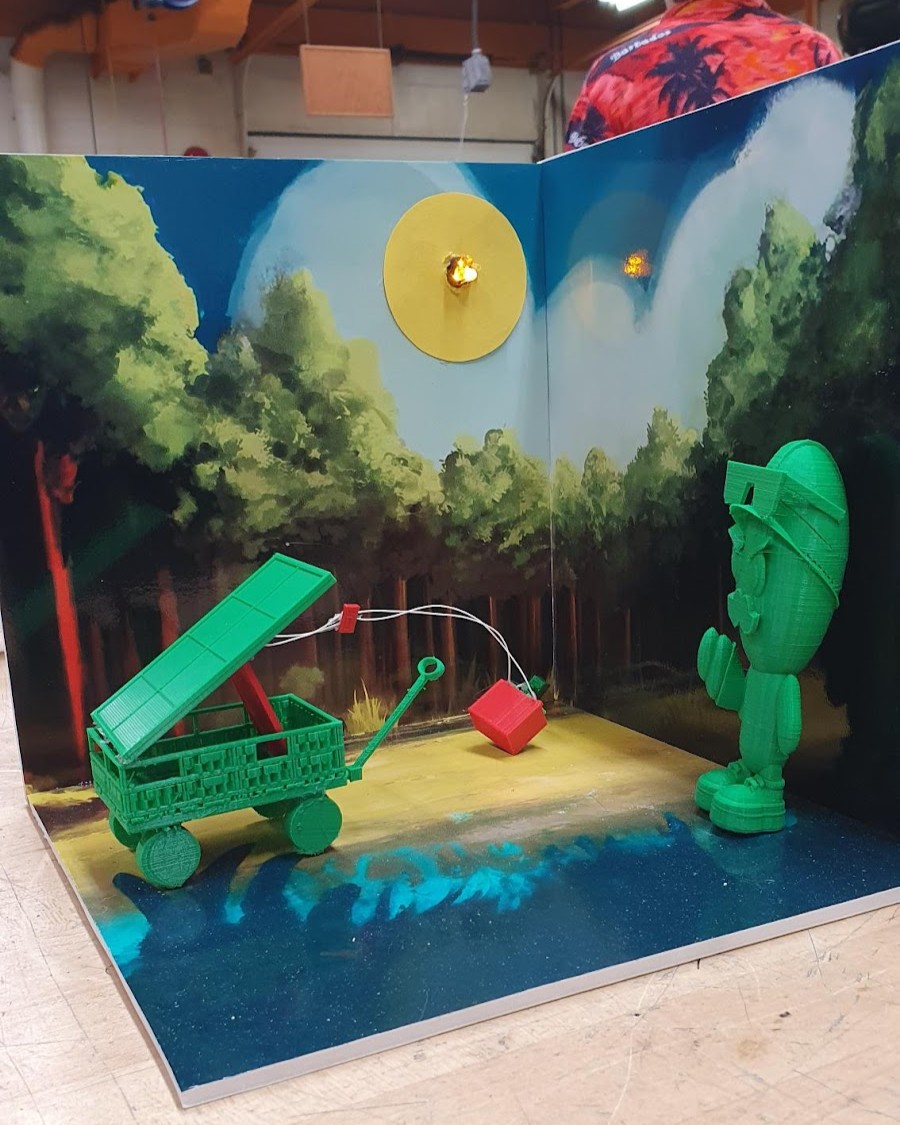 Diorama
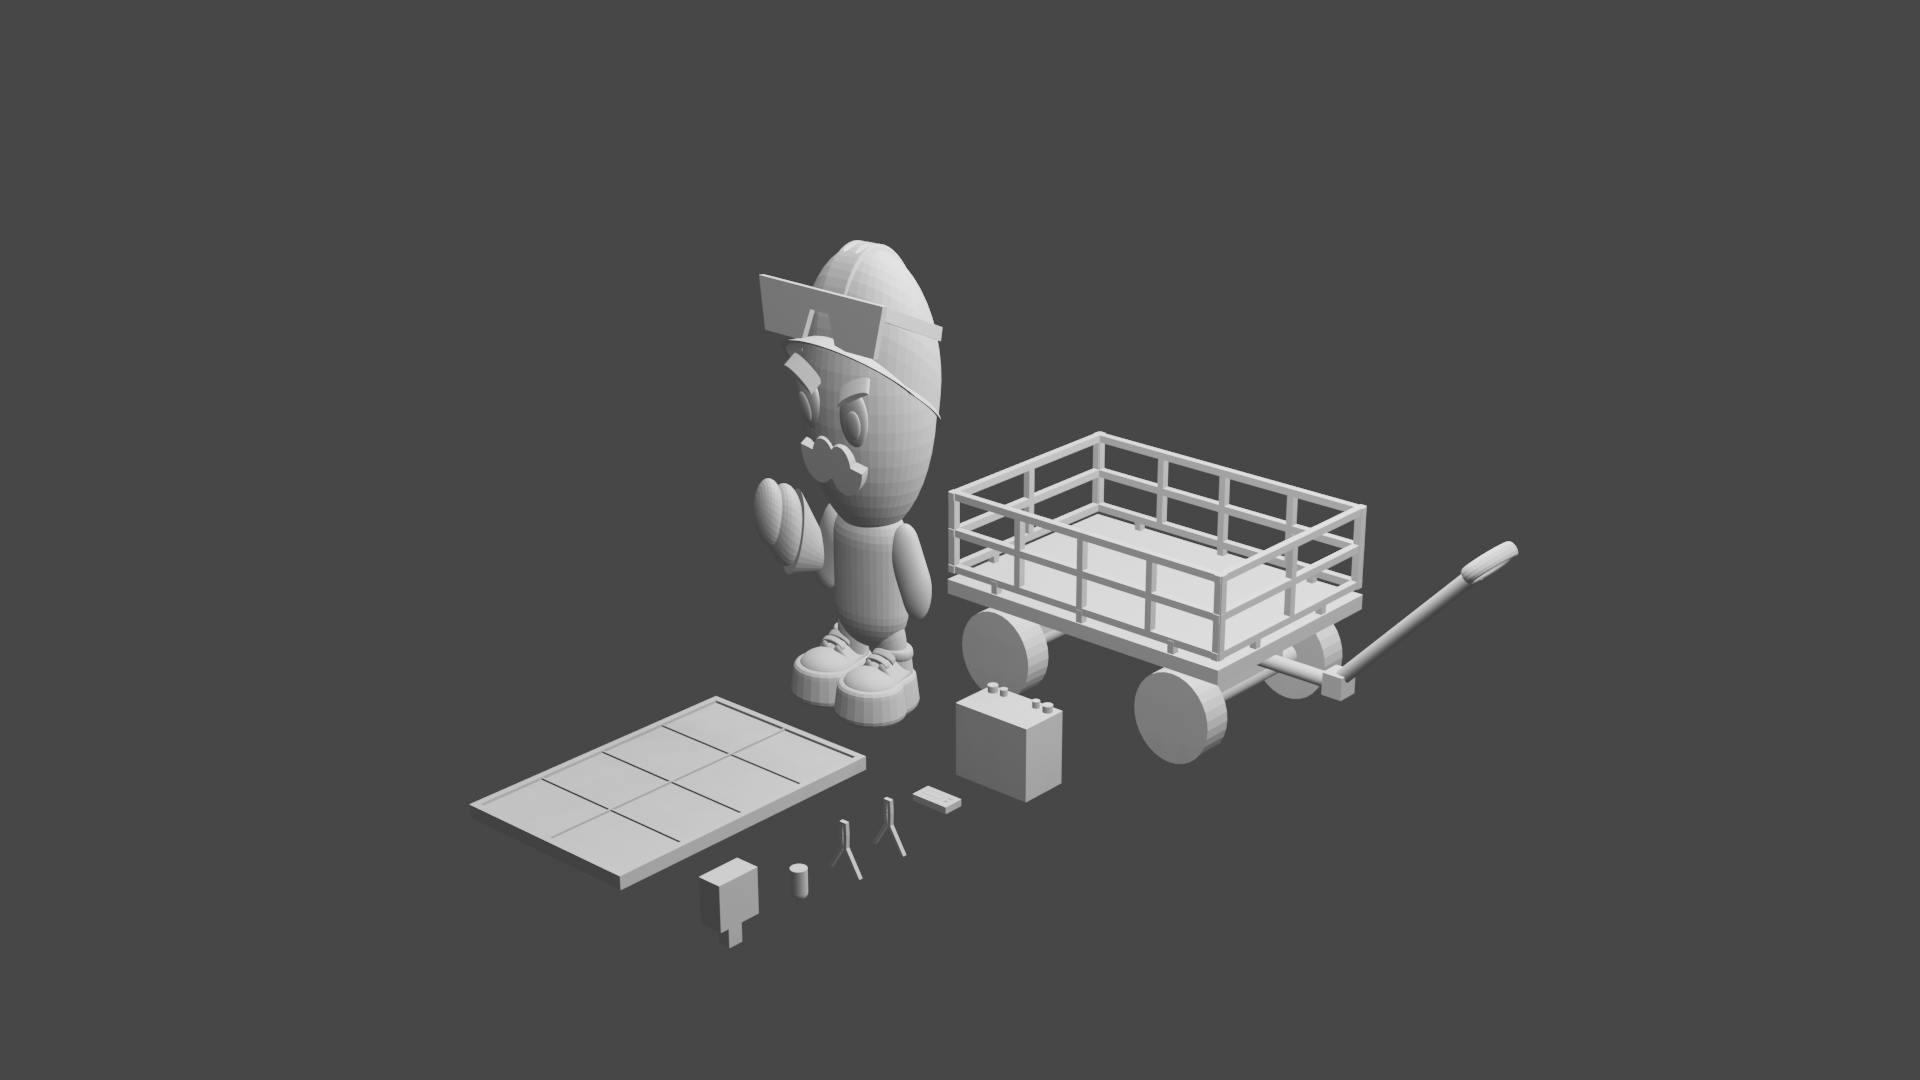 3D Renders
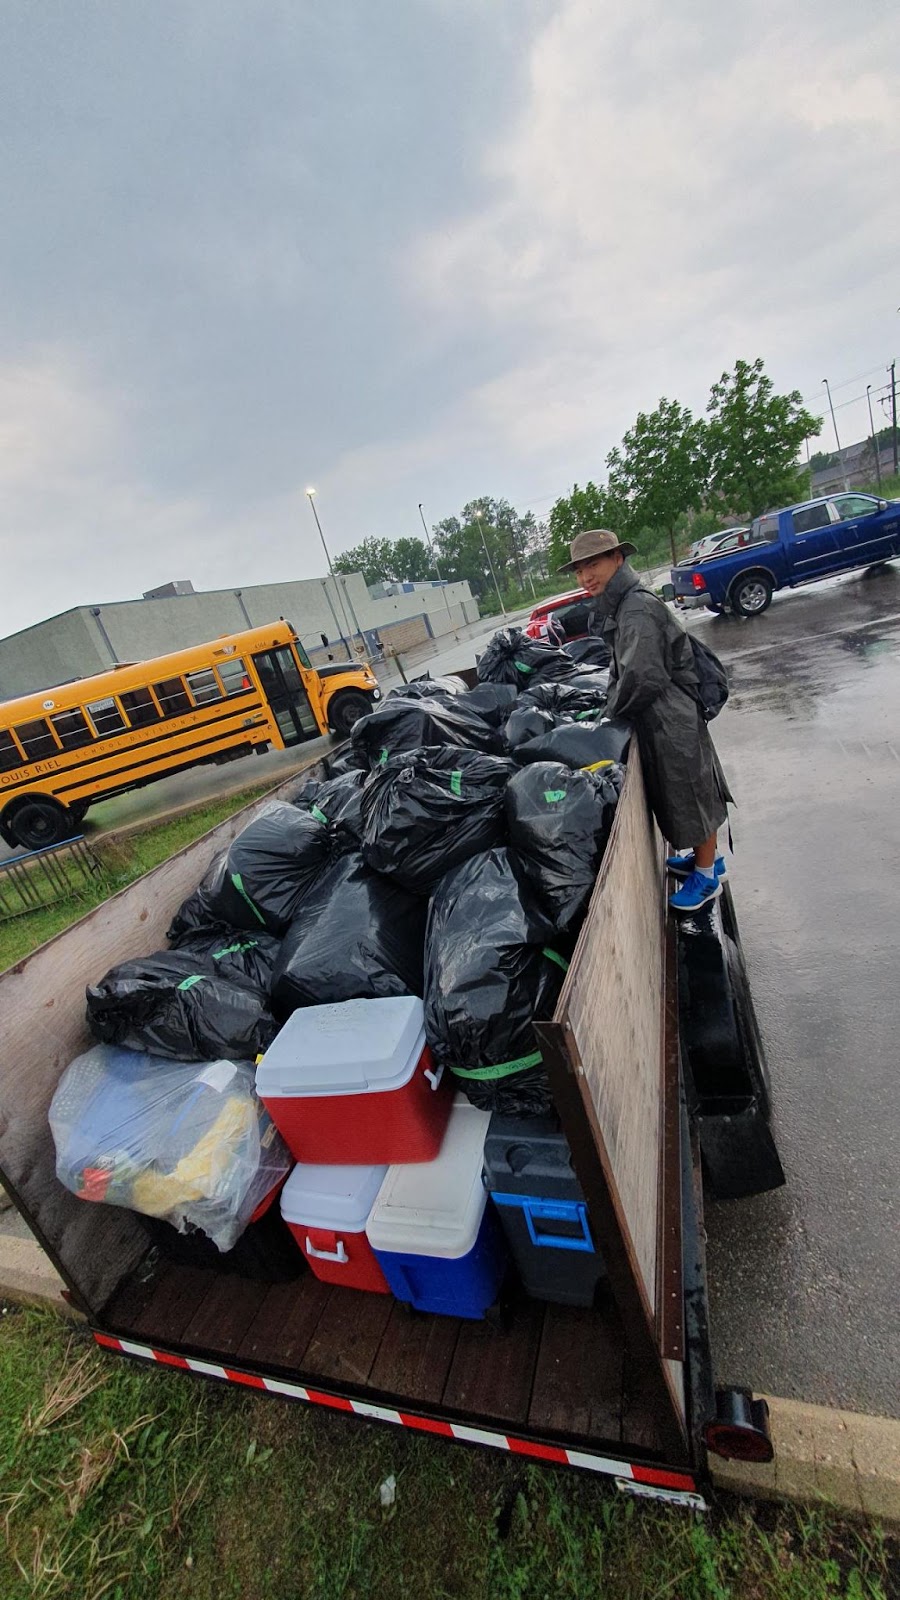
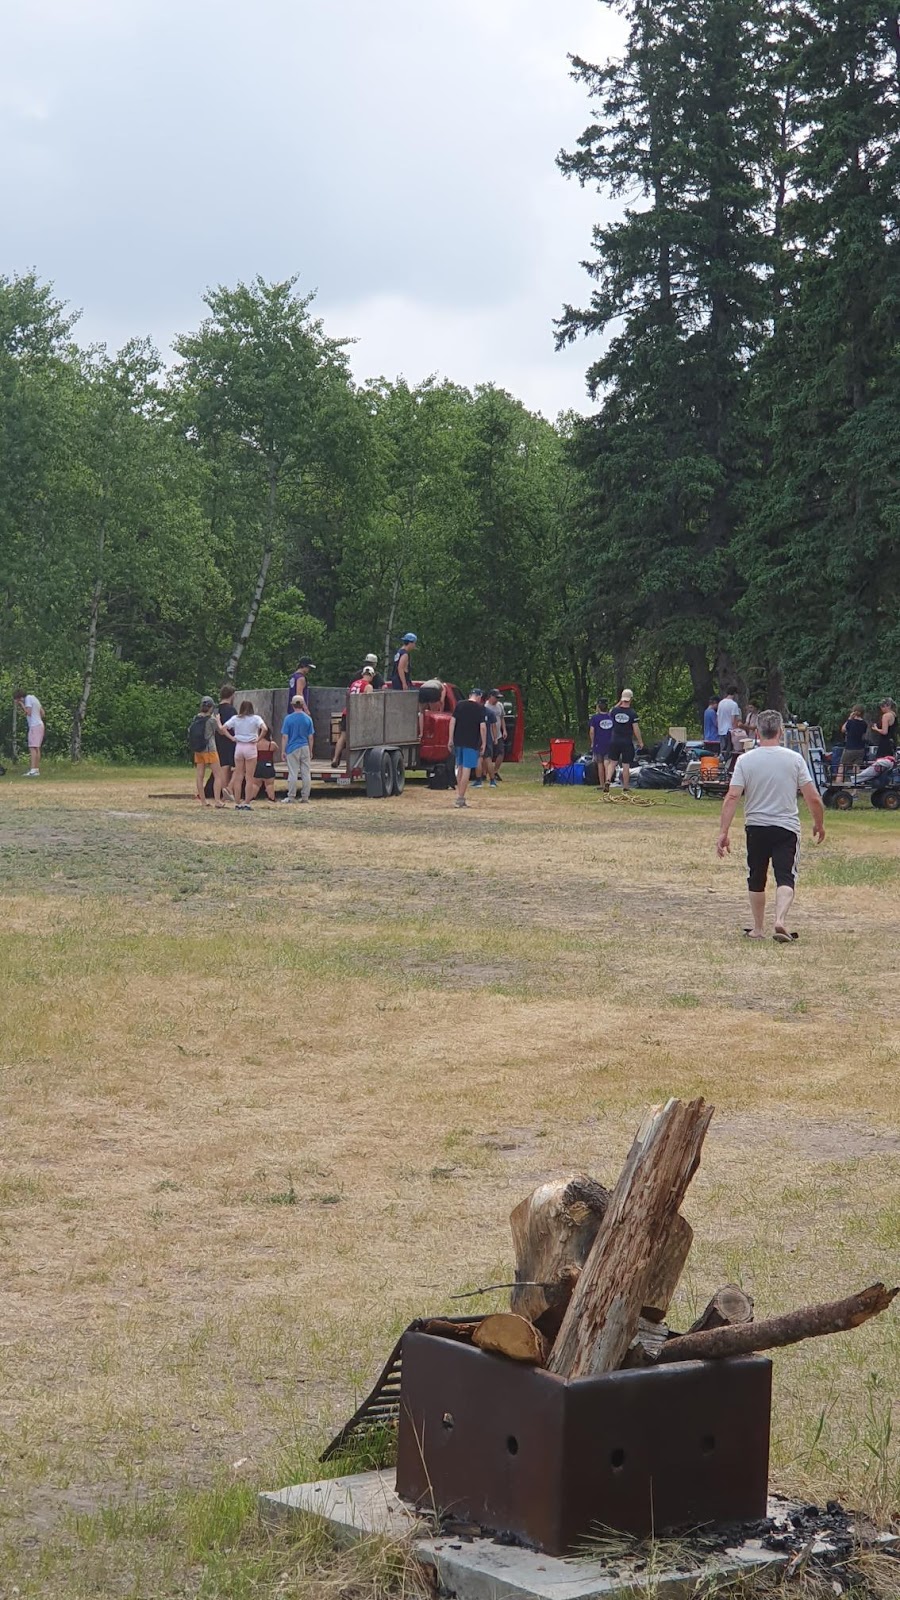
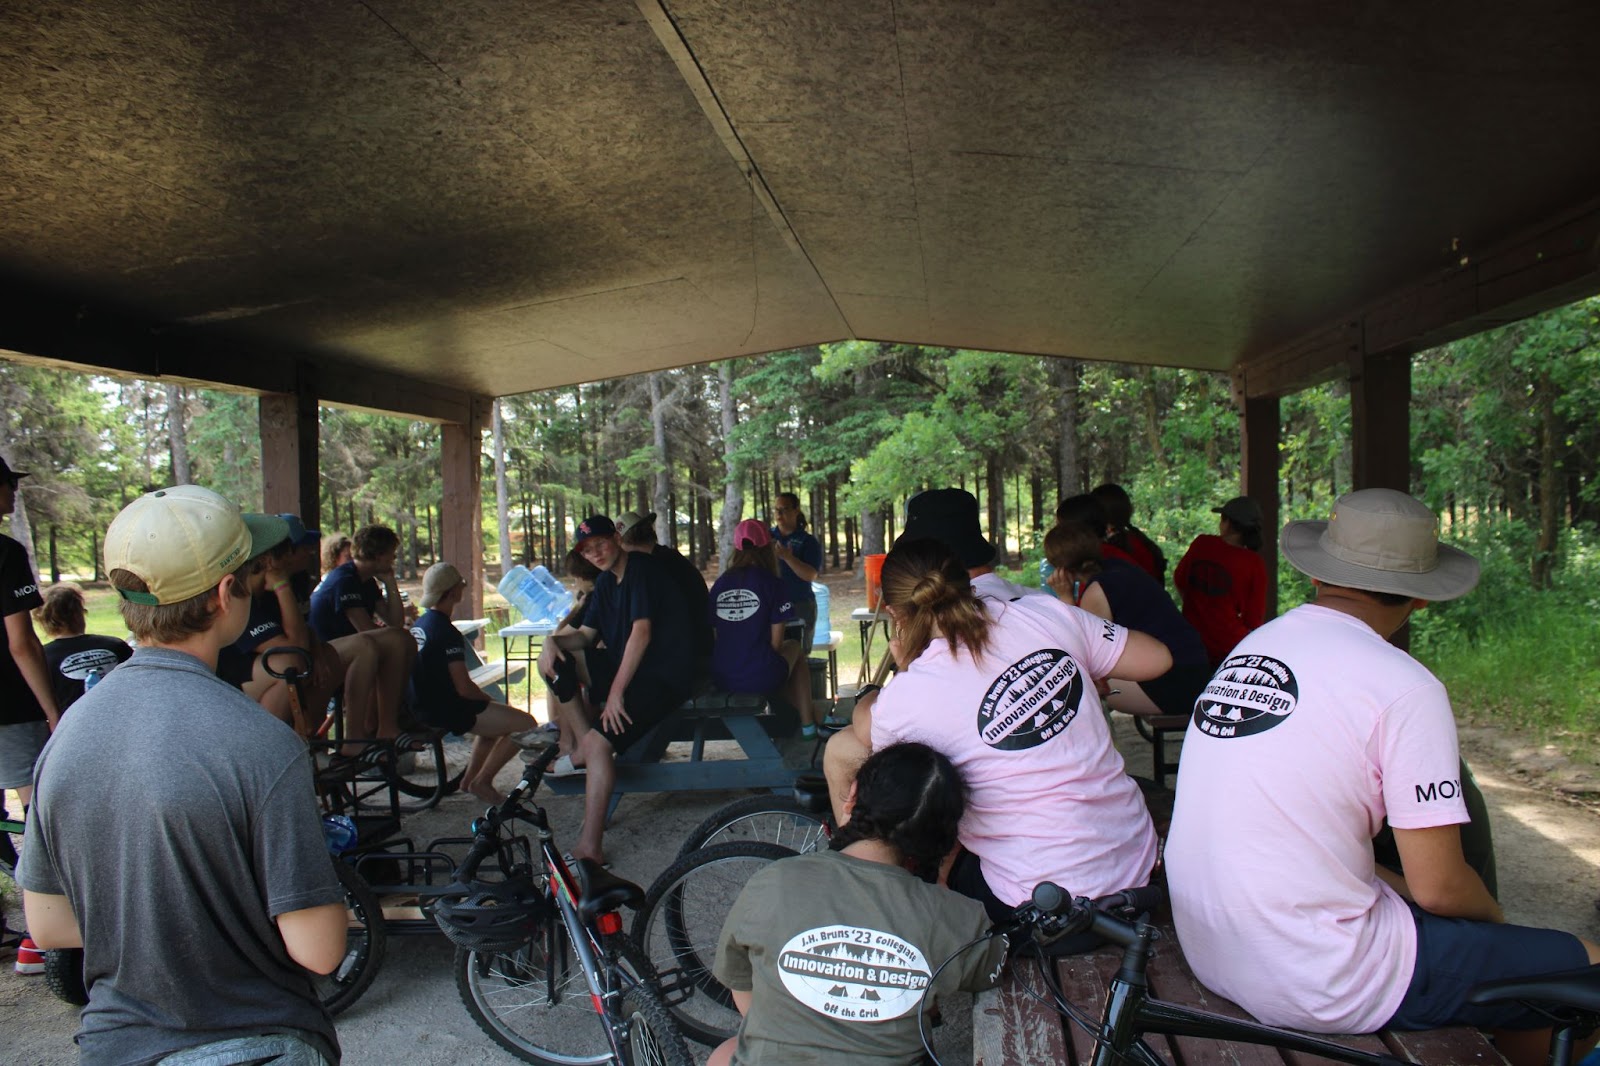
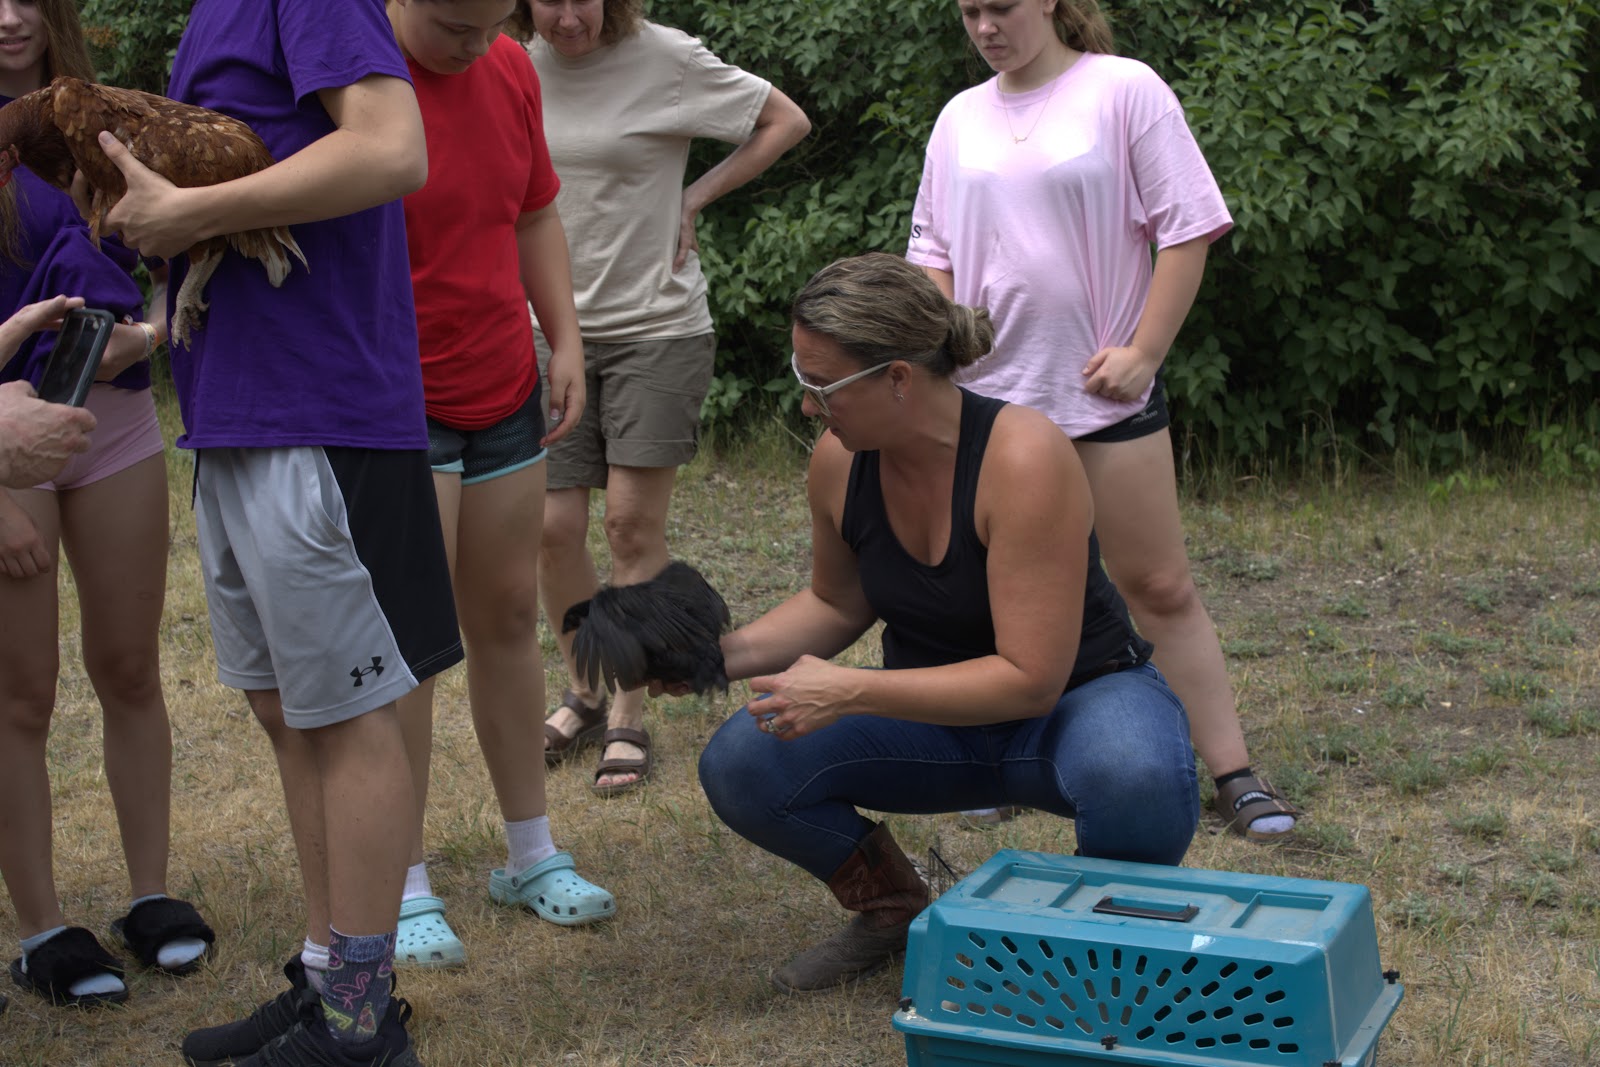
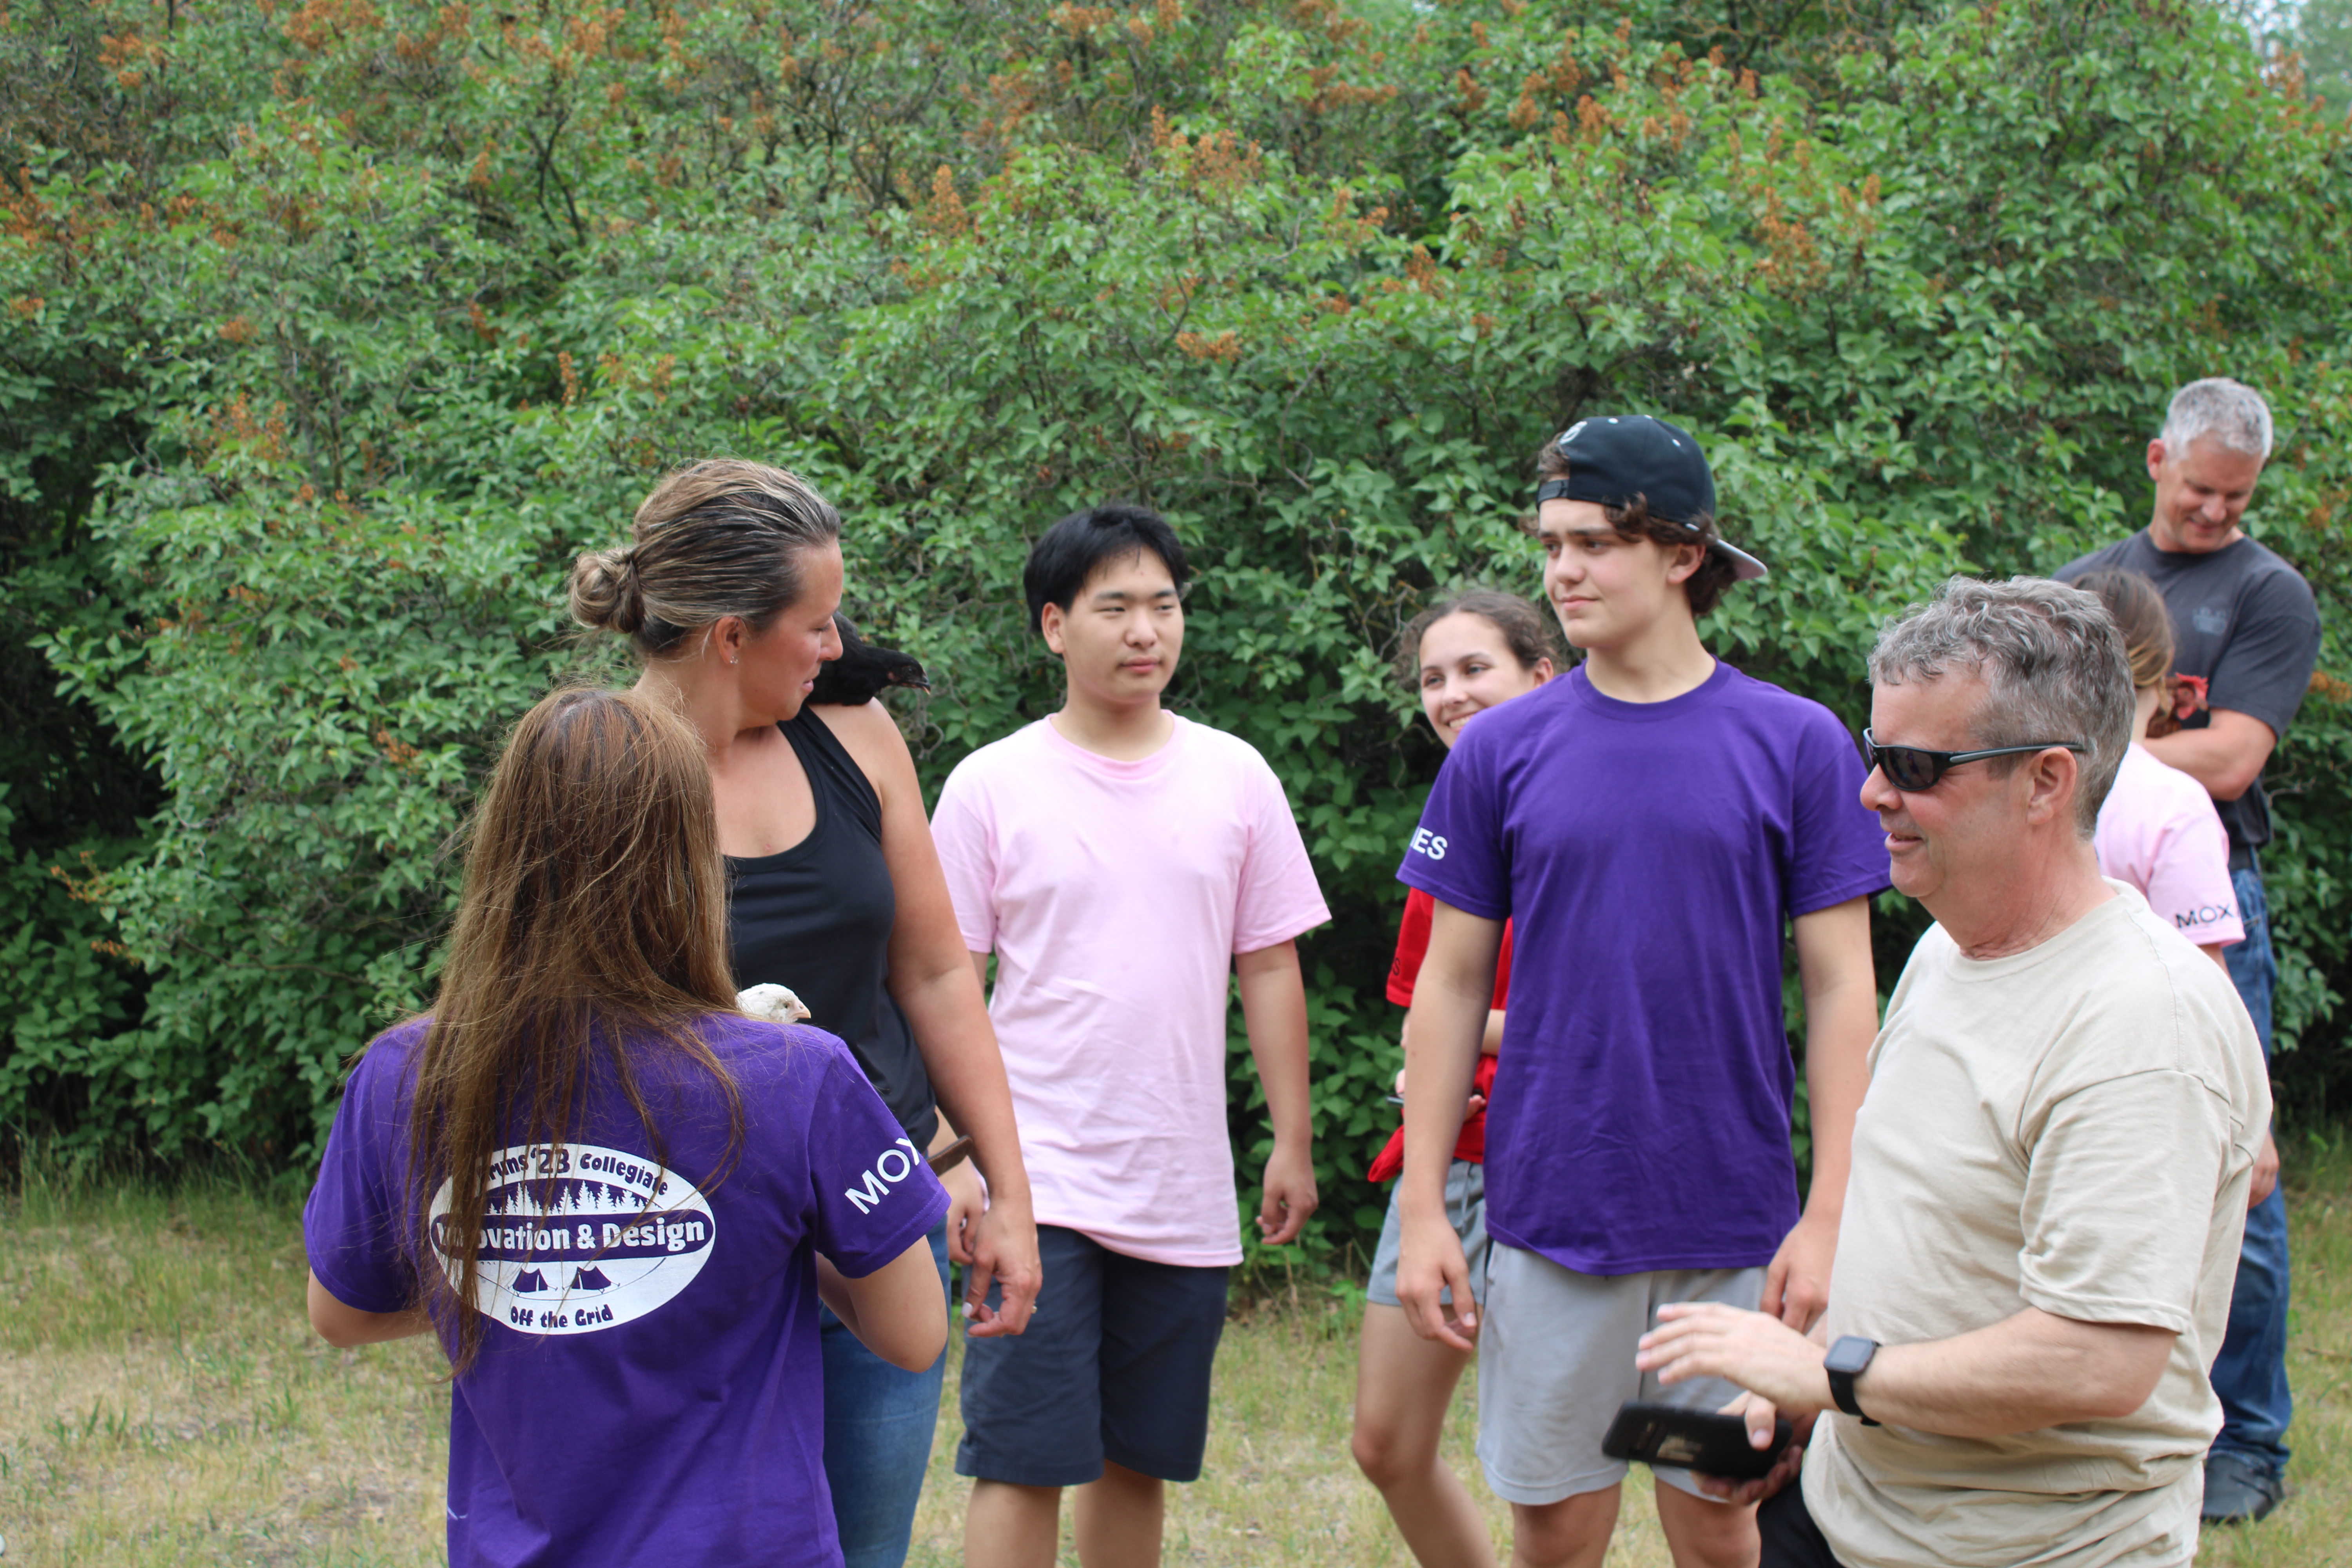

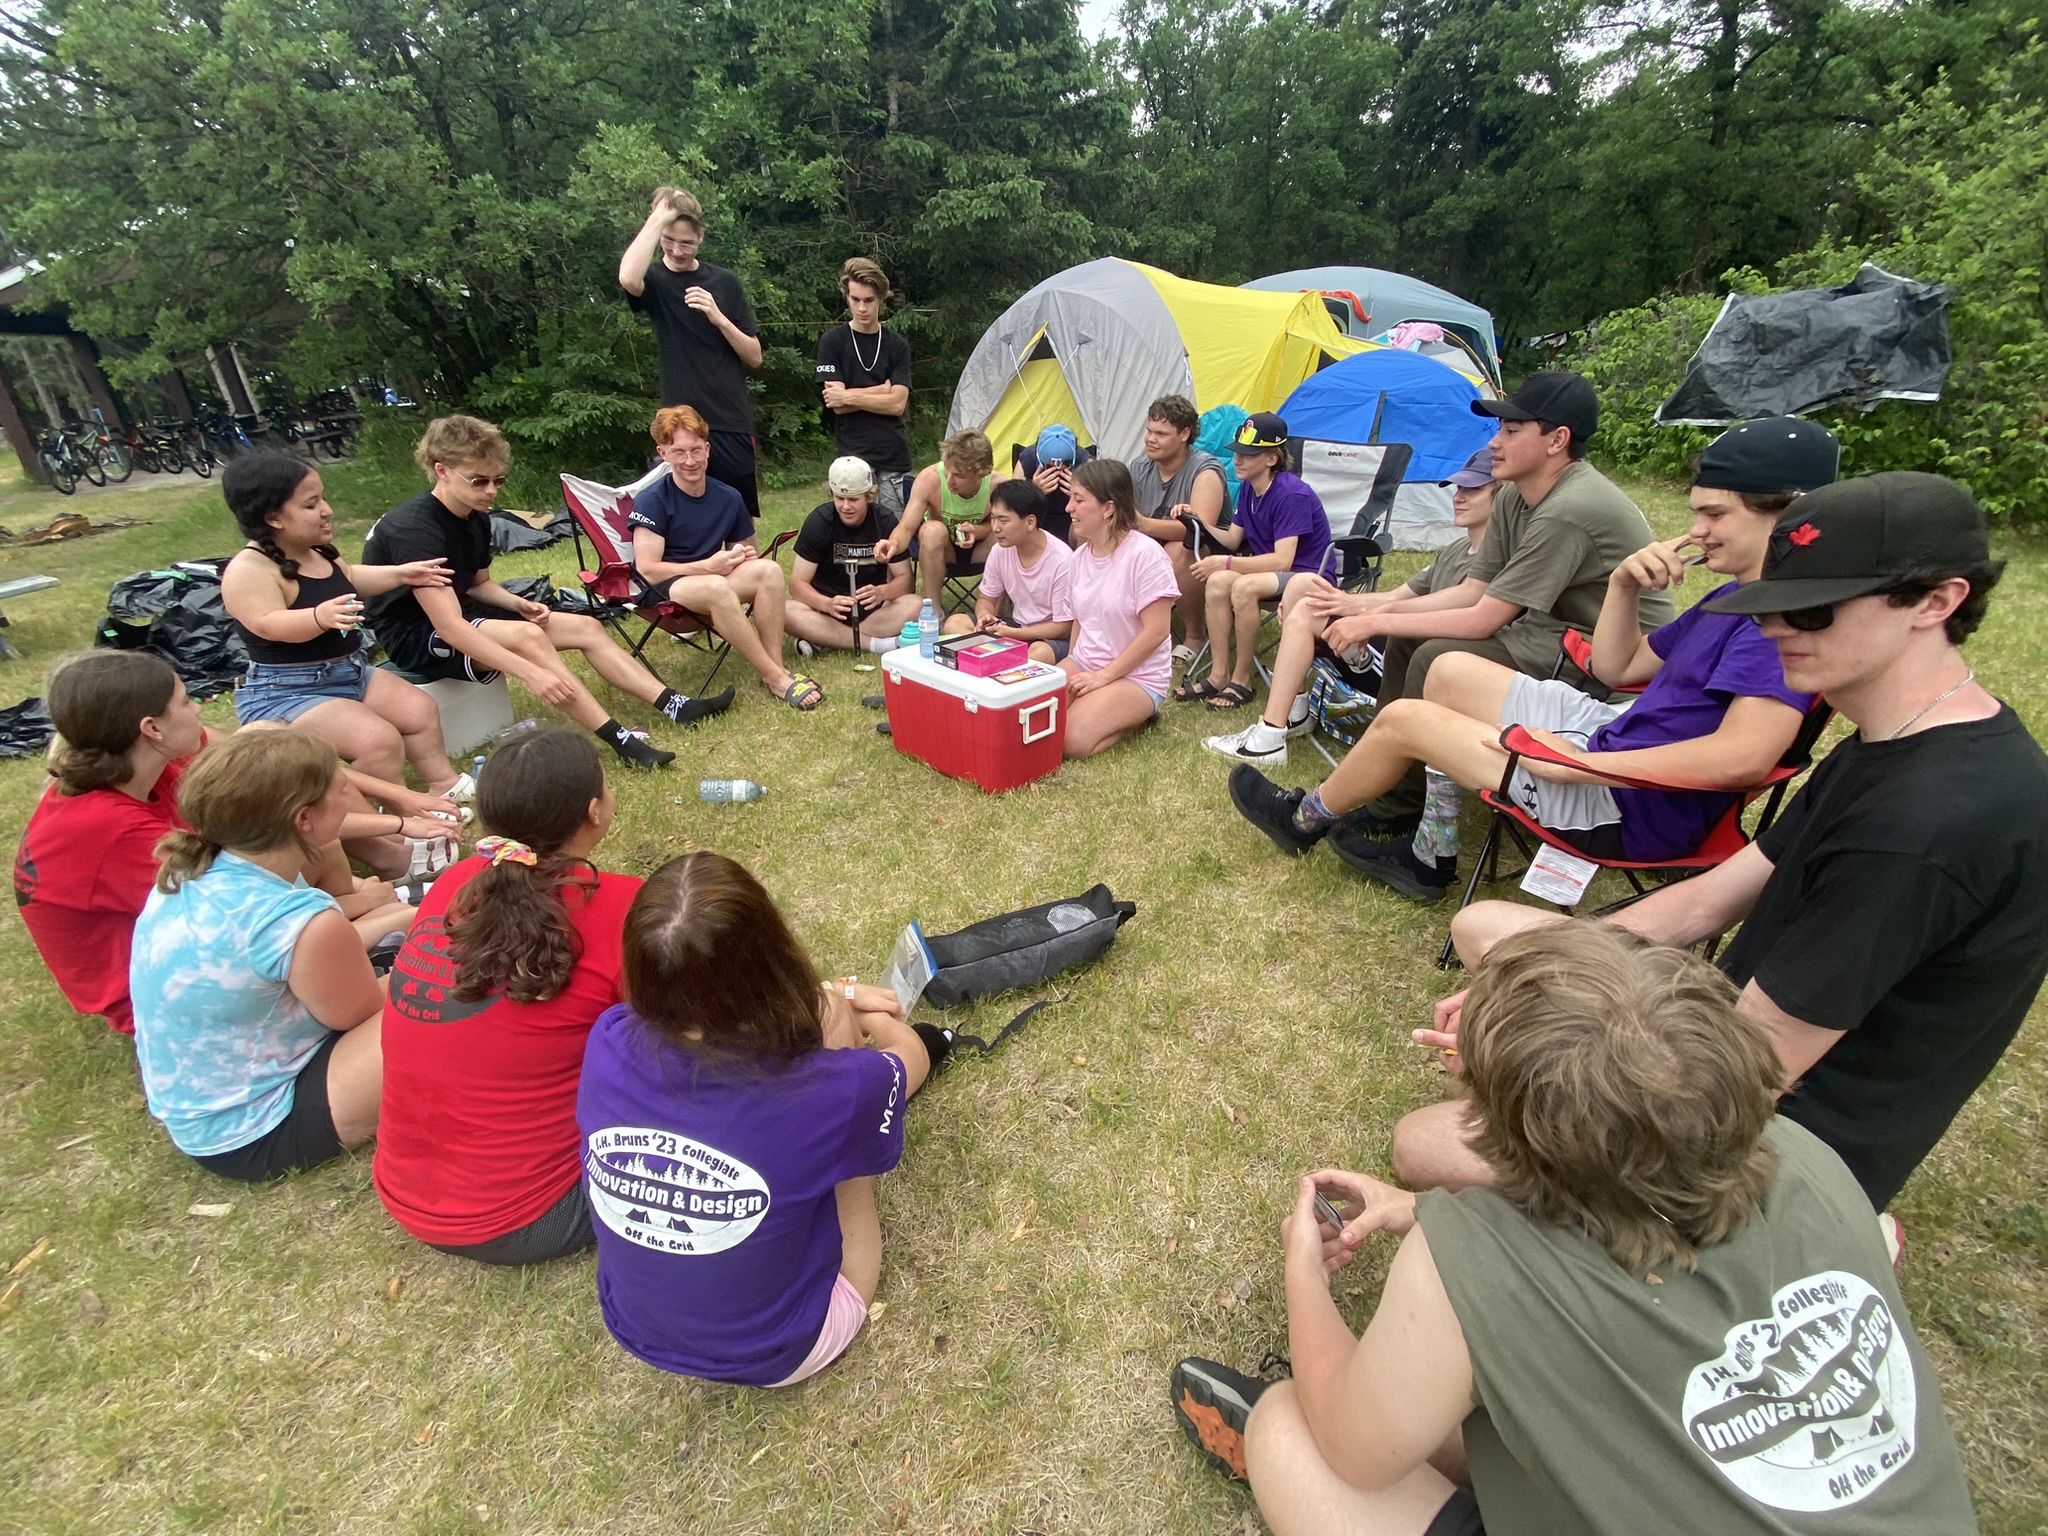
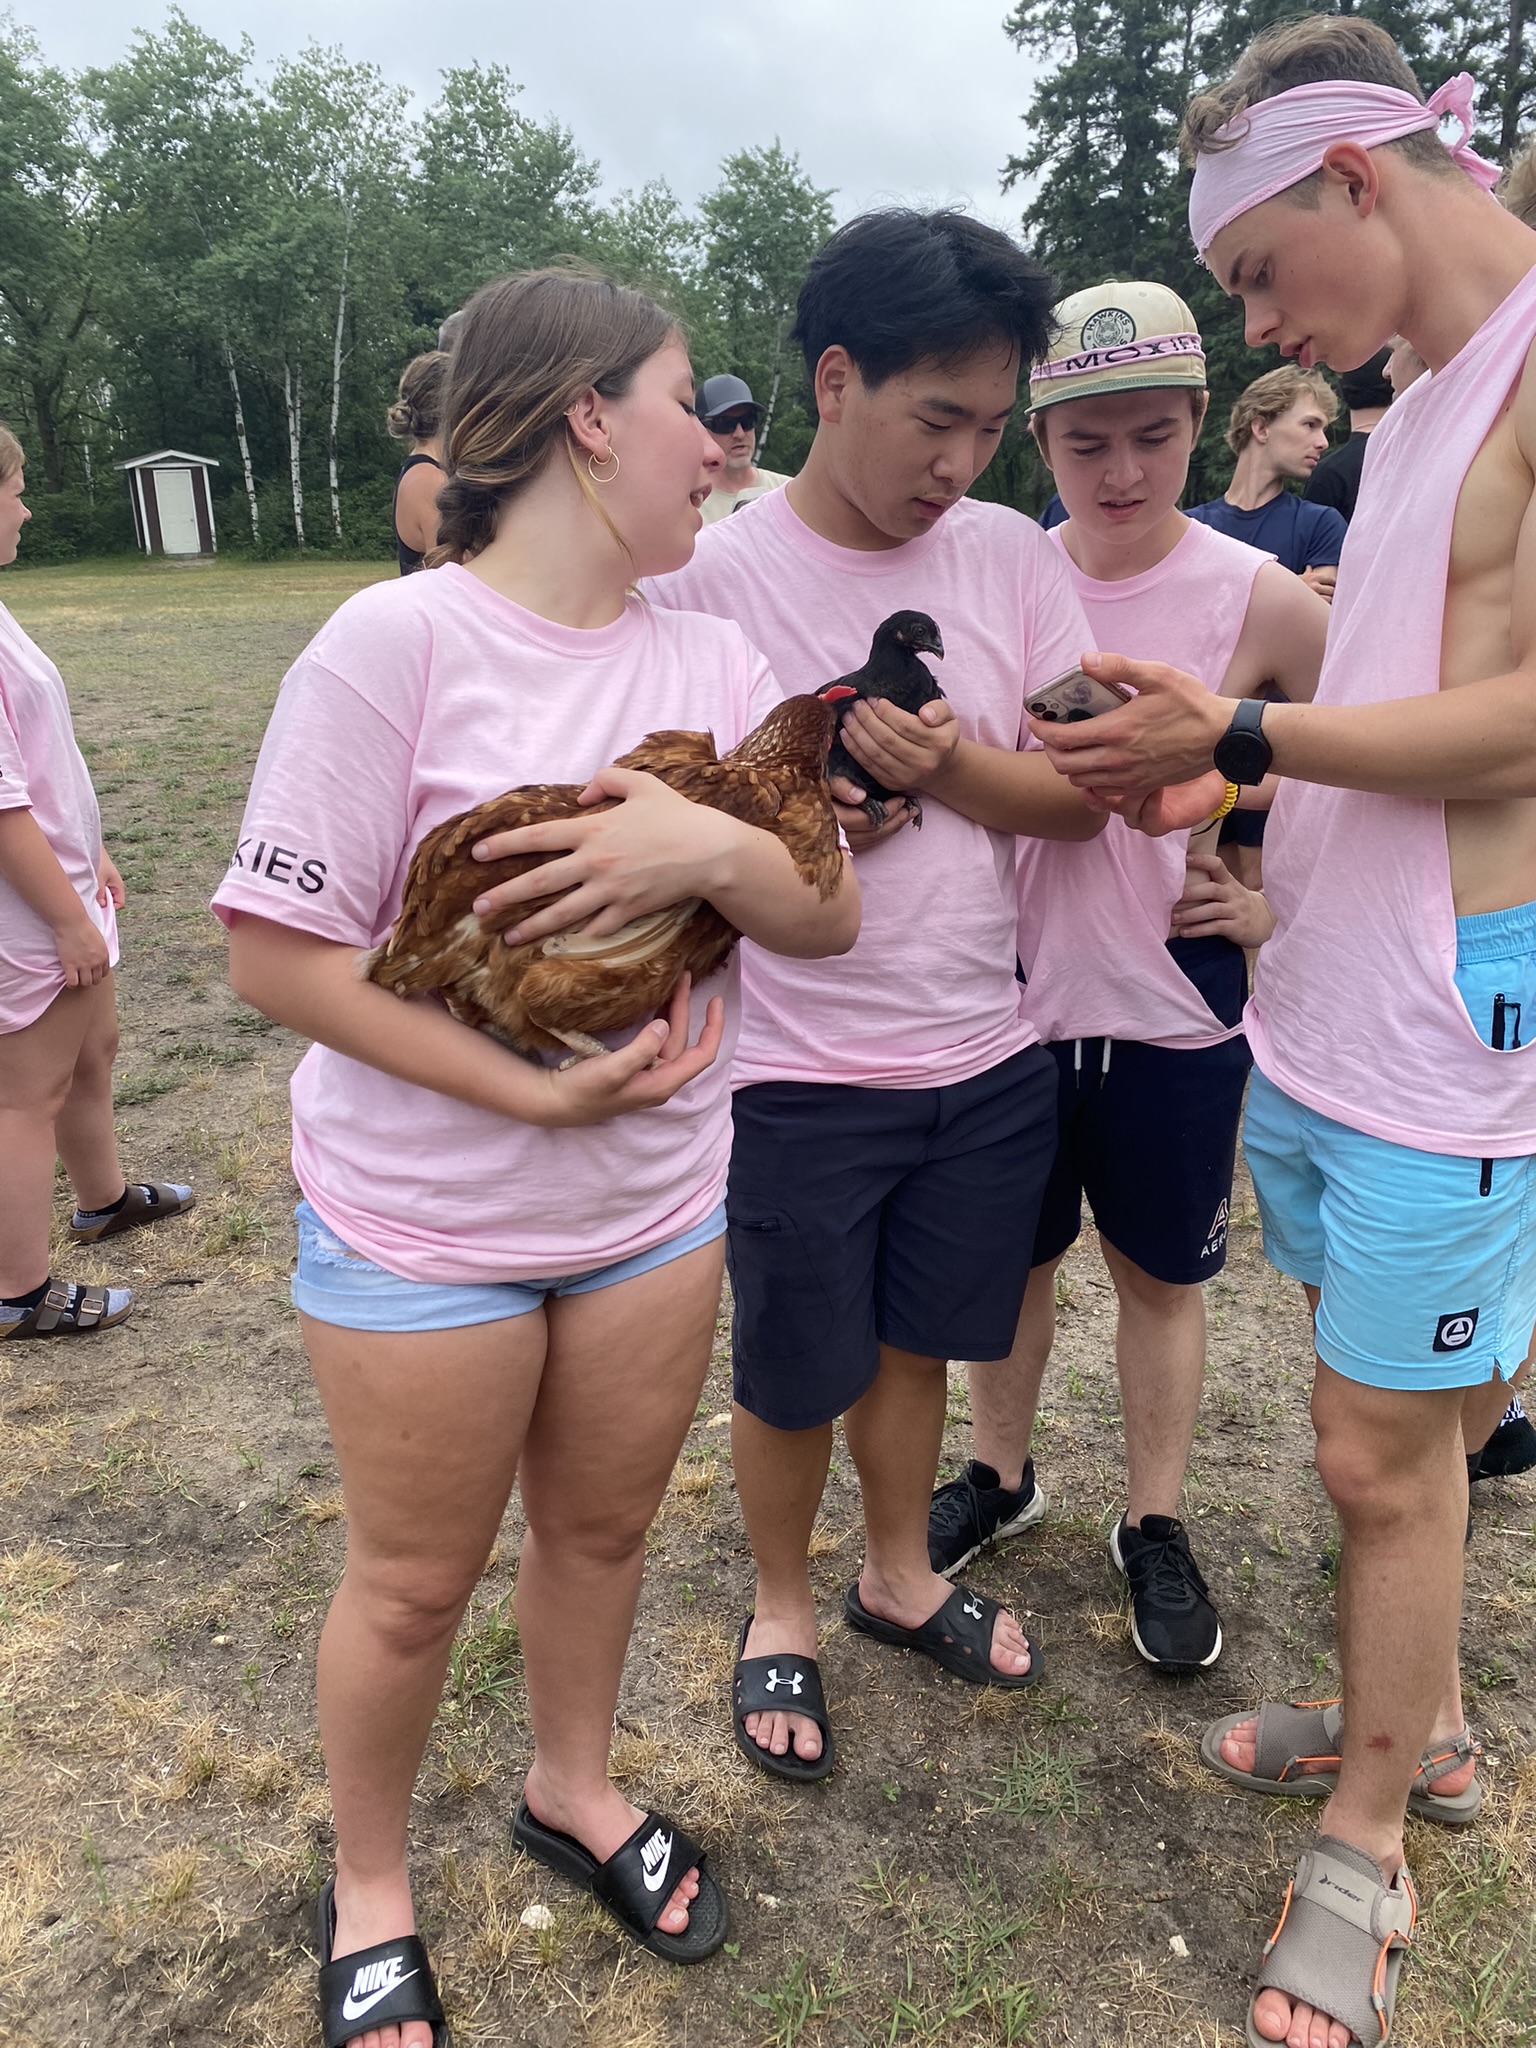
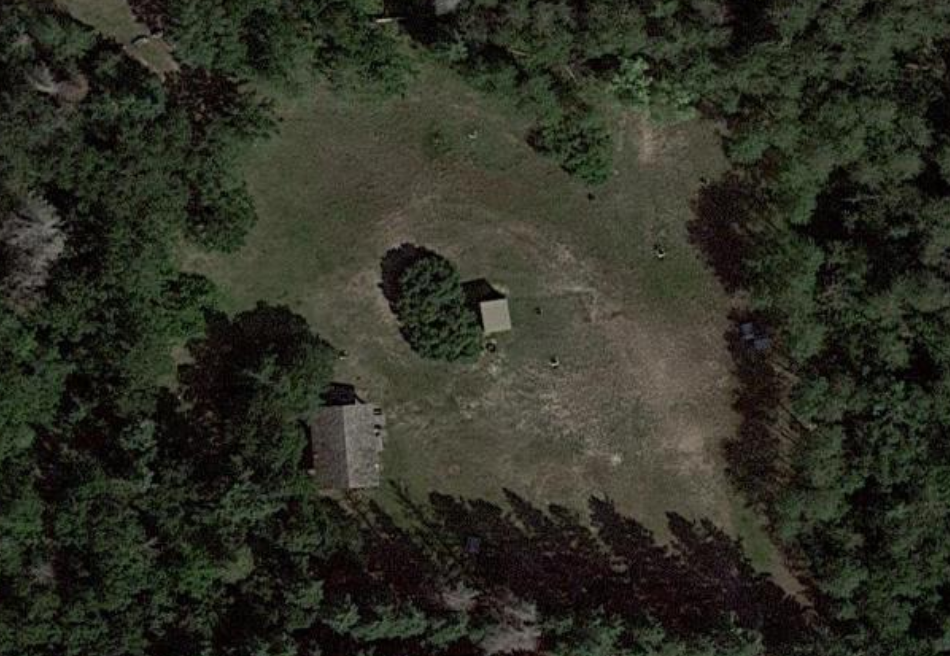
For us to have enough time to load the trailer and to get on the bus at 9, we had to arrive at the school by 8:00am. Rain started to pour as we were loading and continued till we arrive at Brids Hill Park, but as we were unloading, it started to settle and we were able to set up the tent with ease. We cooked our first meal and later self-arranged group games. Later we had some visitors who brought in three chickens and told us what it was like as if we were to live "off the grid". For dinner, Moxie's offered to bring us grilled chicken sandwiches and pasta.
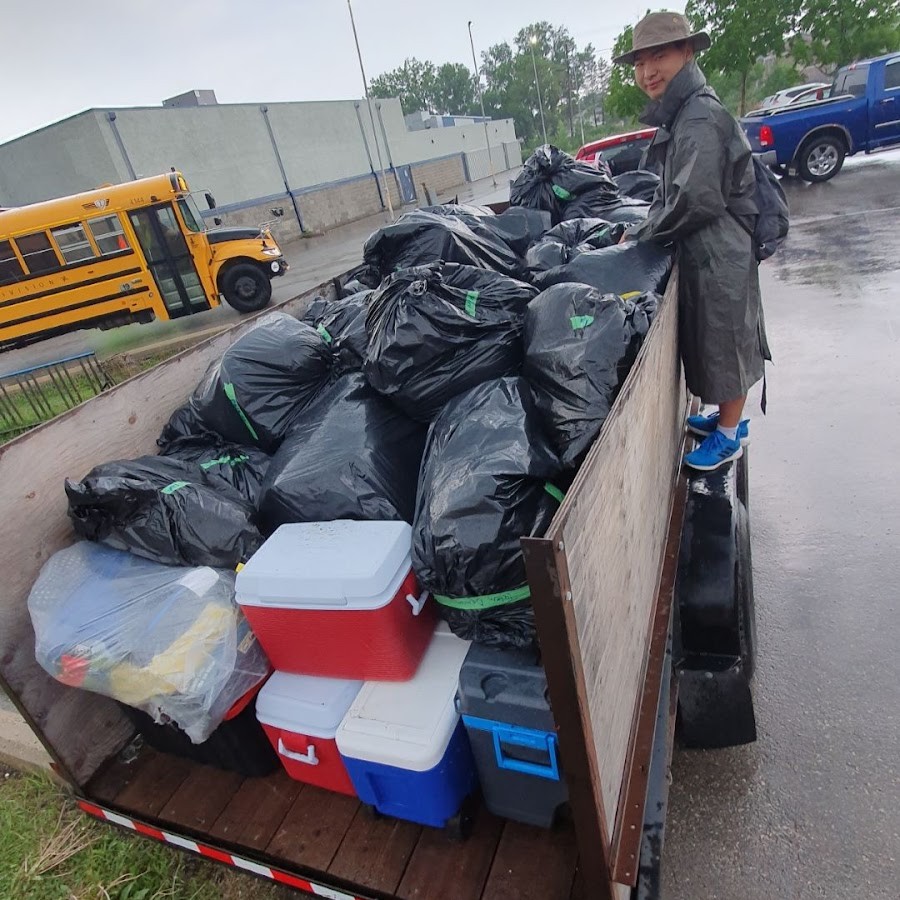 Packing
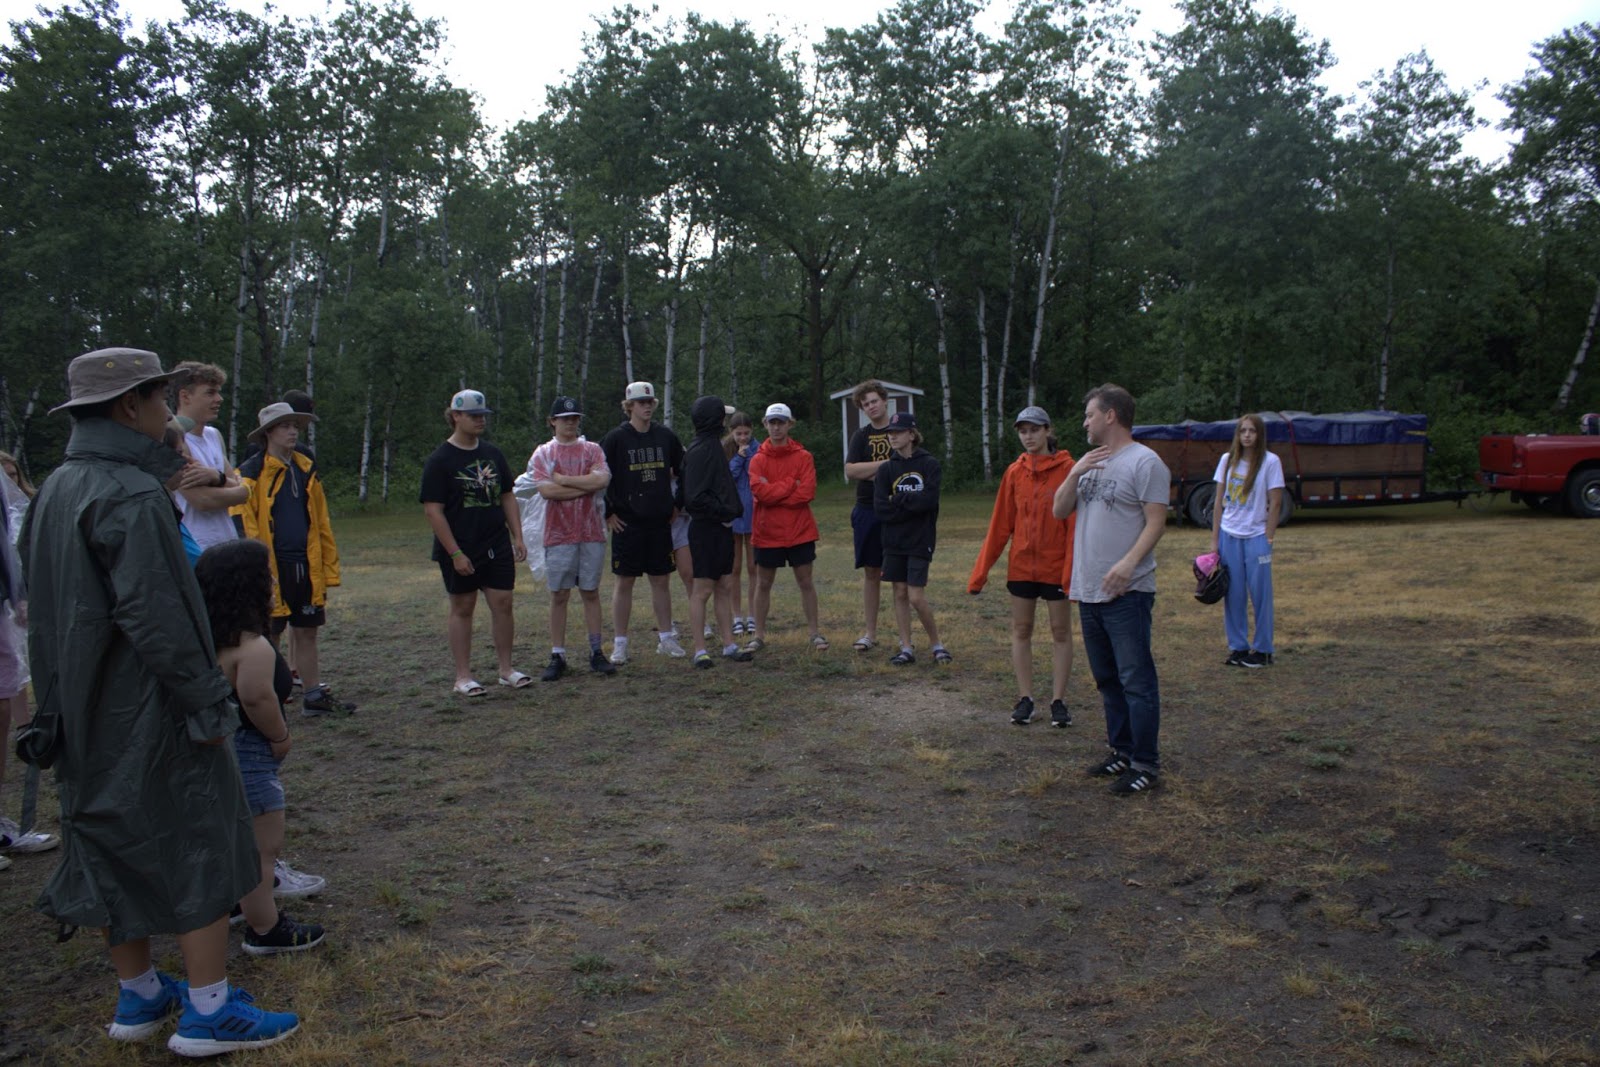
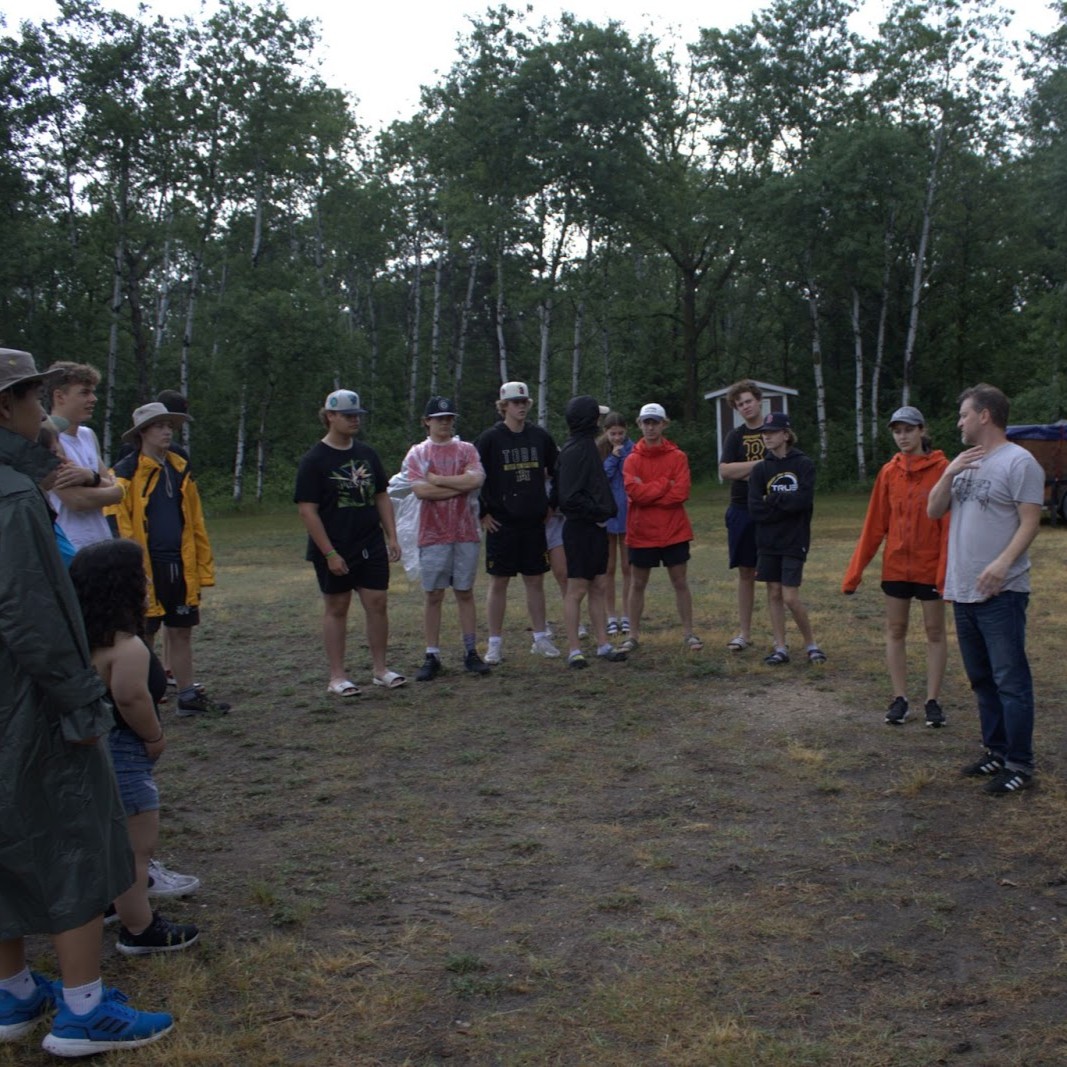 Discussion before Unloading
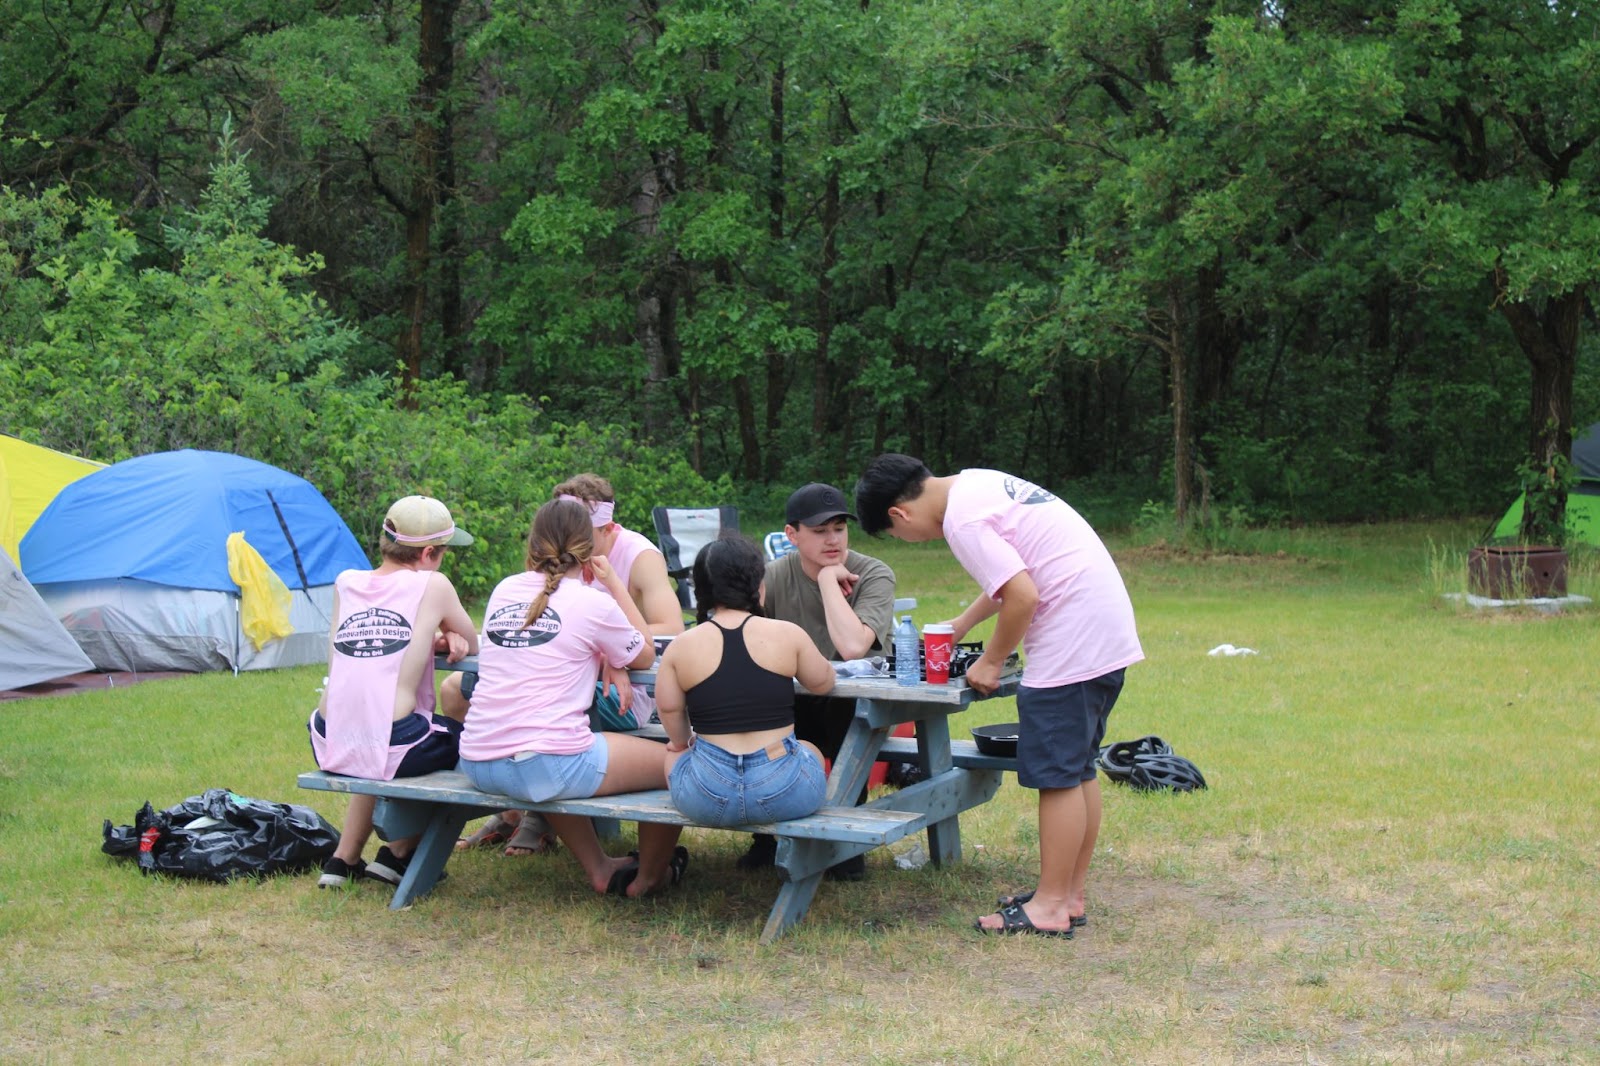
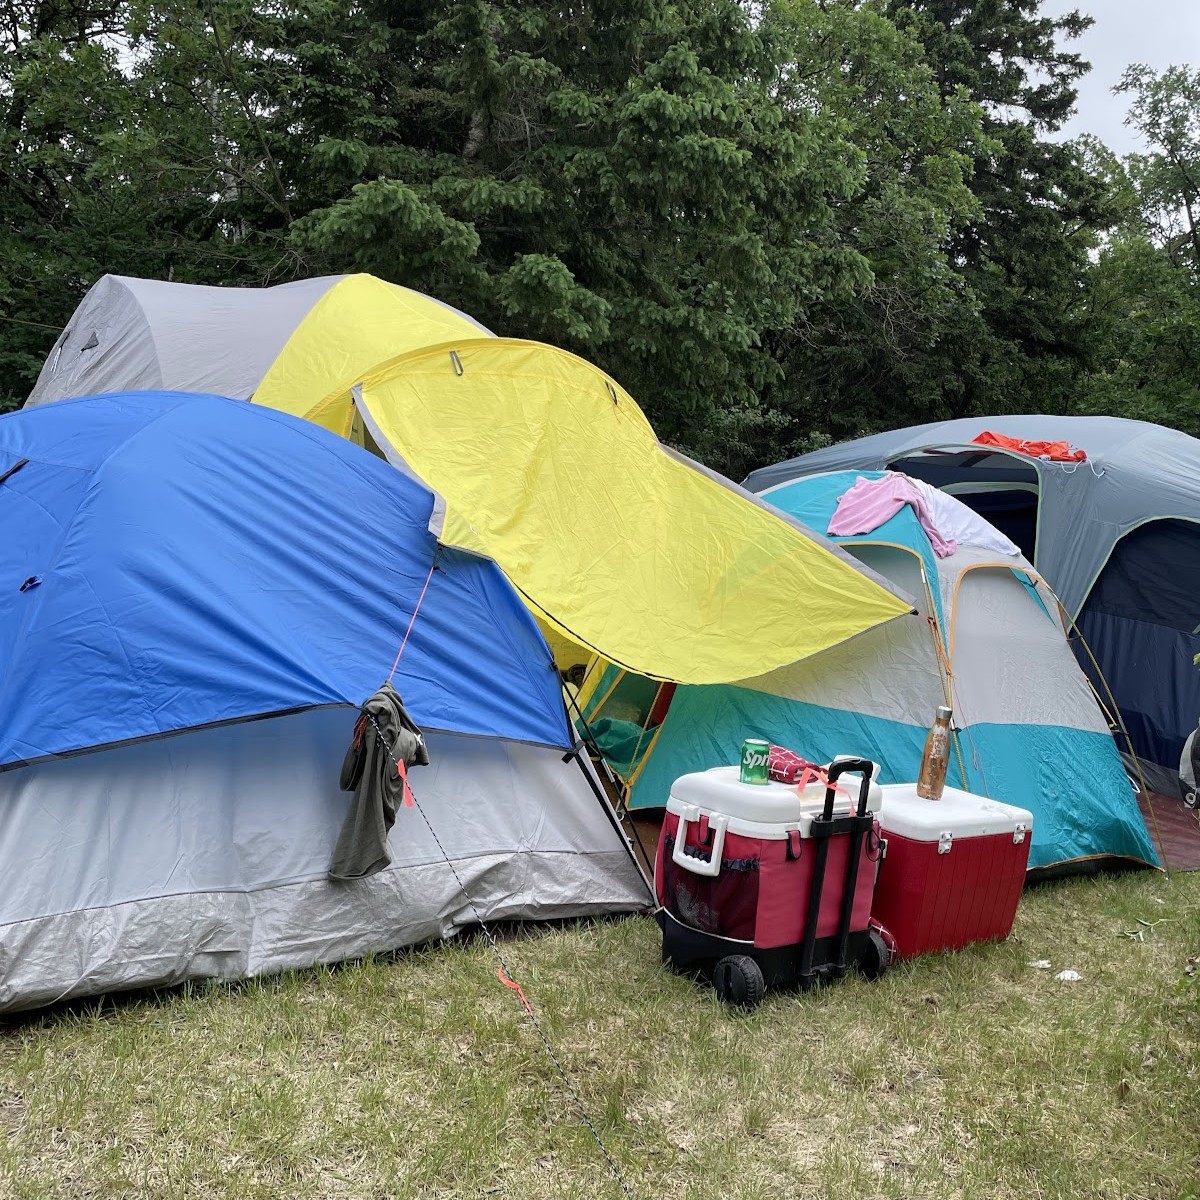 Tent Area
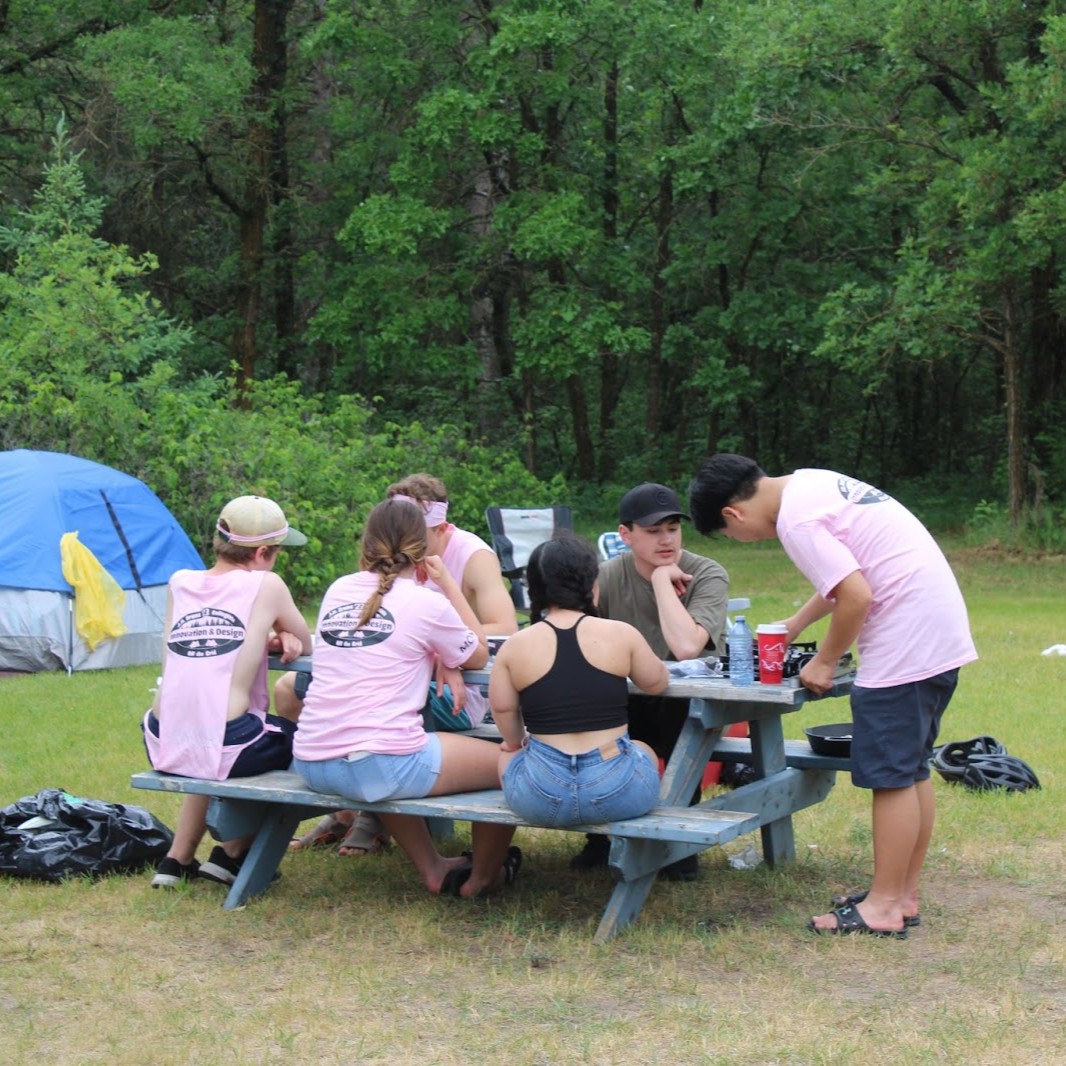 First Meal
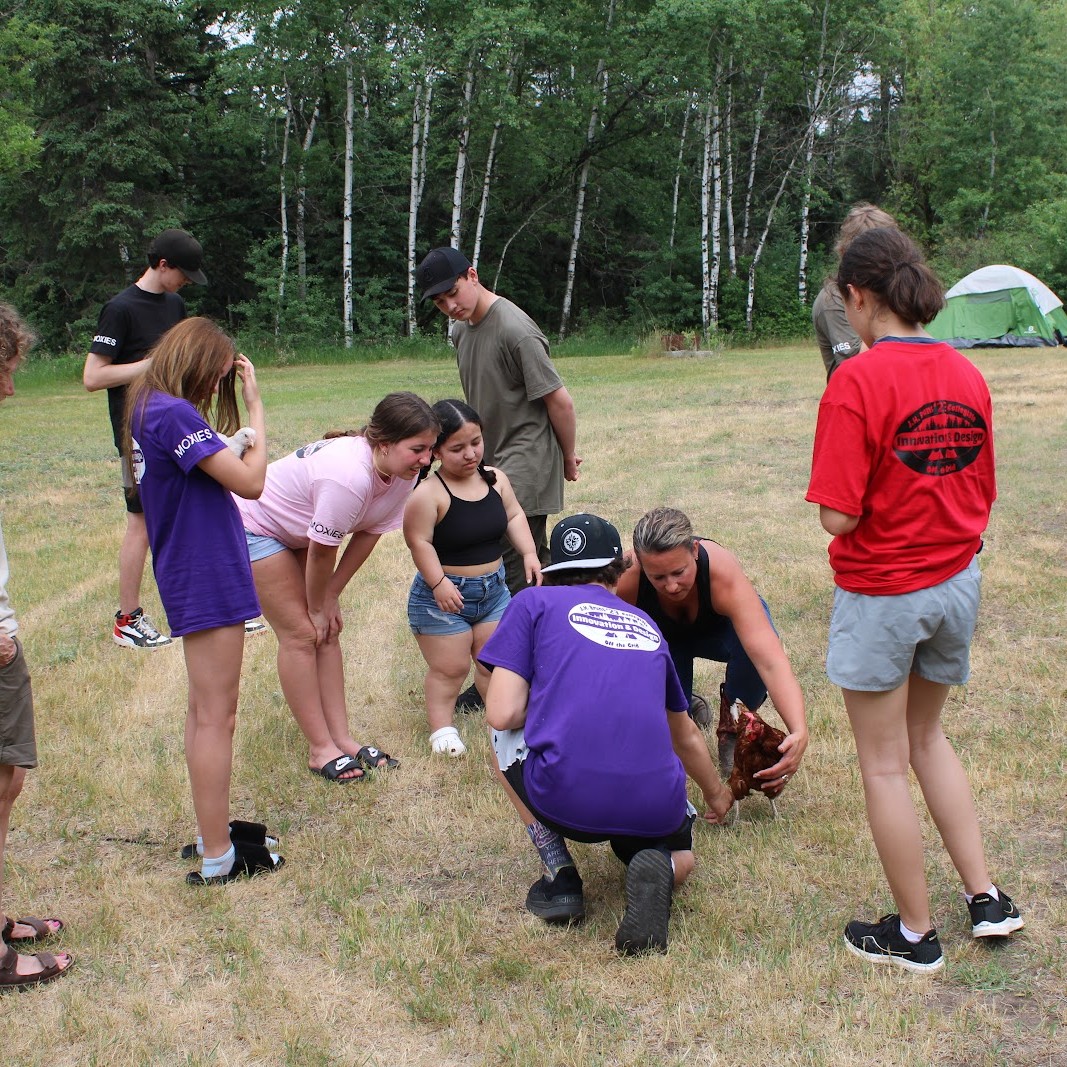 Introduction to the Chickens
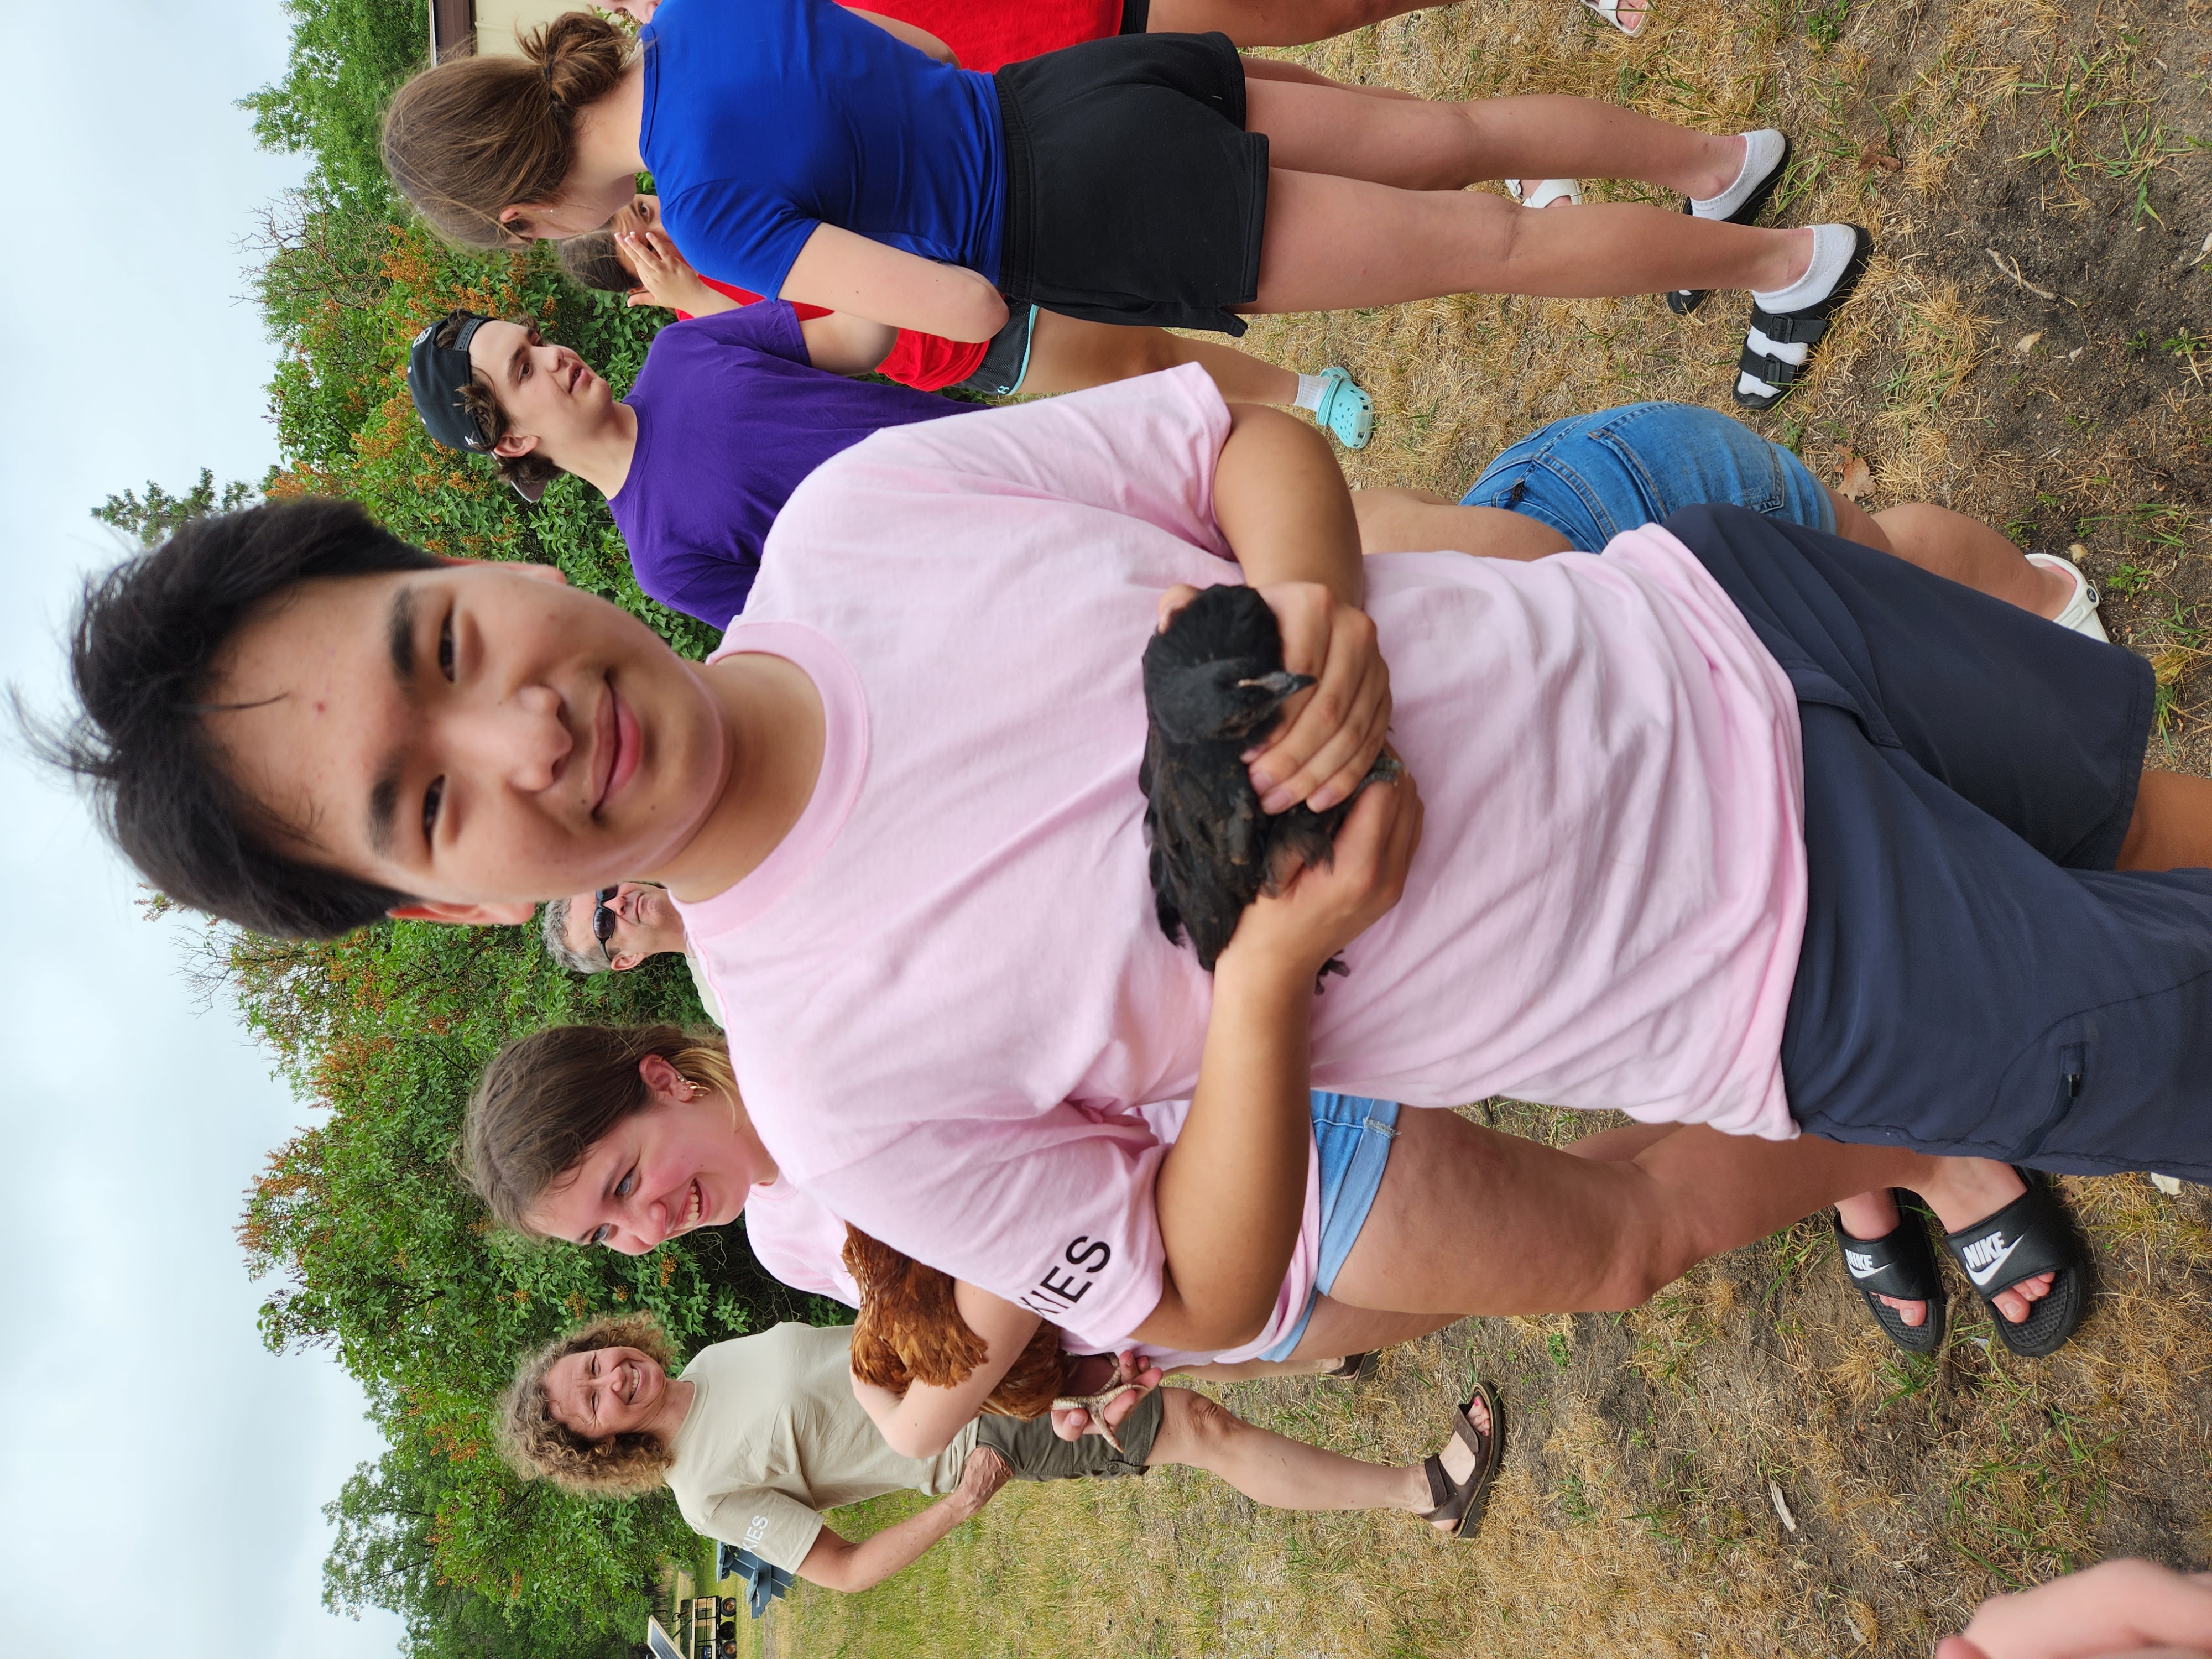
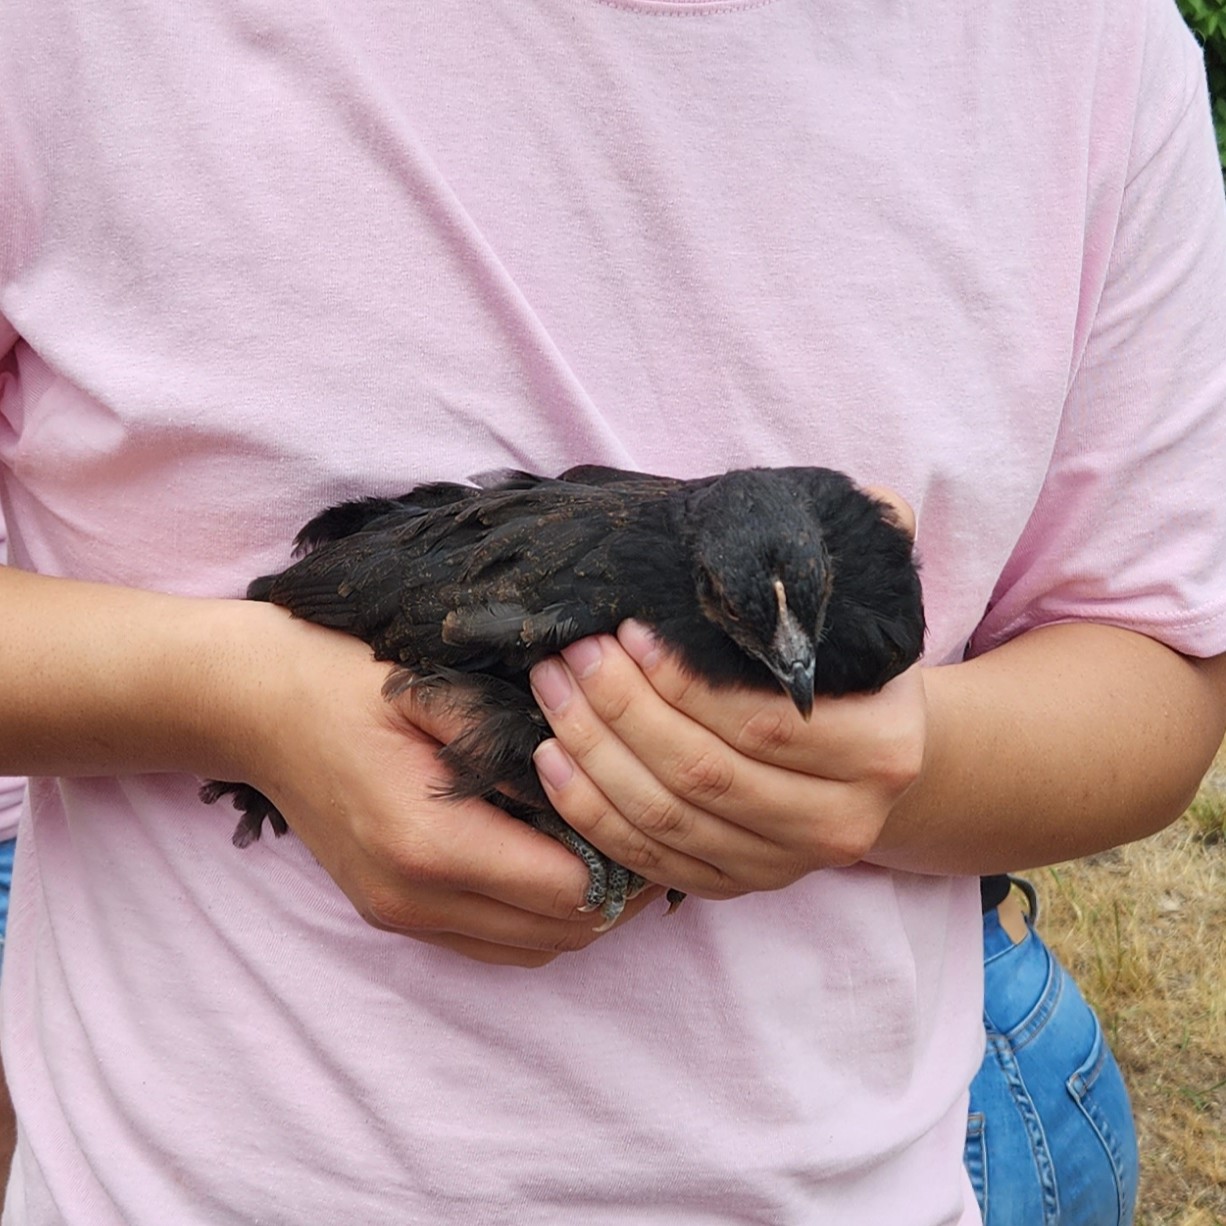 Favourite Chicken
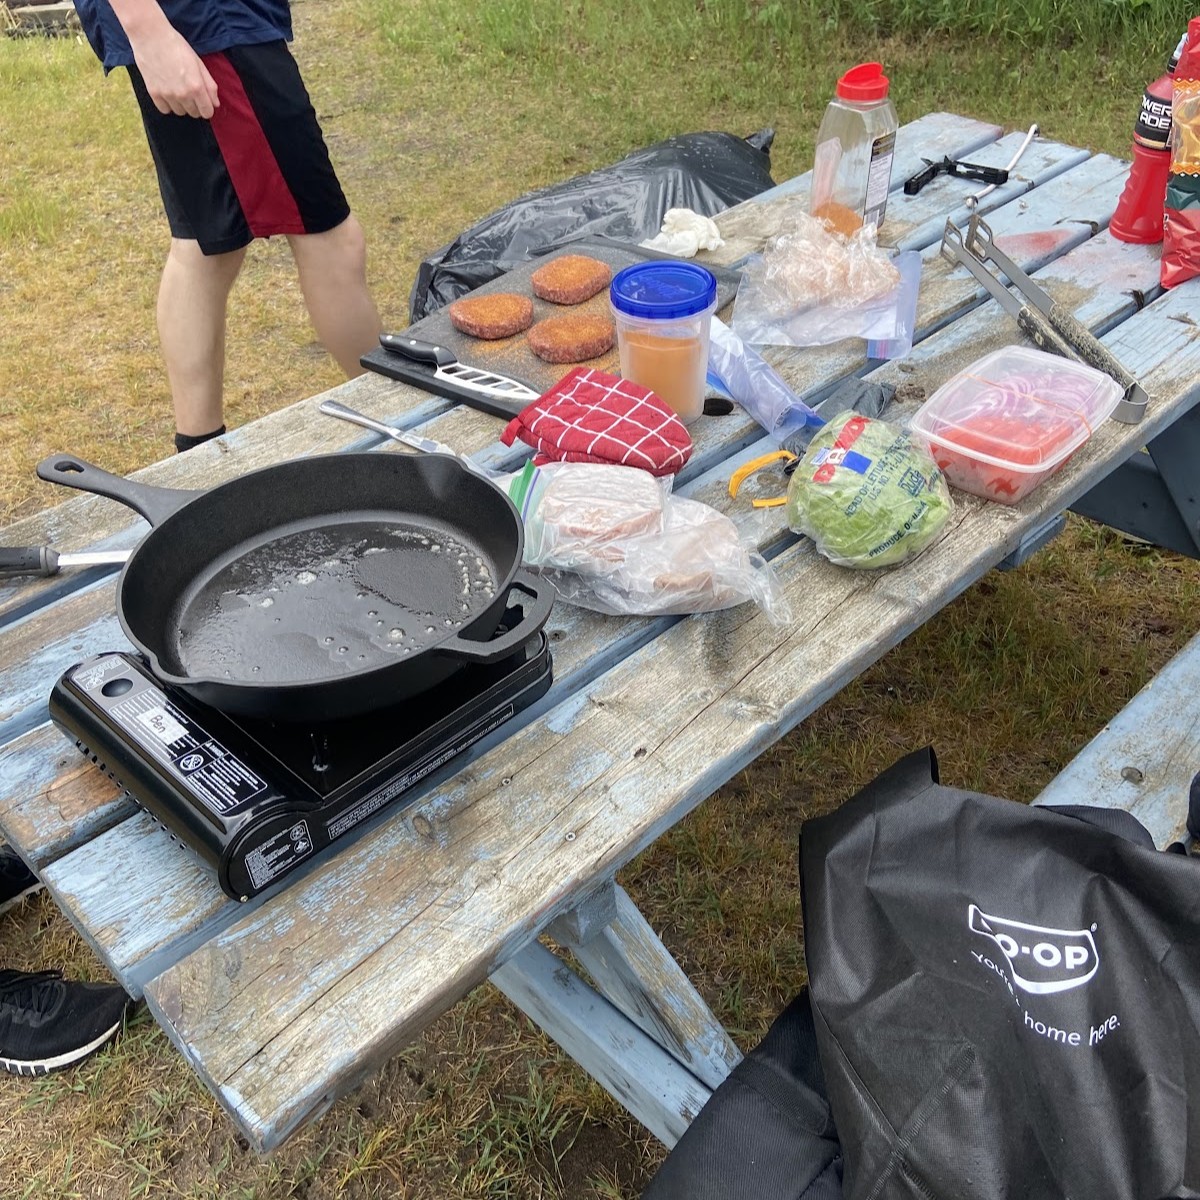 Butane Stove
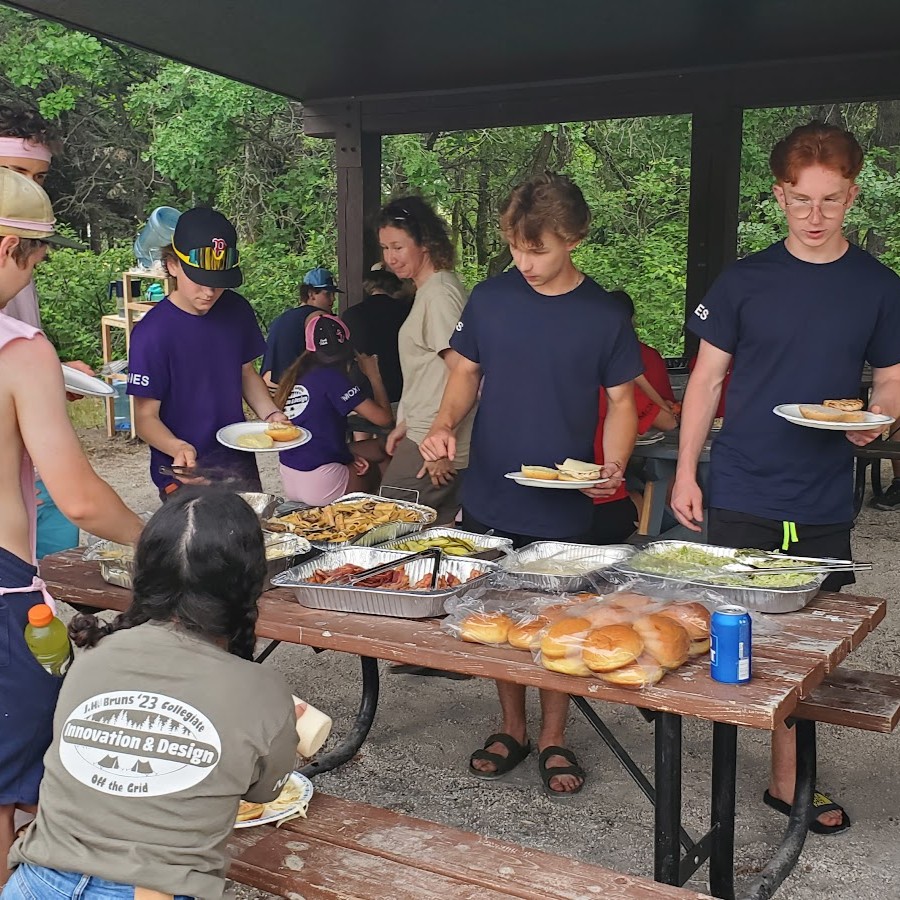 Moxie's Dinner
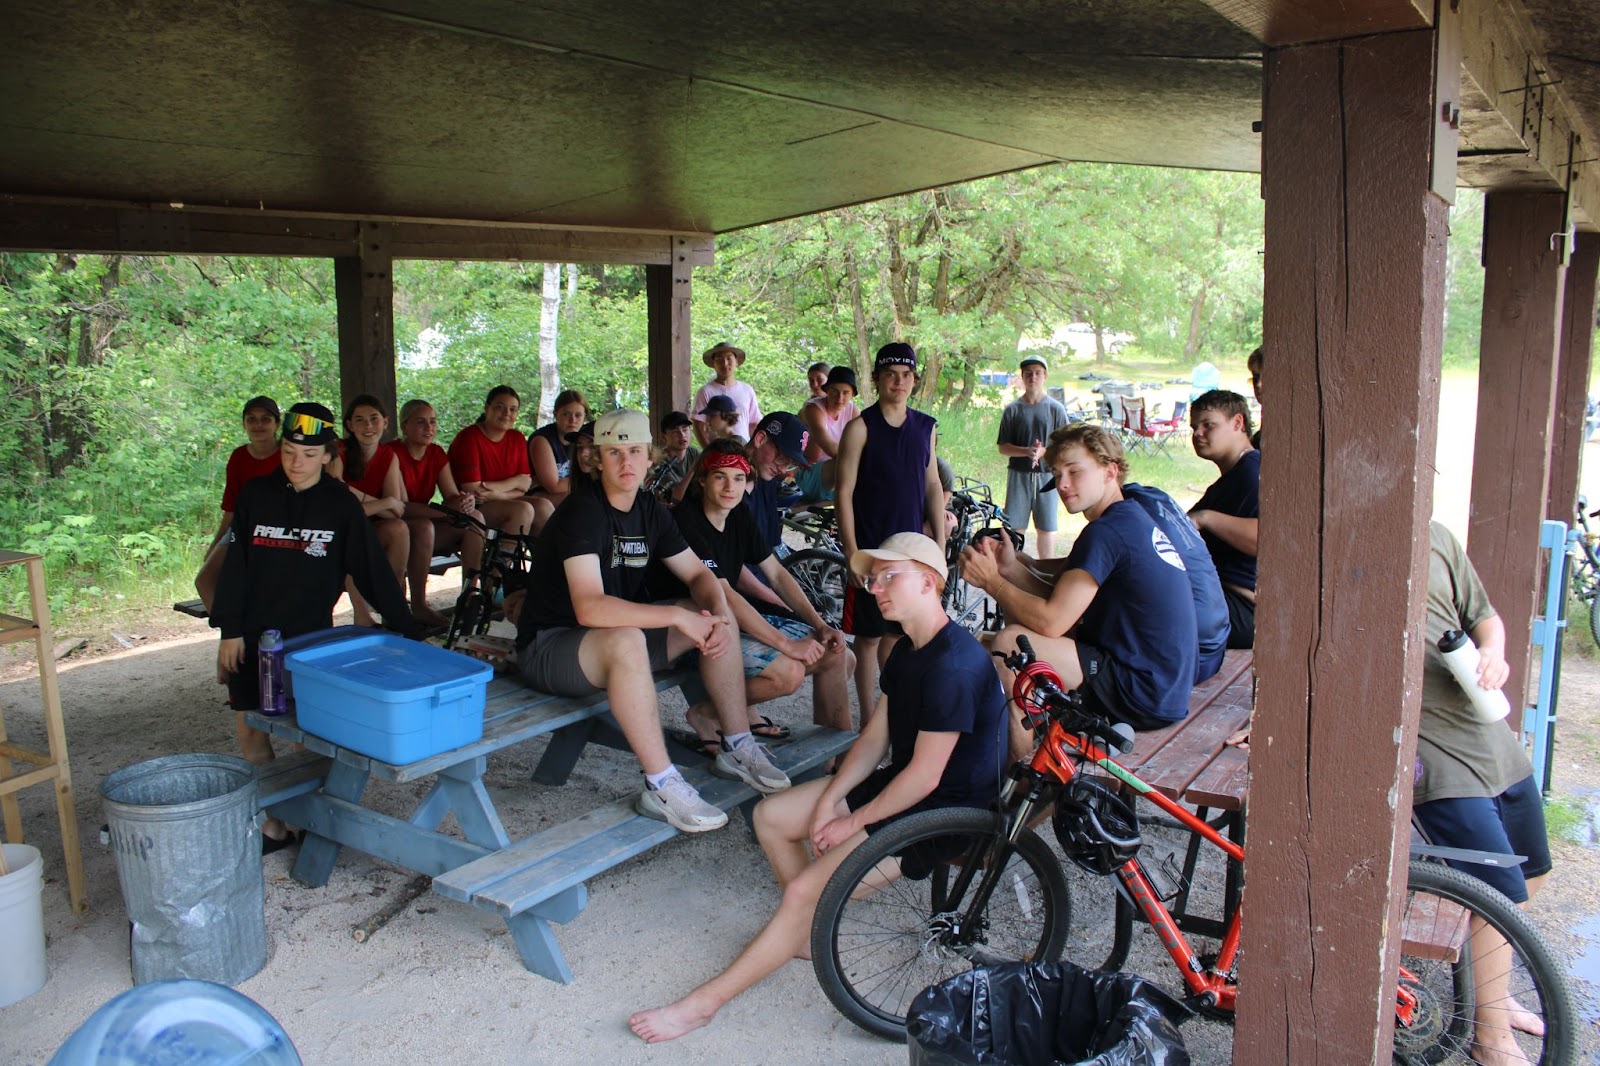
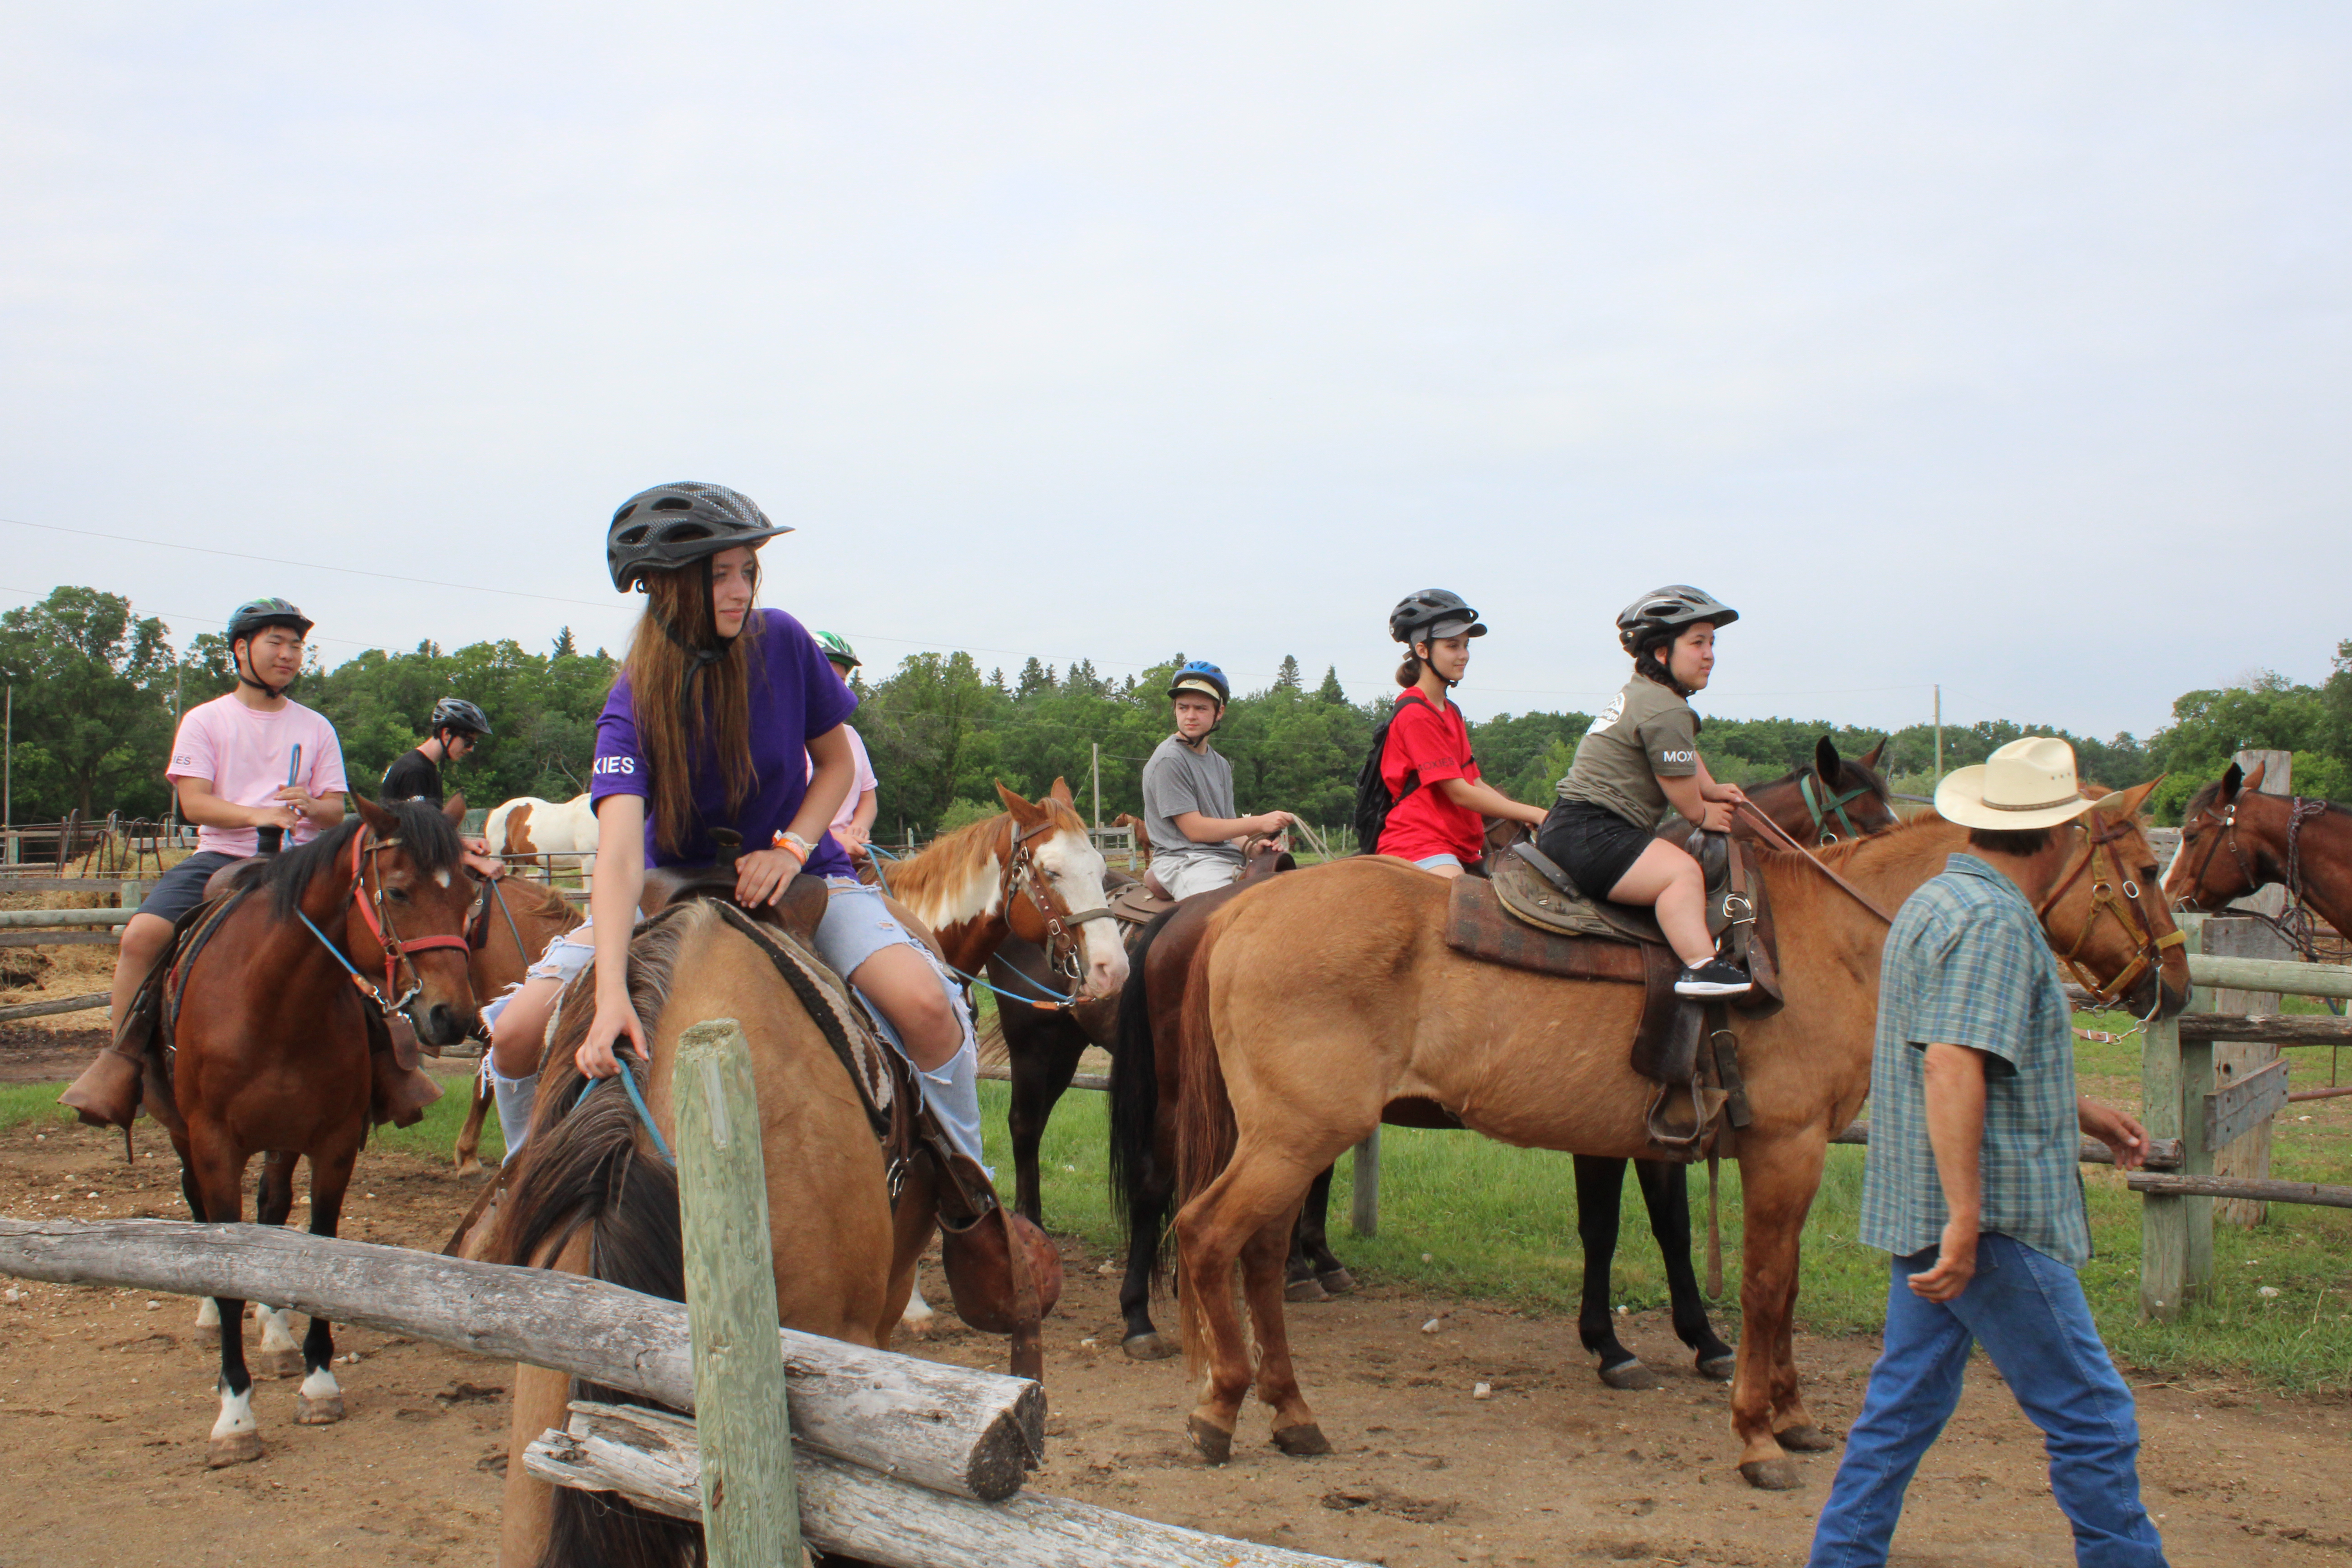
Before going horseback riding, we began the day early by enjoying a breakfast of eggs and sausages. After breakfast, the first group headed to the stables. While we waited for them to prepare the horses, we observed the different animals, including two cats, a dog, and several horses. Rifle was the name of the horse I was able to ride. Upon returning, we had lunch and a interpreter working at the park arrived. She taught us about traditional indigenous games and later organized a game of predator and prey. Later in the day, the person who brought the chickens the day before brought various tools for us to learn about.
 Horseback Riding
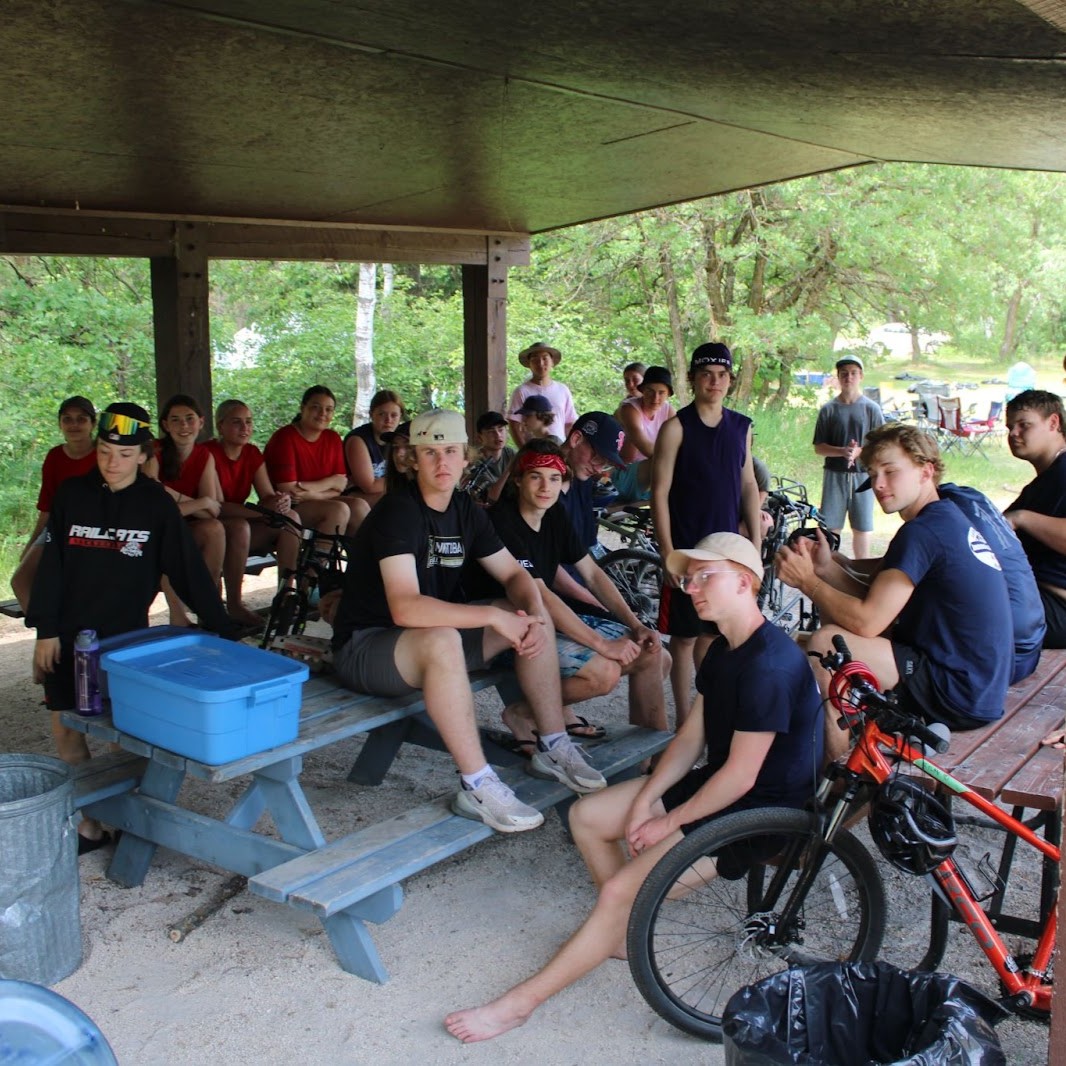 Learning about Indigenous Games
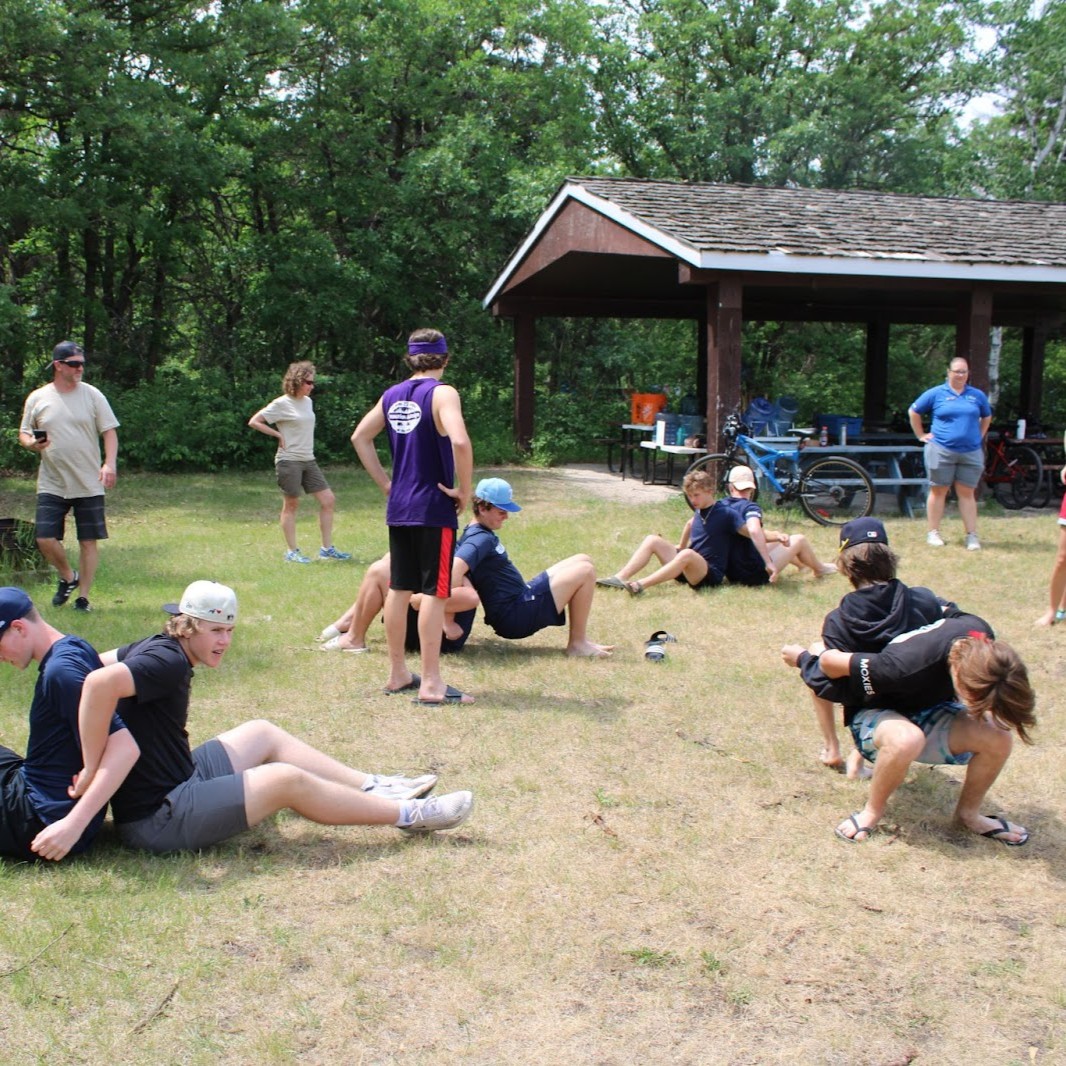 Playing the Games
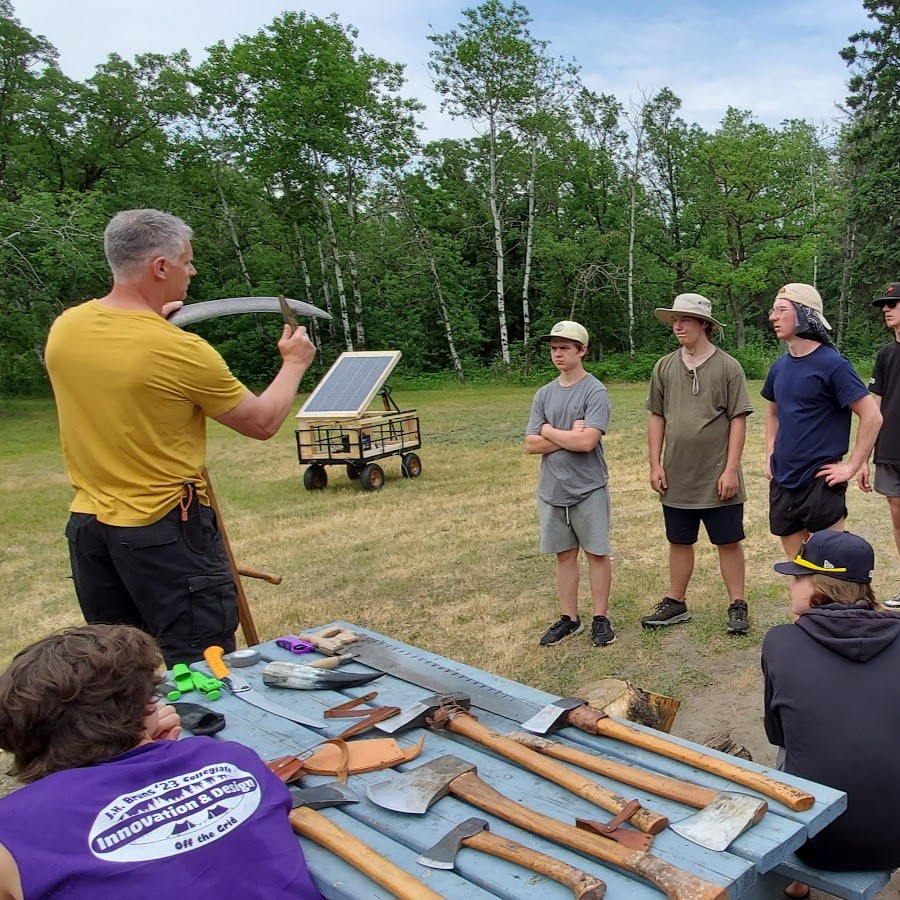 Learning about Axes / Tools
The final day, we started with a simple breakfast, then we packed up. The bus picked us up at around noon and we arrived back at school.

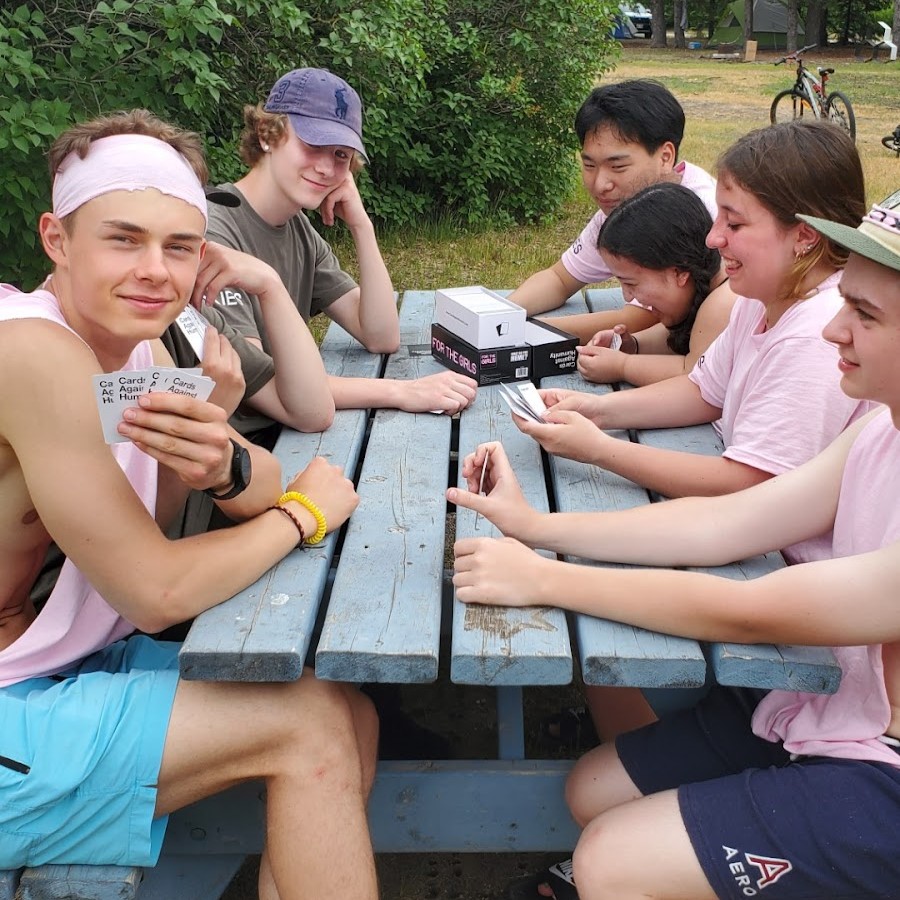 Cards
Cards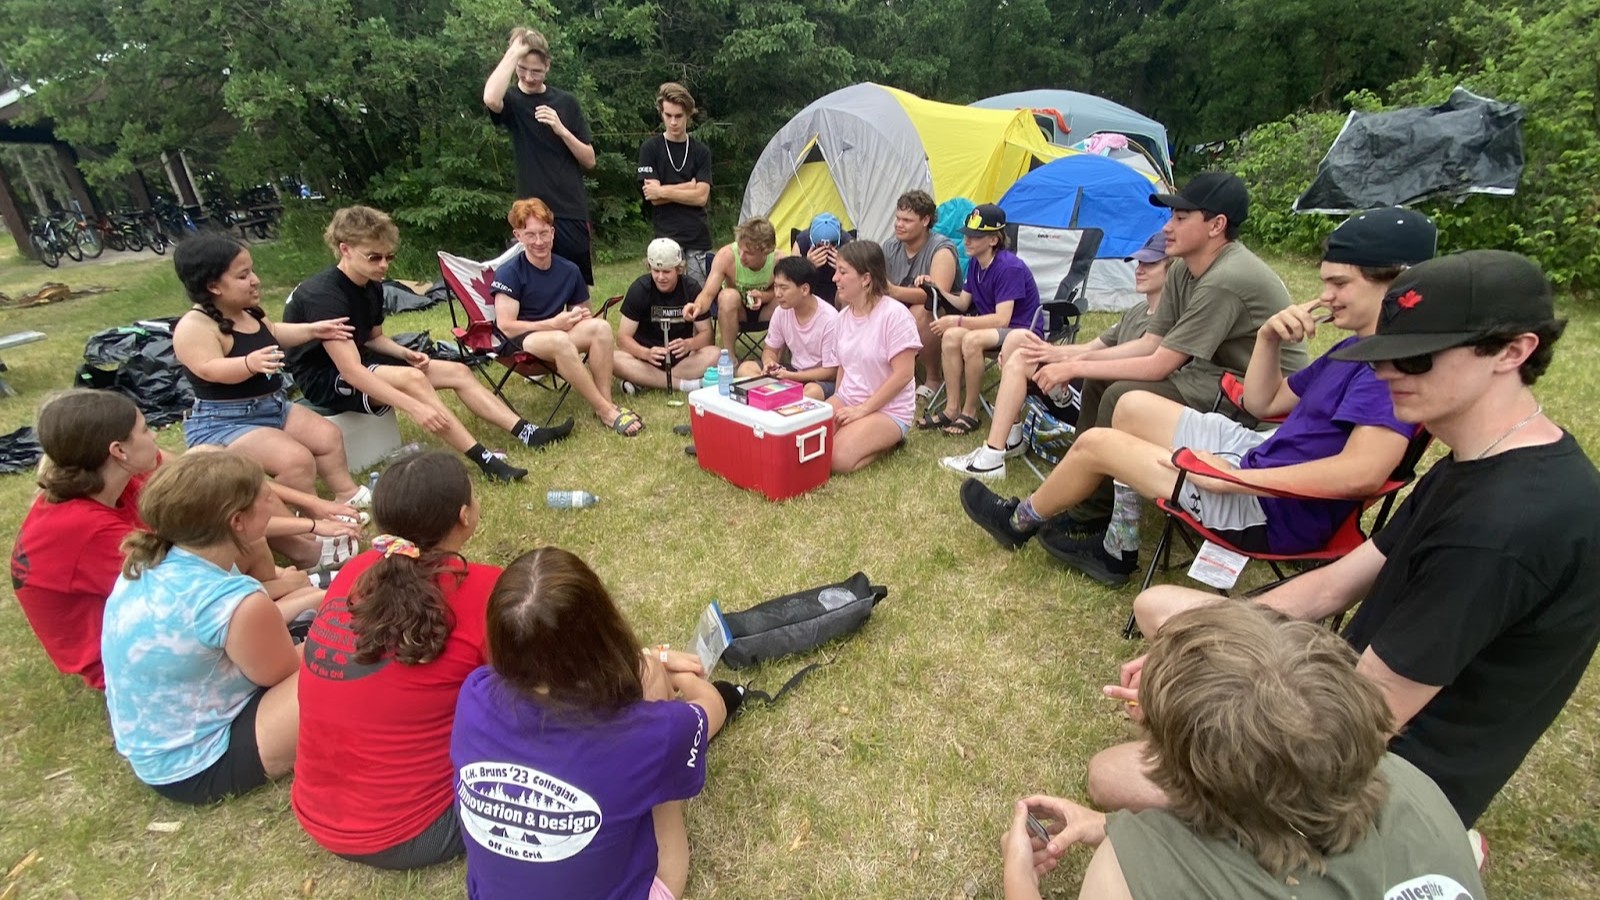 "For The Girls" Group Game